In this guide I will be taking apart an Asus U46E.
Make sure it’s turned off before you start.
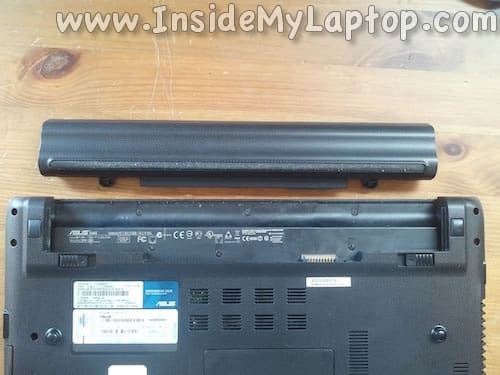
STEP 1.
Unlock and remove the battery.
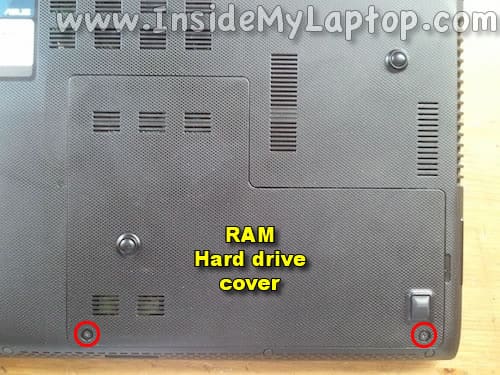
STEP 2.
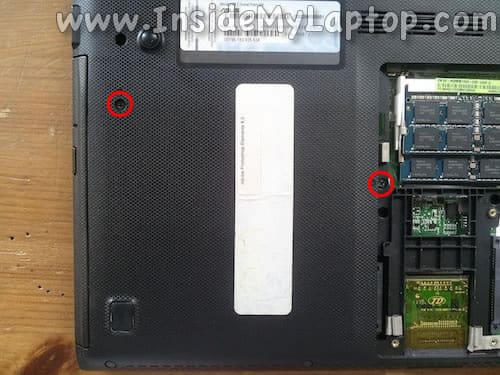
Remove the RAM/Hard drive cover. It’s secured to the case by two screws.
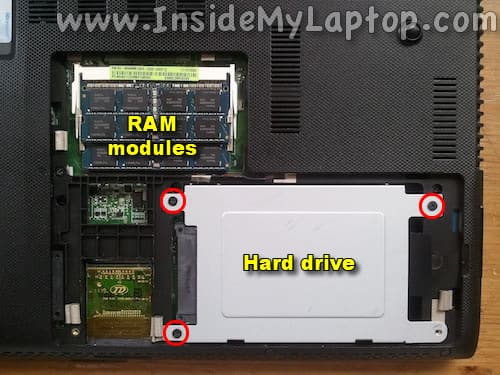
STEP 3.
Under the cover you will find the hard drive and both RAM modules.
Remove three screws securing the hard drive caddy.
This laptop supports up to 8GB (2x4GB) DDR3-12800 SODIMM RAM modules.
STEP 4.
Slide the hard drive to the right to disconnect from the motherboard. Remove it.
I recommend replacing this regular 2.5″ SATA hard drive to a 2.5″ SATA solid state drive. Doing so will improve the laptop performance significantly.

STEP 5.
Remove two screws securing the optical drive.
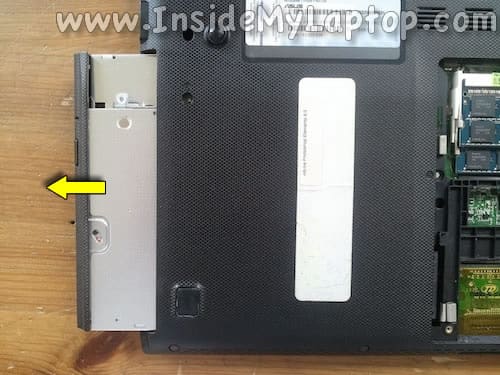
STEP 6.
Pull the optical drive to the left and remove it from the laptop.
STEP 7.
Remove all screws from the bottom.
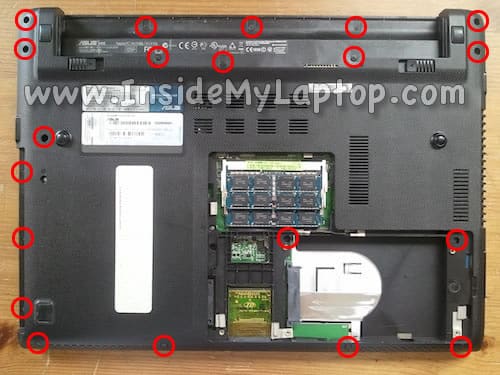
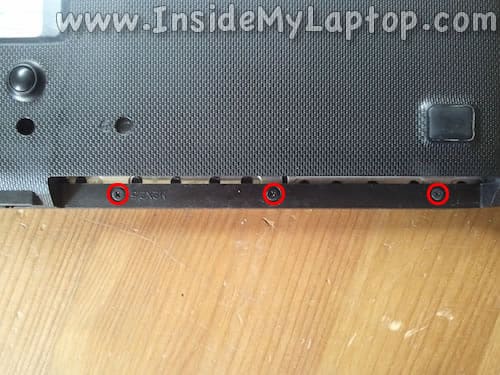
Don’t forget three screws located in the optical drive bay.
Some screws are hidden under rubber covers.
STEP 8.
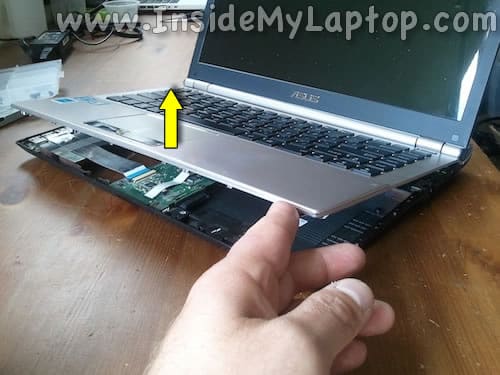
Now you can separate the palm rest/keyboard assembly from the bottom case.
In order to remove the palm rest completely it’s necessary to remove both hinge covers first.
STEP 9.
Close the display so you can access both hinge covers.
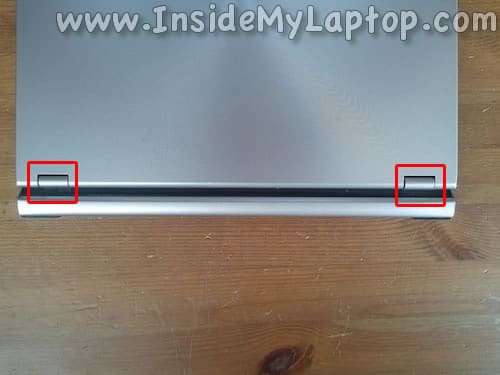
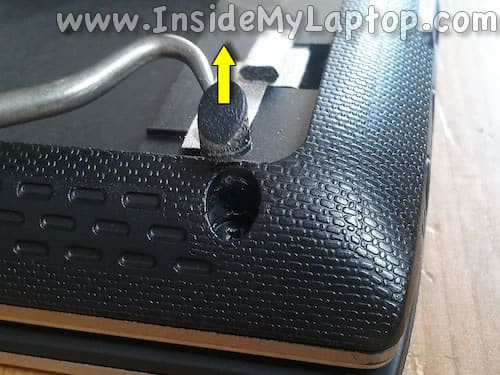
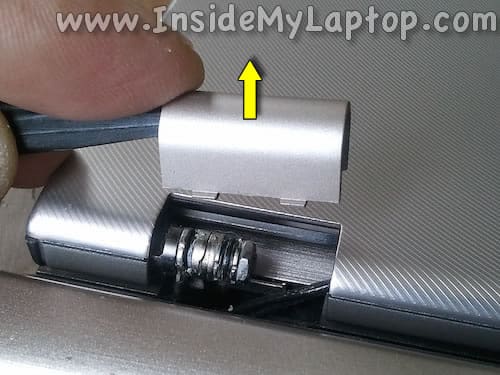
STEP 10.
Using a plastic stick lift up the hinge cover until it disengages from the case.
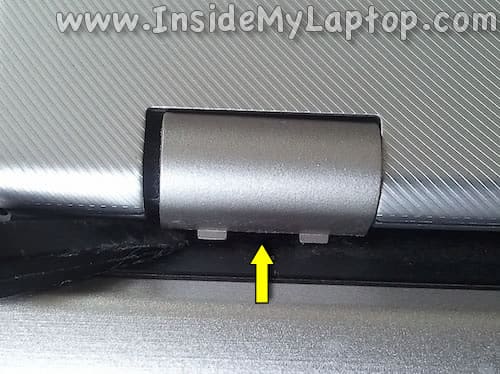
Remove both hinge covers.
STEP 11.
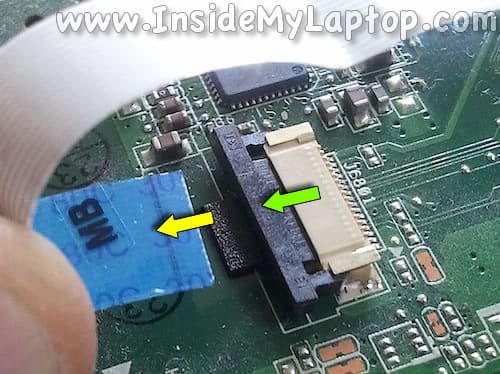
Move the palm rest assembly towards the display until you can access the touch pad cable.

Here’s how to disconnect the cable.
Carefully slide the retaining tab about 2 millimeters away from the connector base (green arrow).
Pull the cable out (yellow arrow).
STEP 12.
Turn the palm rest upside down so you can access the keyboard cable.
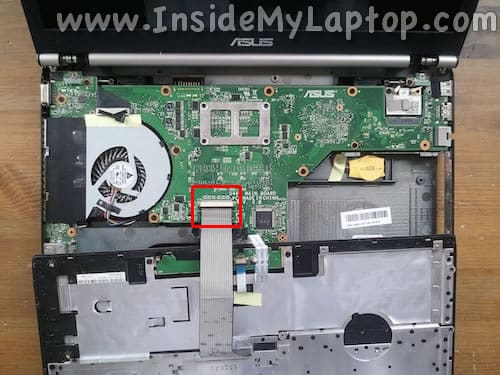
Unlock the connector (green arrow) and pull the keyboard cable out (yellow arrow).

Here’s the bottom side of the palm rest assembly.
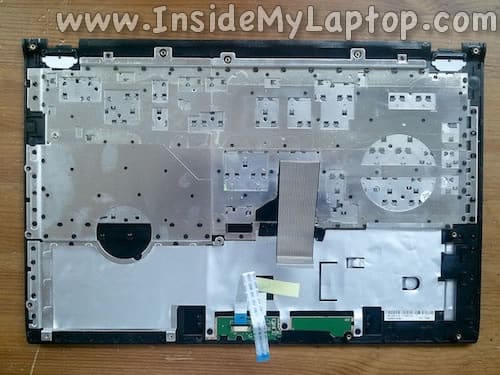
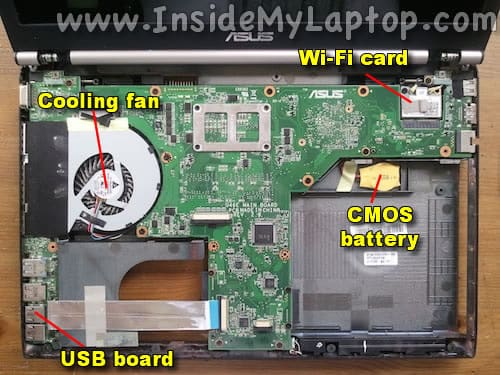
When the palm rest removed, you can access the following internal components:
– Cooling fan.
– Wi-Fi card.
– CMOS battery.
– USB board.
Chuck Sherer
Thanks for great instructions with pictures. One suggestion is to say that there are several different screw sizes, so anyone disassembling this laptop must figure out some way to keep track of which screw goes where when the time comes to re-assemble. A warning would be helpful.
Also, the first picture in step 11 shows the white touch pad cable lying on top of the motherboard. My cable seemed to be “glued” to the motherboard, and did not want to come up. I was afraid to pull it up, which might damage something, so I gave up and reassembled it.
Fortunately, the insides did not look very dusty. However, I do wonder whether I should have pulled harder.
Sincerely, Chuck Sherer
Chris
Thank you–really clear instructions which helped me (someone who has never opened a computer) get in there without messing things up. I was able to unplug the touch pad and keyboard cables. However, my problem was with the fan and I did not see a way to remove that without damaging be the motherboard. Any suggestions?
PS- Luckily I saw another website which gave me a solution to the screw size issue, otherwise I would have been in trouble.
Bijuterii
Very great tut! Thank you!
makooba UG
thanks for your instructions am so grateful to you please i say it again thanks
JP
Many thanks!!! Replaced mouse buttons. This tutorial made it a breeze!
ali al-kabby
thank you
“good”
Eric
I’d Appreciate the tutorial. I was able to take my system apart and install a new motherboard. I have to troubleshoot two issues (USB 2_0 port and touchpad which may just be disabled). I am need some directions on where the various screws go. I have for the most part place them back where they belong but have a couple I’m not certain about. Welcome any feedback/direction to sites or diagrams! Thank you!
Kyle
Hi,
I was wondering if the Nut on the end of hinge could be adjusted to loosen the hinge? My hinges seem really tight. I have seen other video of people adjusting the Nuts on their hinges to loosen or tighten them and I guess I just want to know if that would be the case with the Asus U46E. Thanks for the tutorial.