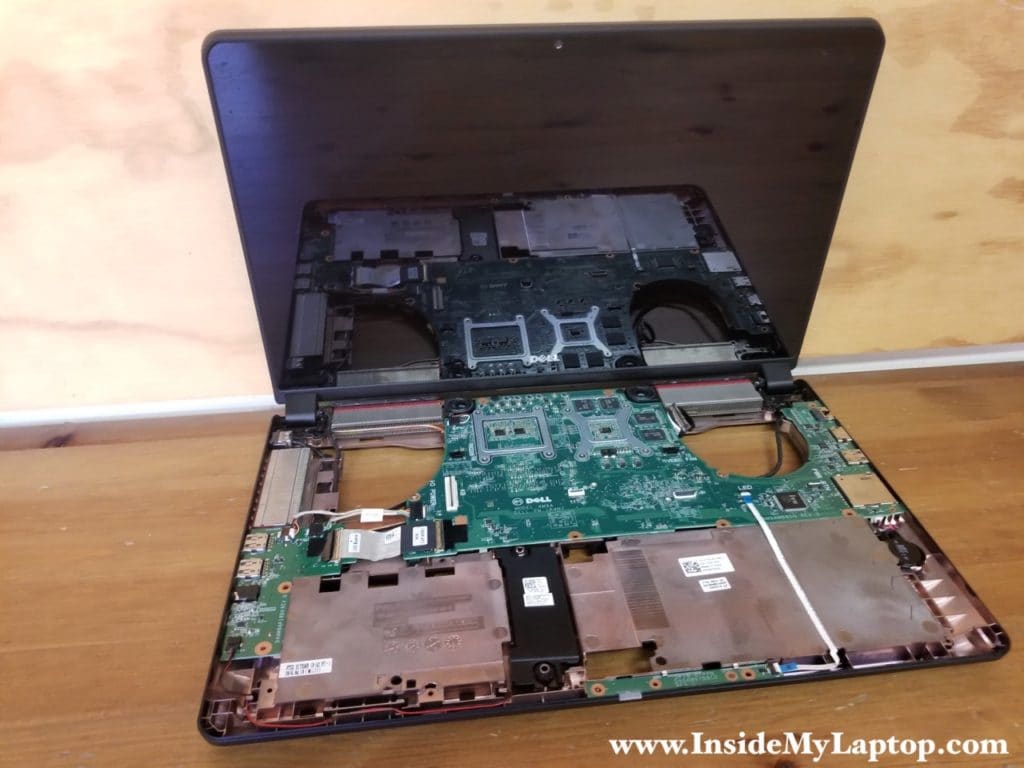
Replacing failed video cable on a Dell Inspiron 15 7000 series 7559 7557 is a relatively complicated and time consuming process. In my case the laptop had a touch screen and because of that the disassembly process was even more difficult.
Why do I replace the video cable? This laptop has developed a very annoying problem. As soon as you open the display more than 90 degrees, the backlight turns off. You move the display back and the backlight turns on.
I think the cable worn out causing a short inside the harness during the display movement.
In order to replace the video cable in a Dell Inspiron 15 7000 series 7559 7557 the display assembly must be separated from the laptop. Check out my previous post for the display assembly removal help.
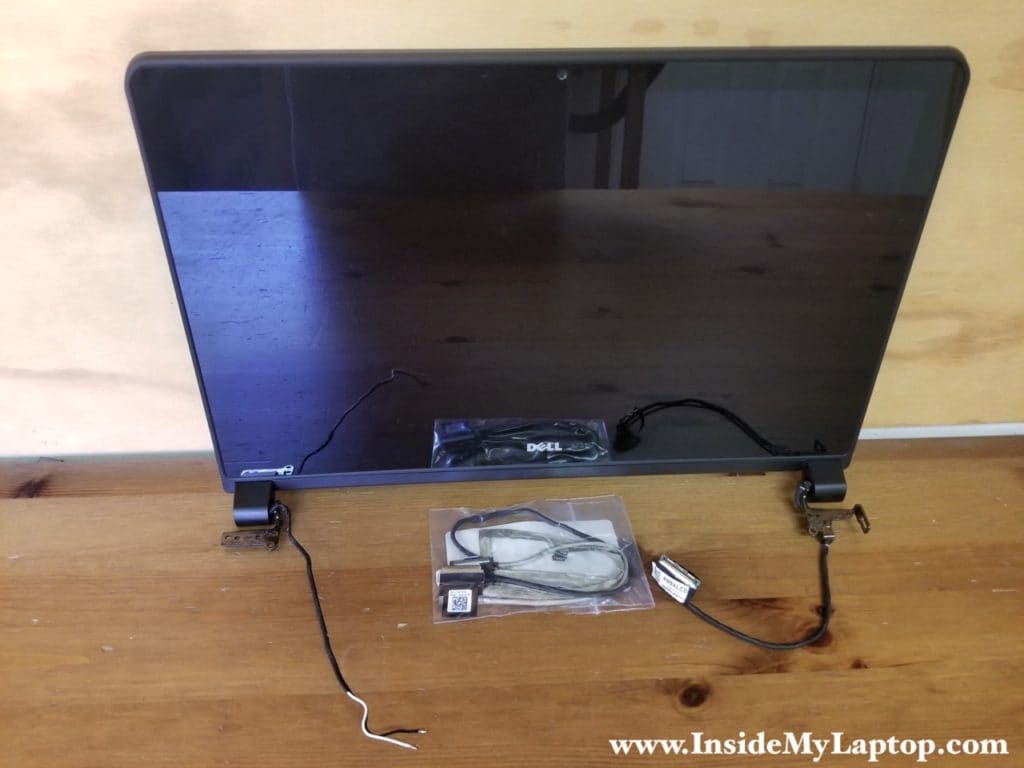
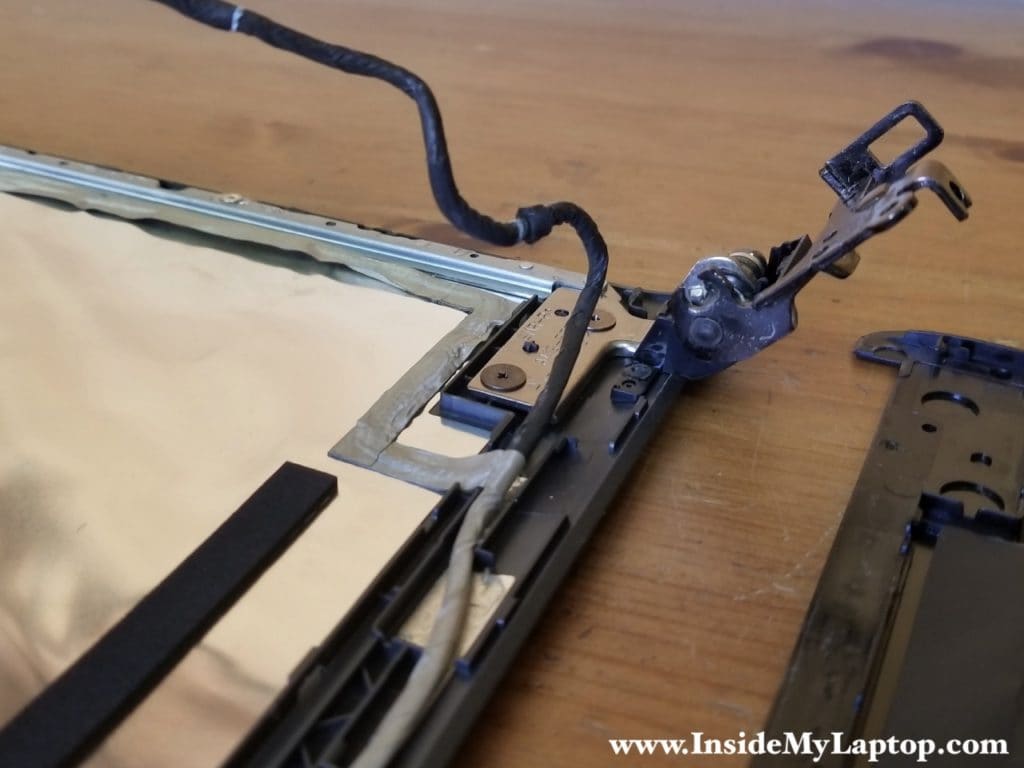
The display must be removed because the video cable is routed under the right hinge.
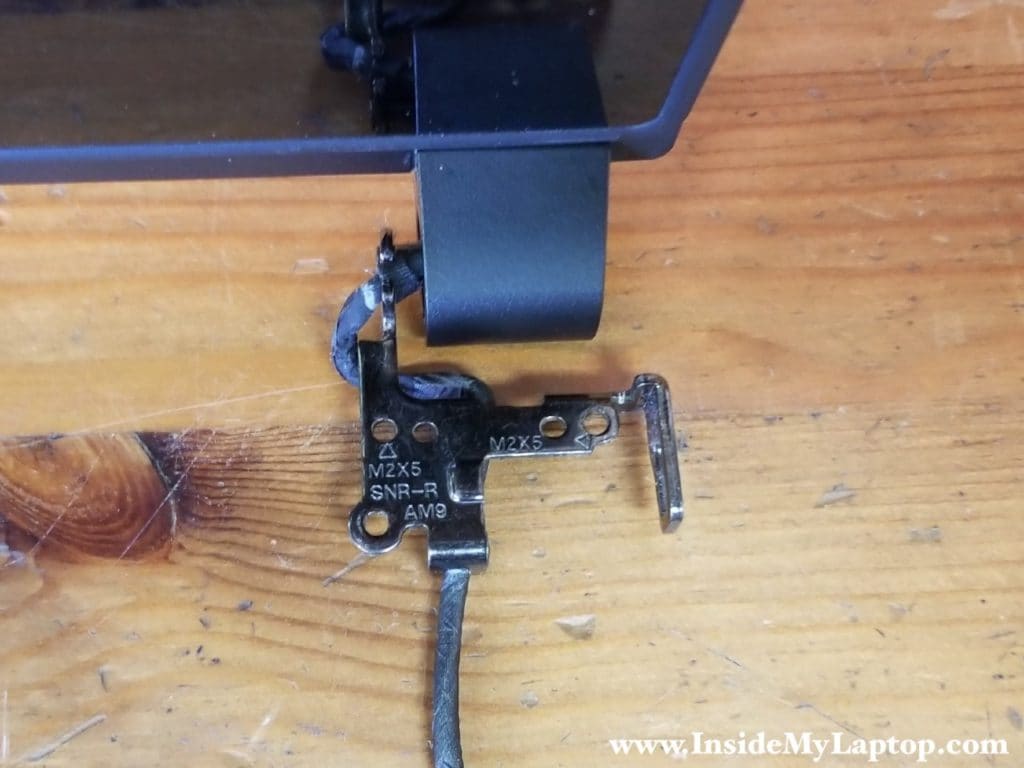
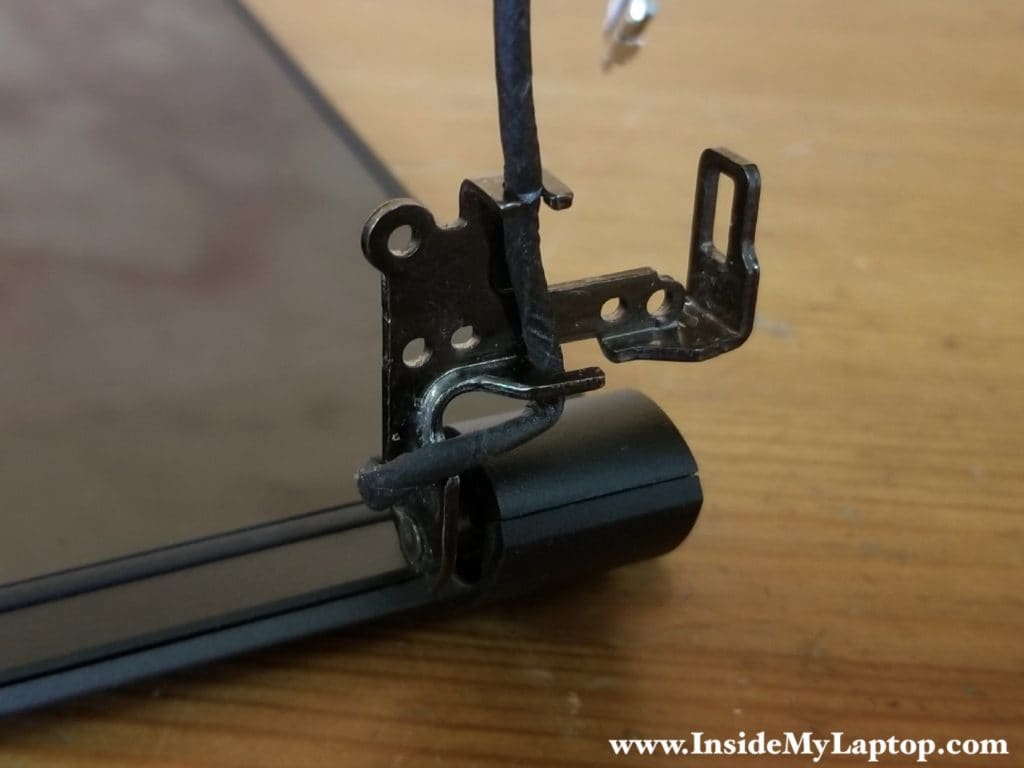
Here’s a different view at the video cable and how it’s attached to the hinge. You might need this picture during the reassembly process because it took me a moment to remember how the cable was routed.
The most difficult part is separating the touch screen digitizer assembly from the back cover because it’s seated very tightly. There are many hidden retainers/latches securing the assembly to the back cover.
If you have a regular non-touch screen, removing the bezel will be easy but this one is a pain in the neck.
You’ll need a plastic pry tool. Insert it between the screen/digitizer bezel and the back cover and separate one from the other.
The first plastic retainer on the back cover I met got cracked for sure.
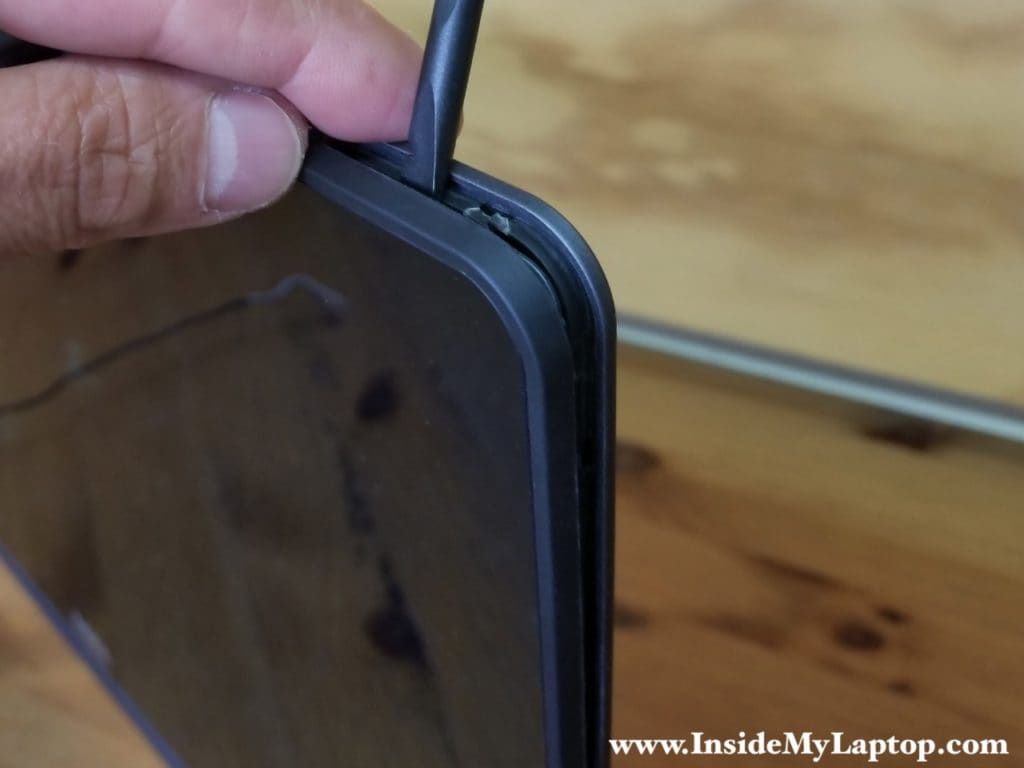
I found it easier to remove the touch screen bezel if you insert the pry tool closer to the retainer/latch.
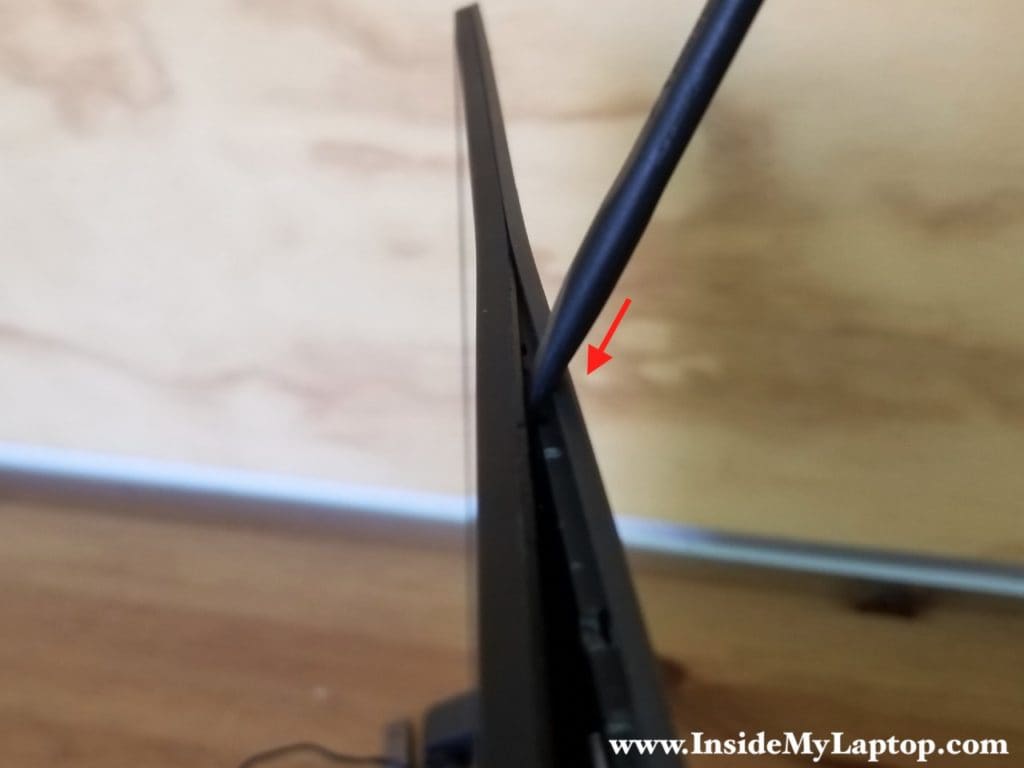
And after that you pry the bezel upwards to unseat it from the retainer.
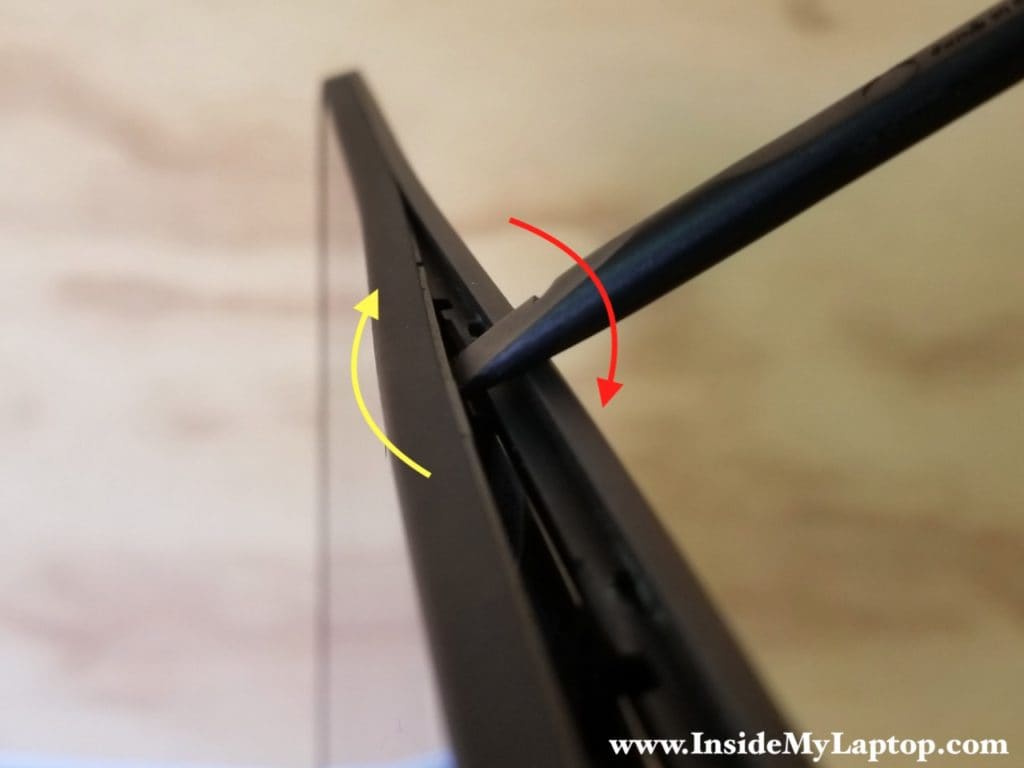
Continue separating the bezel on the upper side of the display.
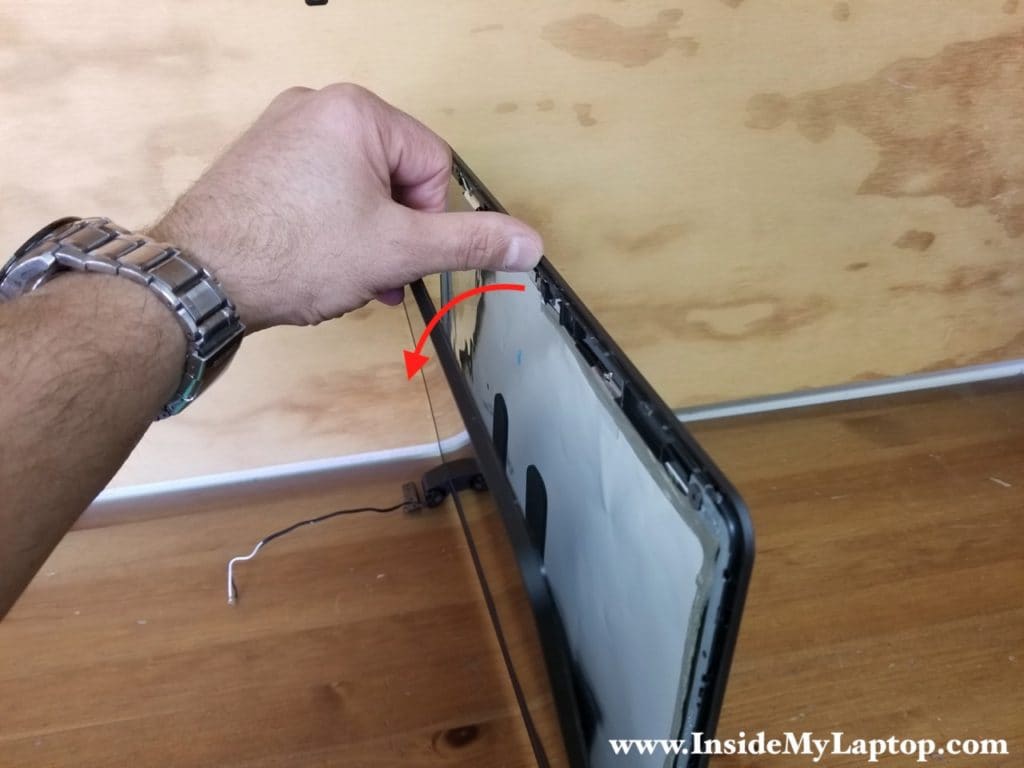
The hinge cover is a separate piece, not connected to the touch screen bezel.
Lift up the hinge cover using the pry tool.
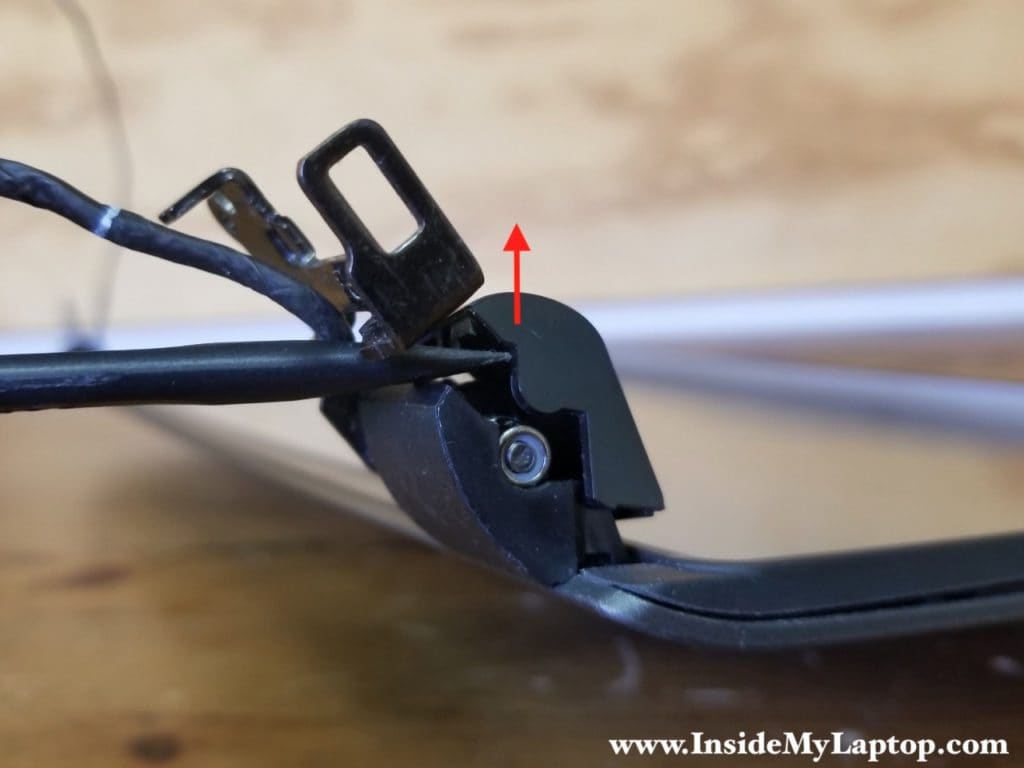
Continue separating it from the bezel.
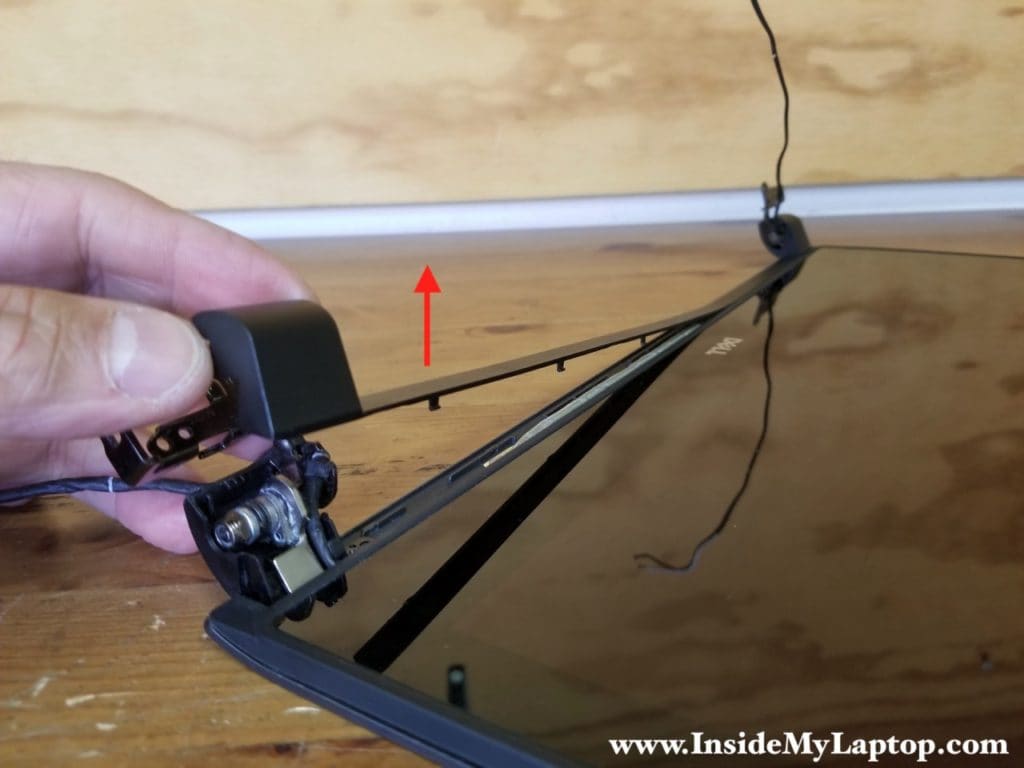
Remove the hinge cover.
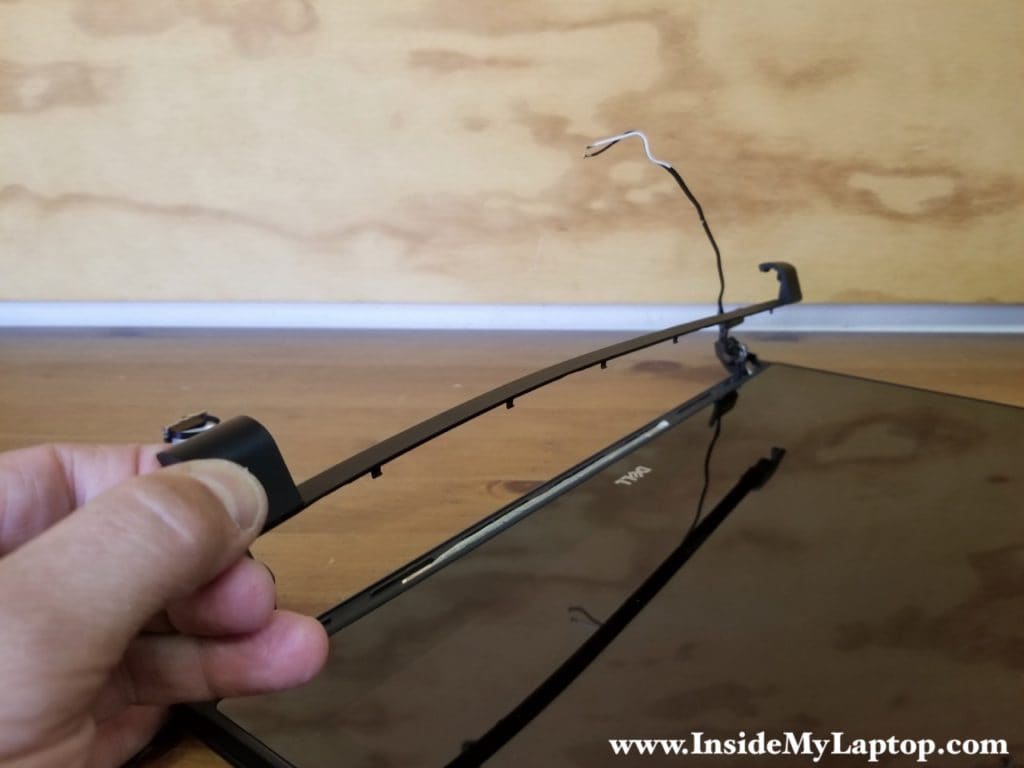
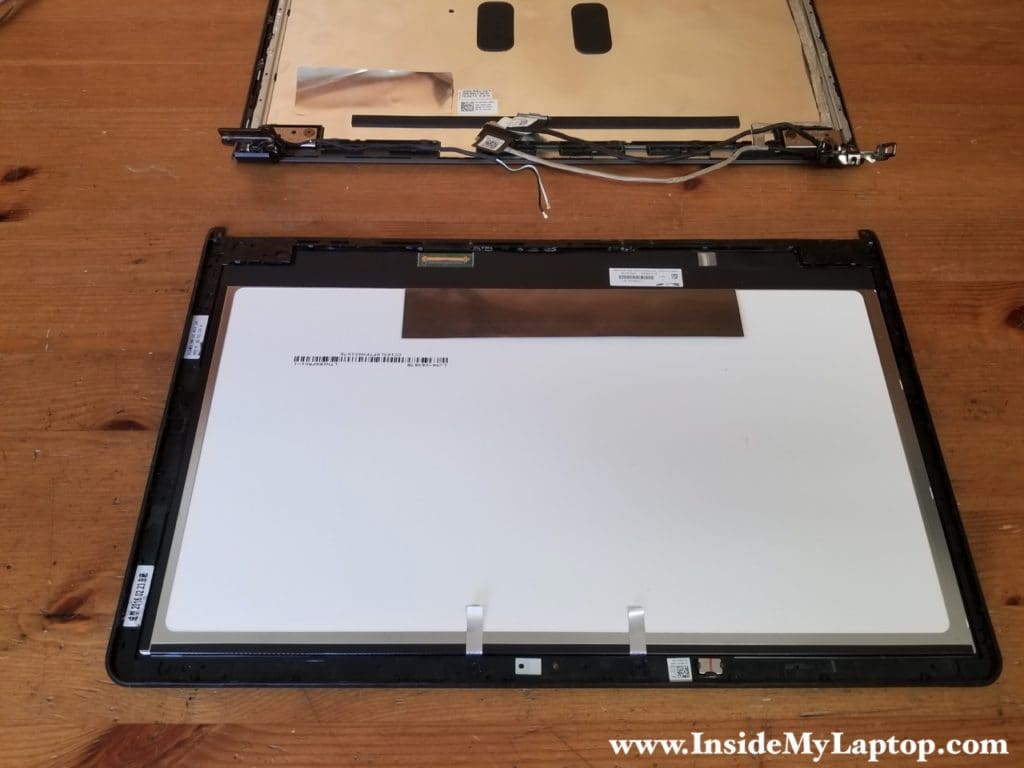
Now you can remove the touch screen assembly and place it the front side down on the desk.
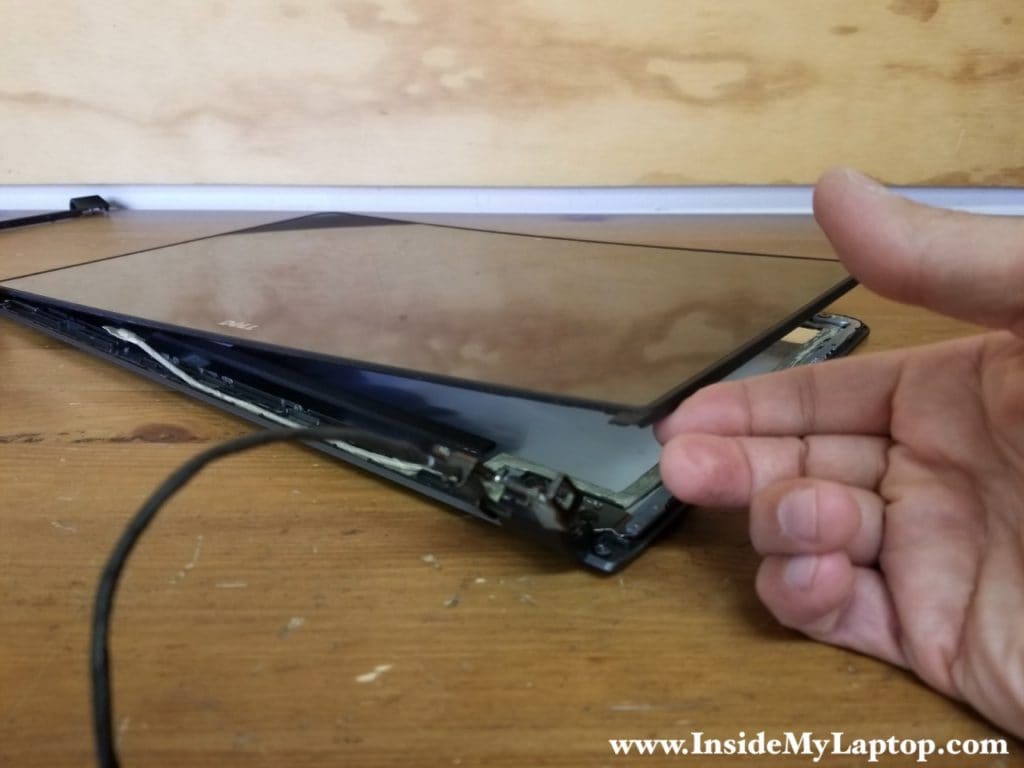
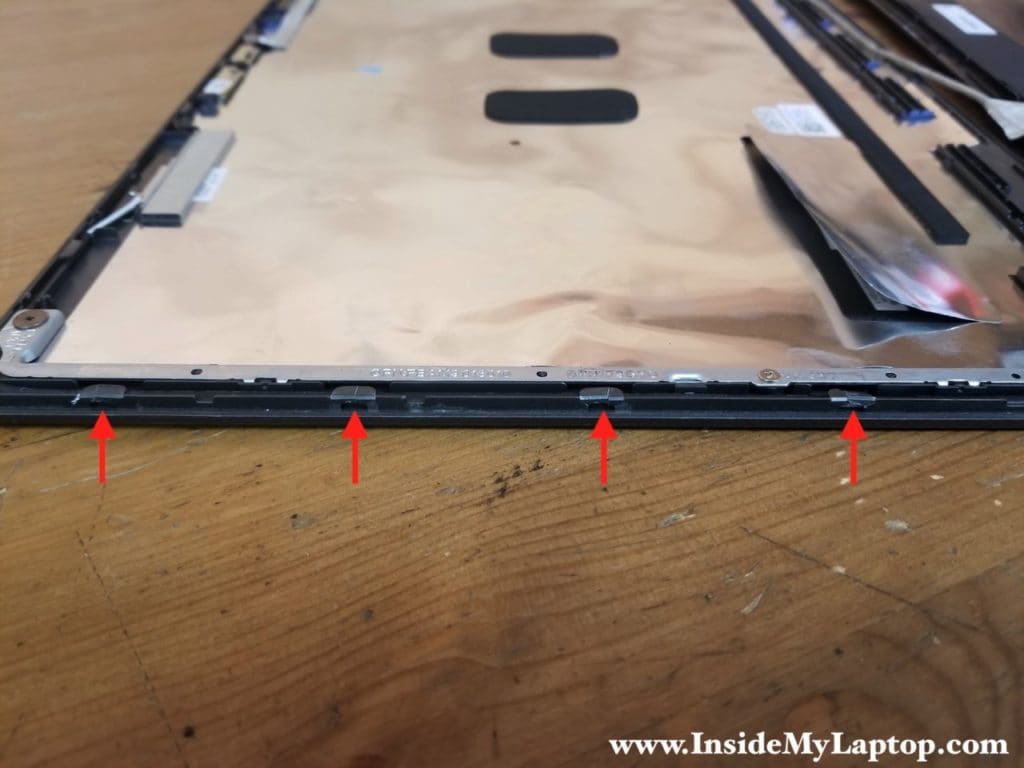
Here are evil plastic retainers on the back cover and I cracked quite a few of them.
Let me tell you up front, when I reassembled everyhting back together the bezel seated back in place as normal even with all those damaged retainers.
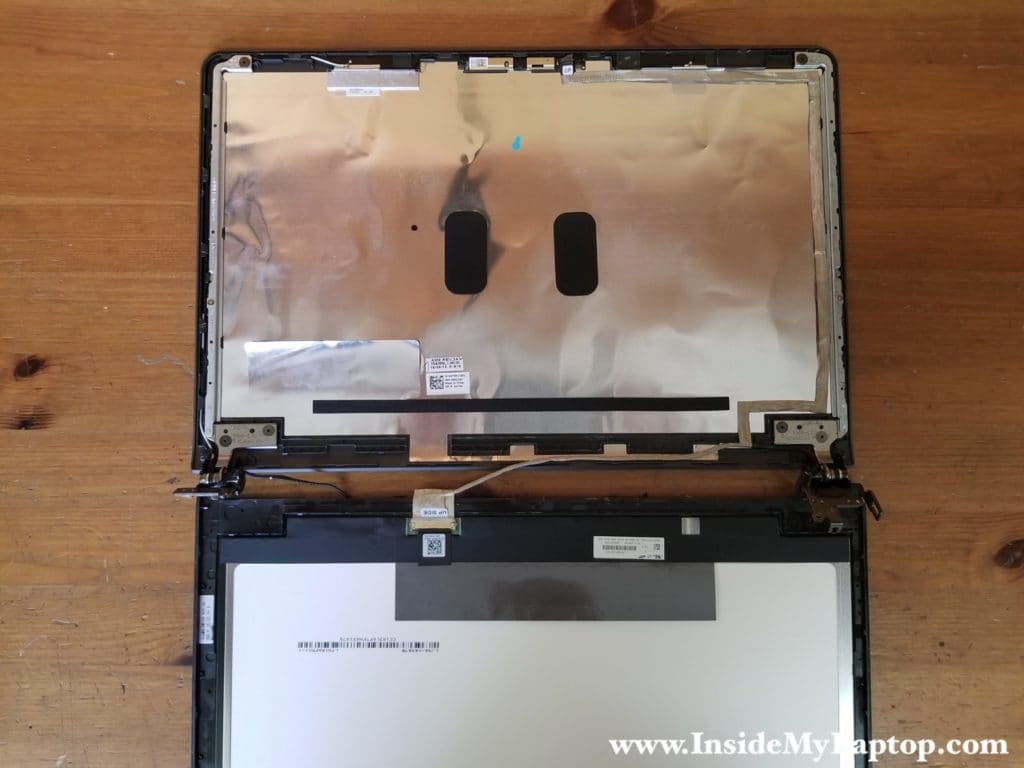
Now, when the back cover is separated, you can access the video cable and start replacing it.
Unroute the cable from the hinge.
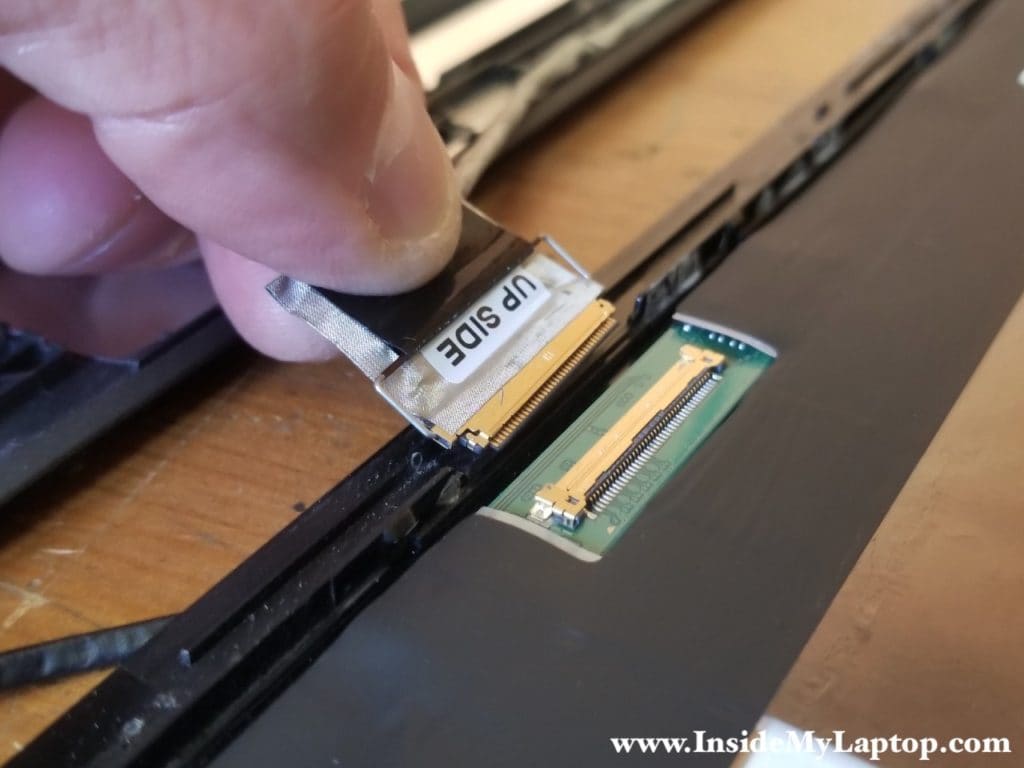
Disconnect the video cable from the screen.
Peel off the video cable from the back cover until you get to the webcam.
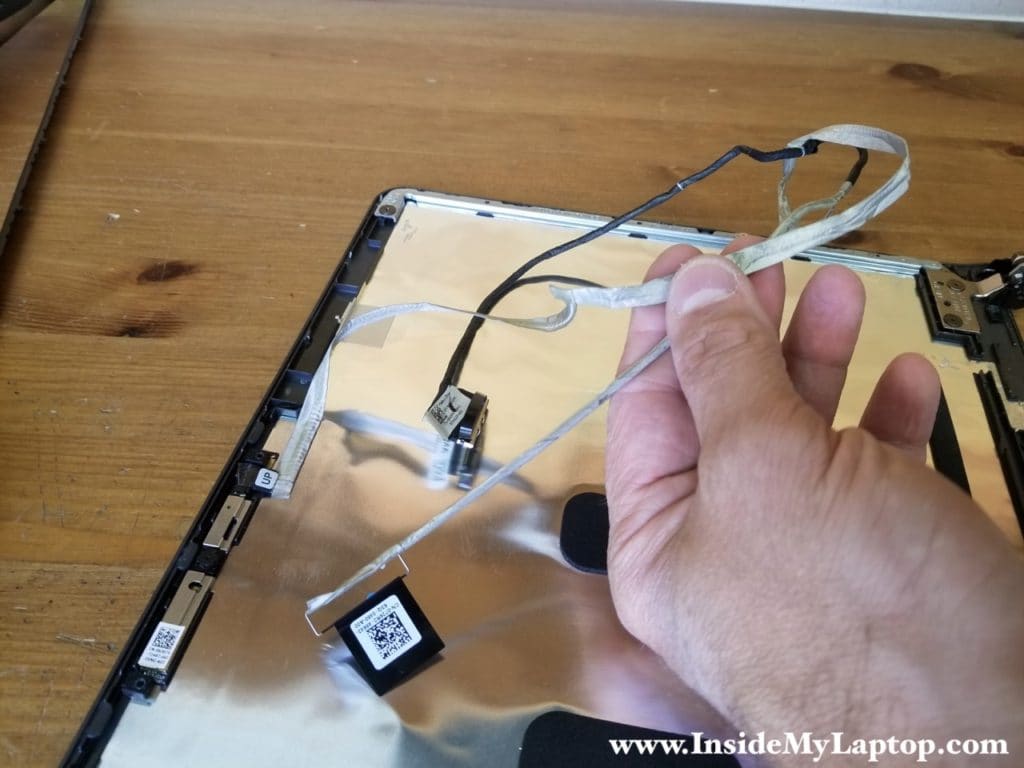
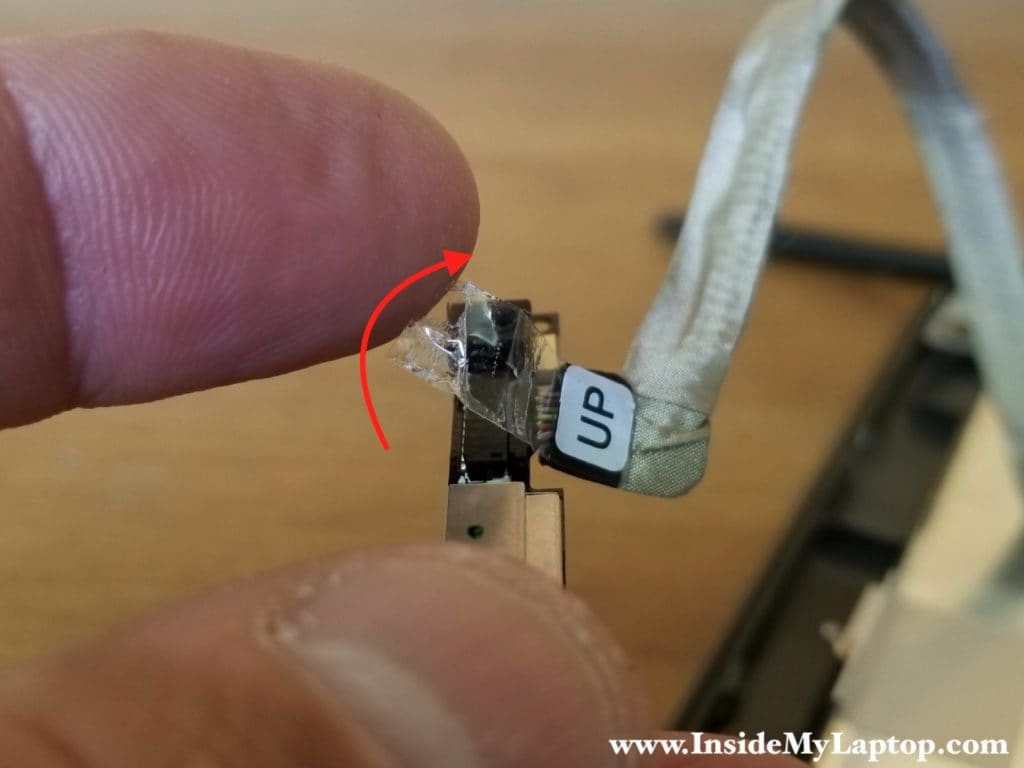
You cannot simply unplug the cable from the webcam because the sticky tape (part of the cable) that secures the connection is wrapped up around the webcam.
You can cut off the sticky tape and unplug the cable without removing the webcam but I decided to do it the proper way.
If you decide to follow my way, carefully separate the webcam from the back cover. There is adhesive tape underneath.
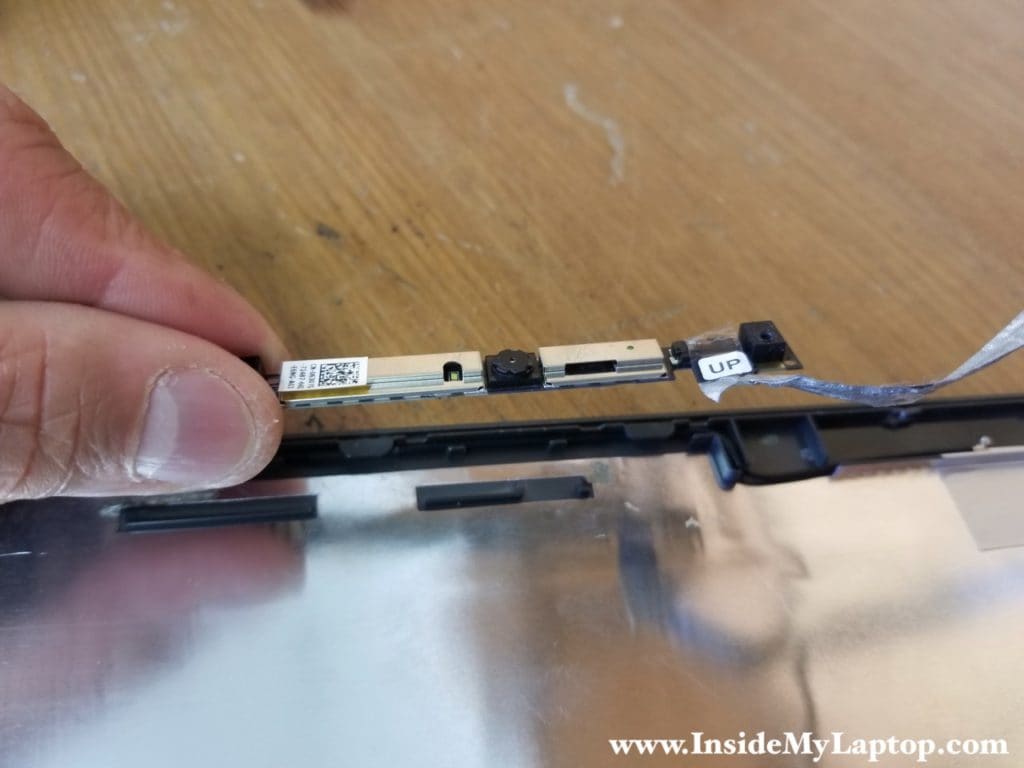
Unwrap the sticky tape.
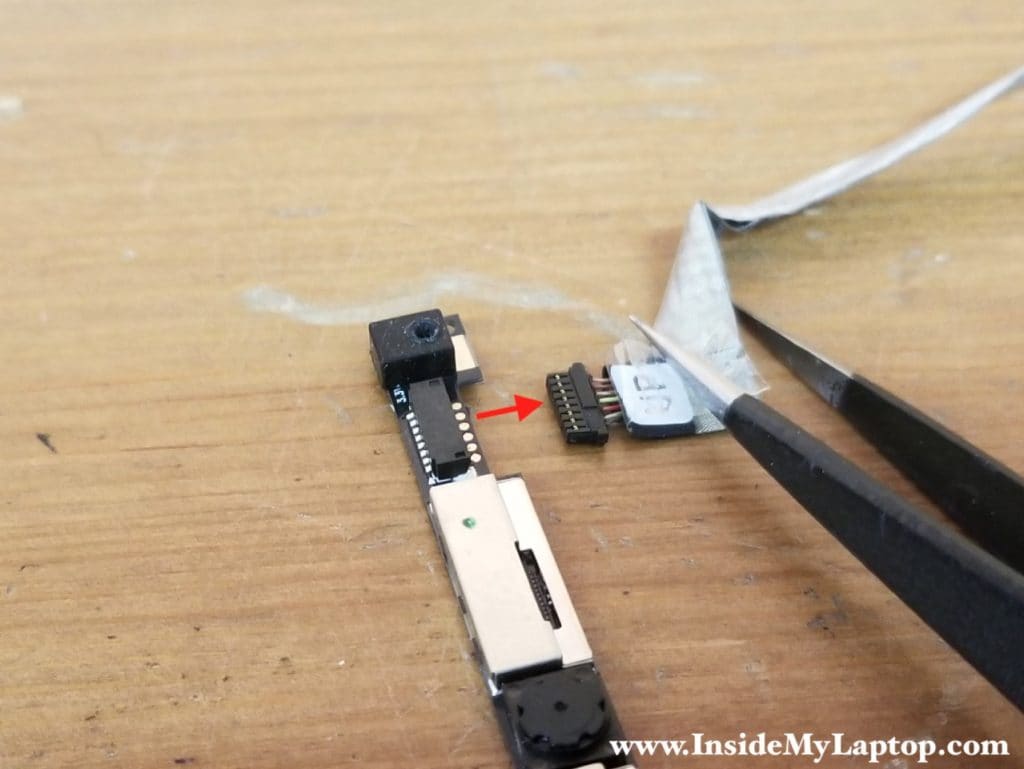
Unplug the cable from the webcam.
You can use this guide for the placing not just the video cable but also for replacing the LCD screen, hinges and webcam module.
Ryan
I have the same computer and recently the backlight went out on the display, but touchscreen still works and I can shine a flashlight and see the display still works. Is this the same issue you were fixing in the tutorial by replacing the wiring?
IML Tech
Yes, I had to replace the video cable because of the backlight issue. The backlight didn’t fail completely but it was cutting off when the display was moved back and forth.
Peter Field
Hi, I just changed my cable to get the camera working – success!
Then failure 🙁
The screen is on when viewed with a light, but the back light has failed.
Is this likely to be a coincidence or have I done something wrong?
The new cable looks fine, as do the connectors (although I had an issue getting the one off the back of the screen).
Camera, mic & touch screen all work
Luis
buenas tardes donde puedo conseguir la motherboard de esa maquina gracias
IML Tech
You should be able to find this motherboard on eBay.