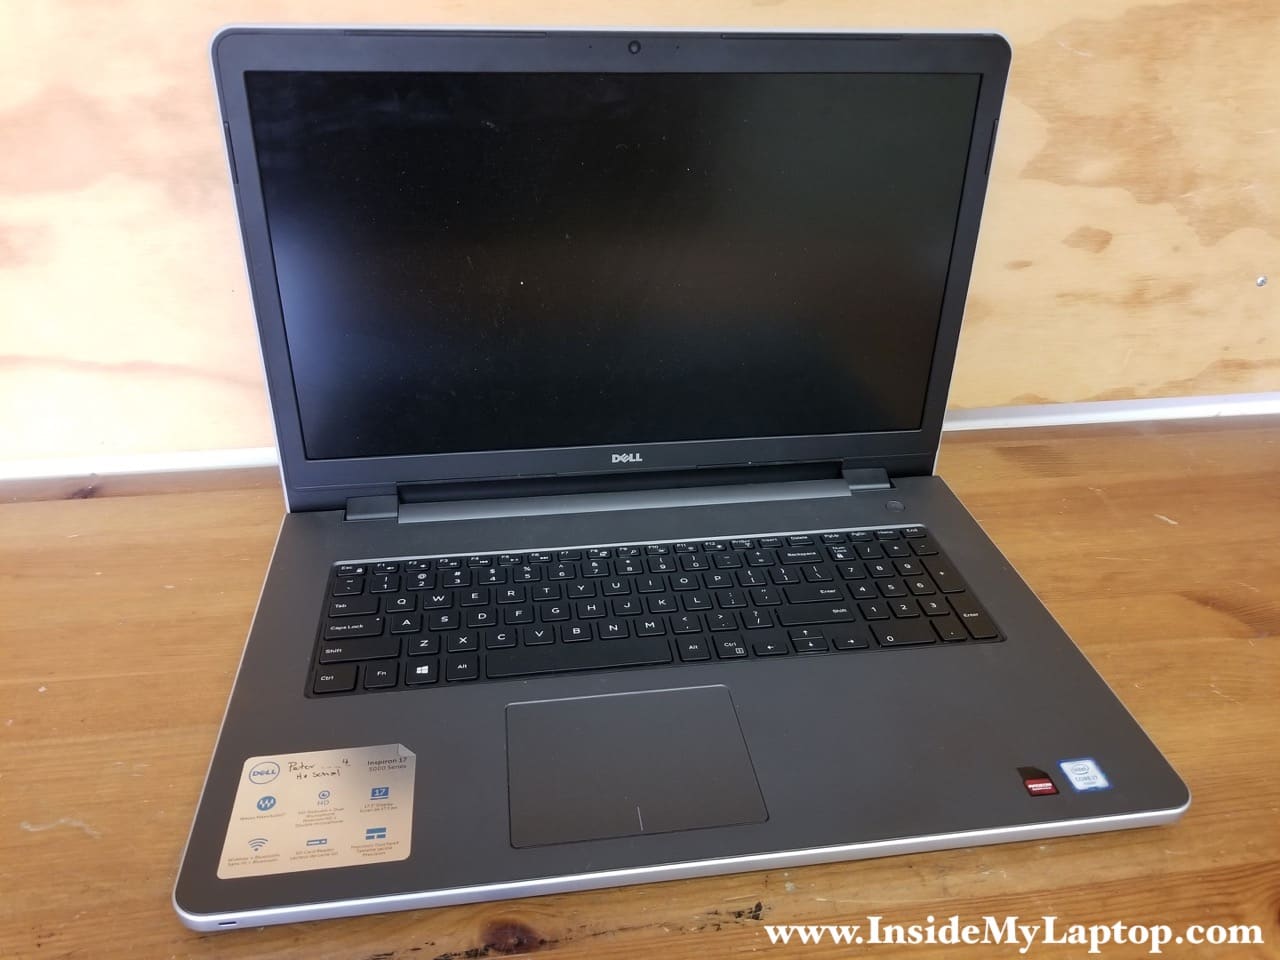
Today I show how to replace LCD screen on Dell Inspiron 15 or 17 5000 Series laptops.
This guide should work for the following Dell Inspiron models:
- 17″ models 5759, 5758, 5755
- 15″ models 5559, 5558, 5555
STEP 1.
Start the disassembly process with disconnecting the battery.

STEP 2.
It’s easier to remove the display bezel if you start around the webcam area.
Insert your fingers between the bezel and display back cover. Carefully separate the bezel from the cover.
If you wiggle the bezel, it will unsnap from the cover.

Continue separating the bezel on both sides.

The hardest part will be removing it on the bottom.
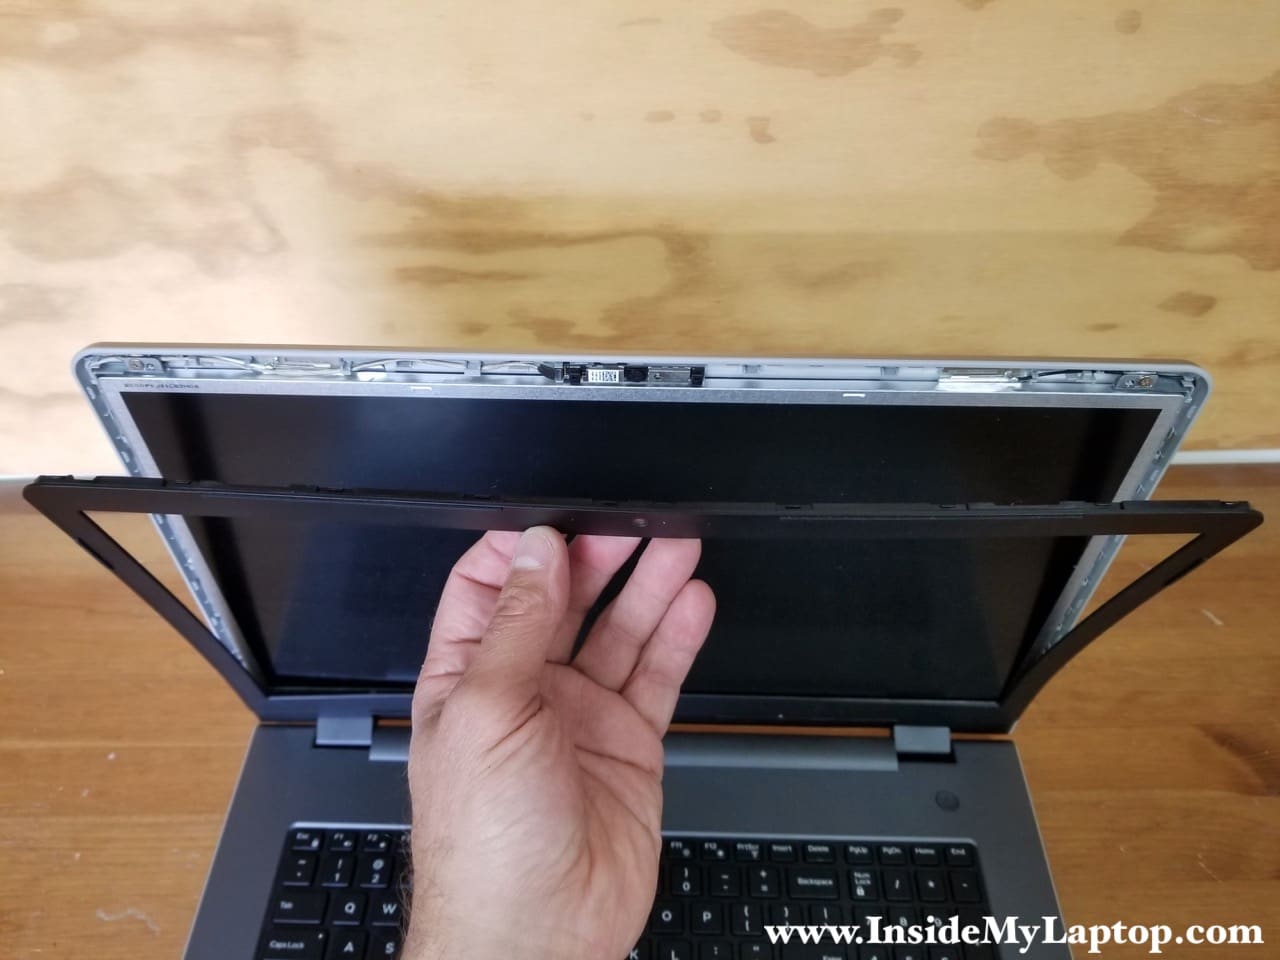
There are many hidden latches securing the bezel to the display. Again, wiggle the bezel to release the latches.
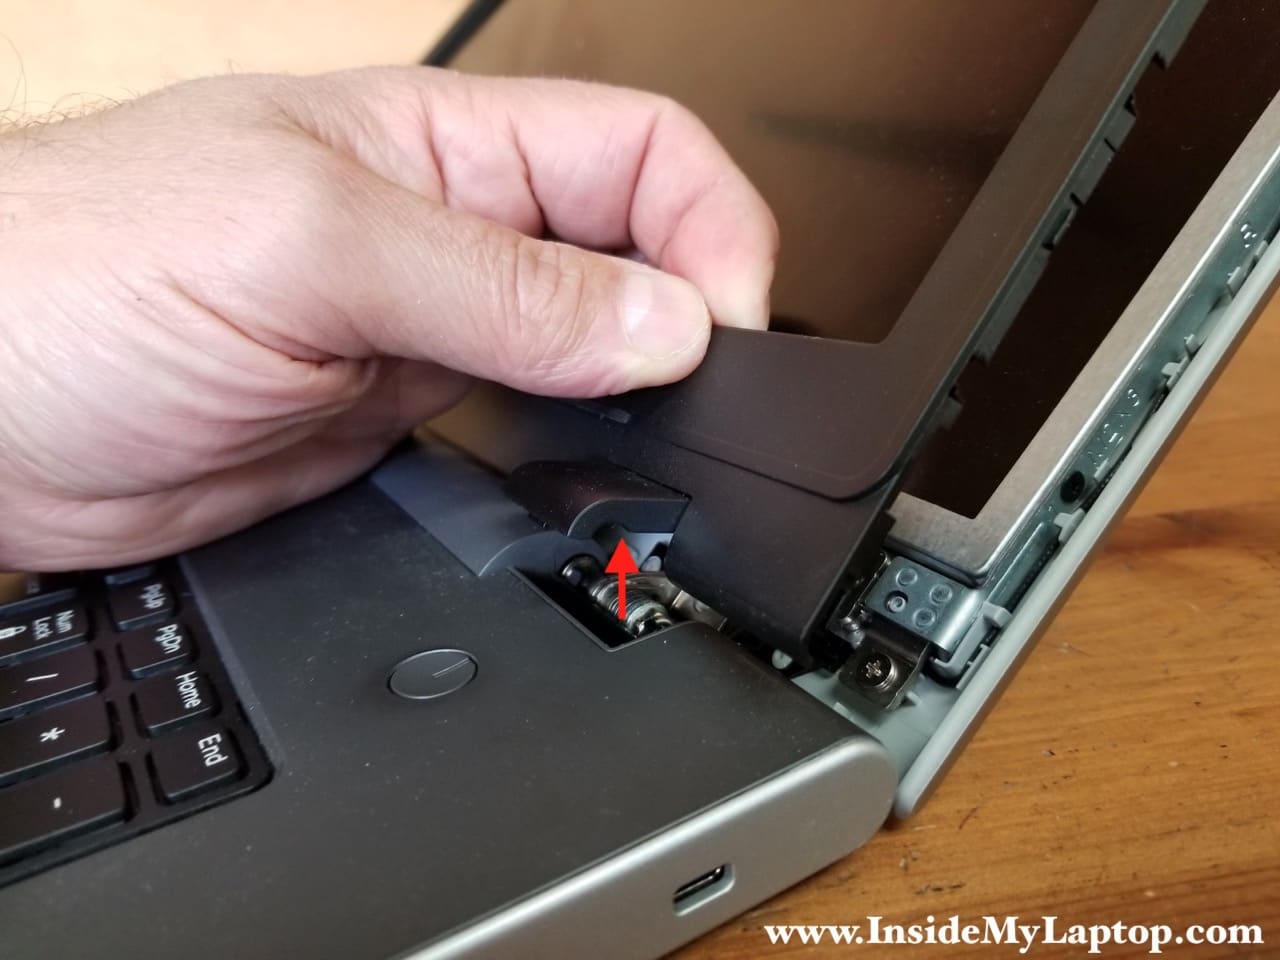
Make sure the display is opened all the way back while you working around hinge areas.
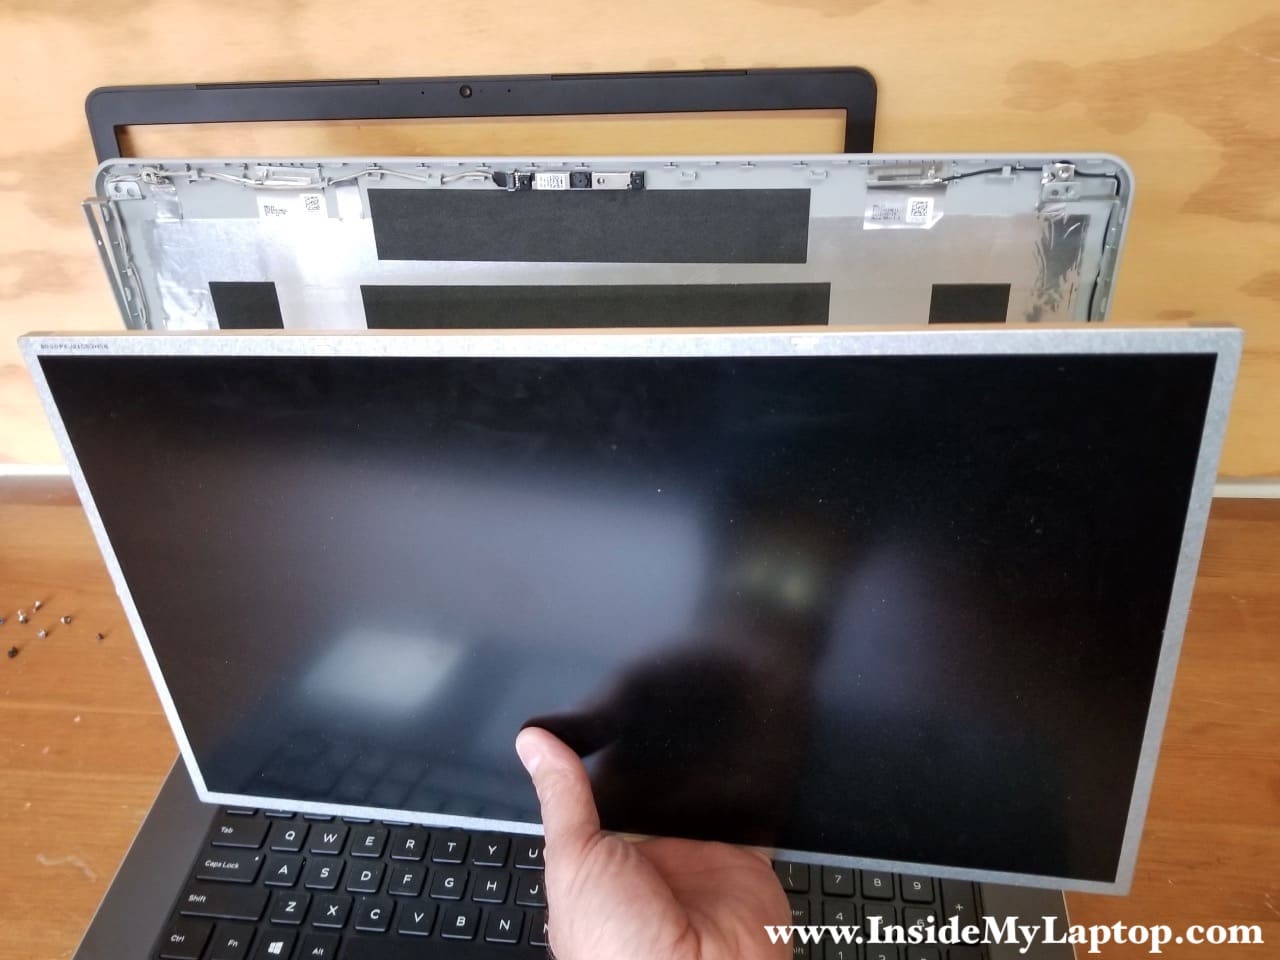
After the bezel is removed, the most difficult part of this teardown is behind.

STEP 3.
Remove four screws securing the LCD screen brackets.
Take a look how the display cable is routed under the latches (yellow arrows). If you place it above the latches, the bezel might not close properly when you reassemble the laptop.

Each hinge secured to the display back cover by three screws.

Loosen the screws on both hinges but do not remove them completely.
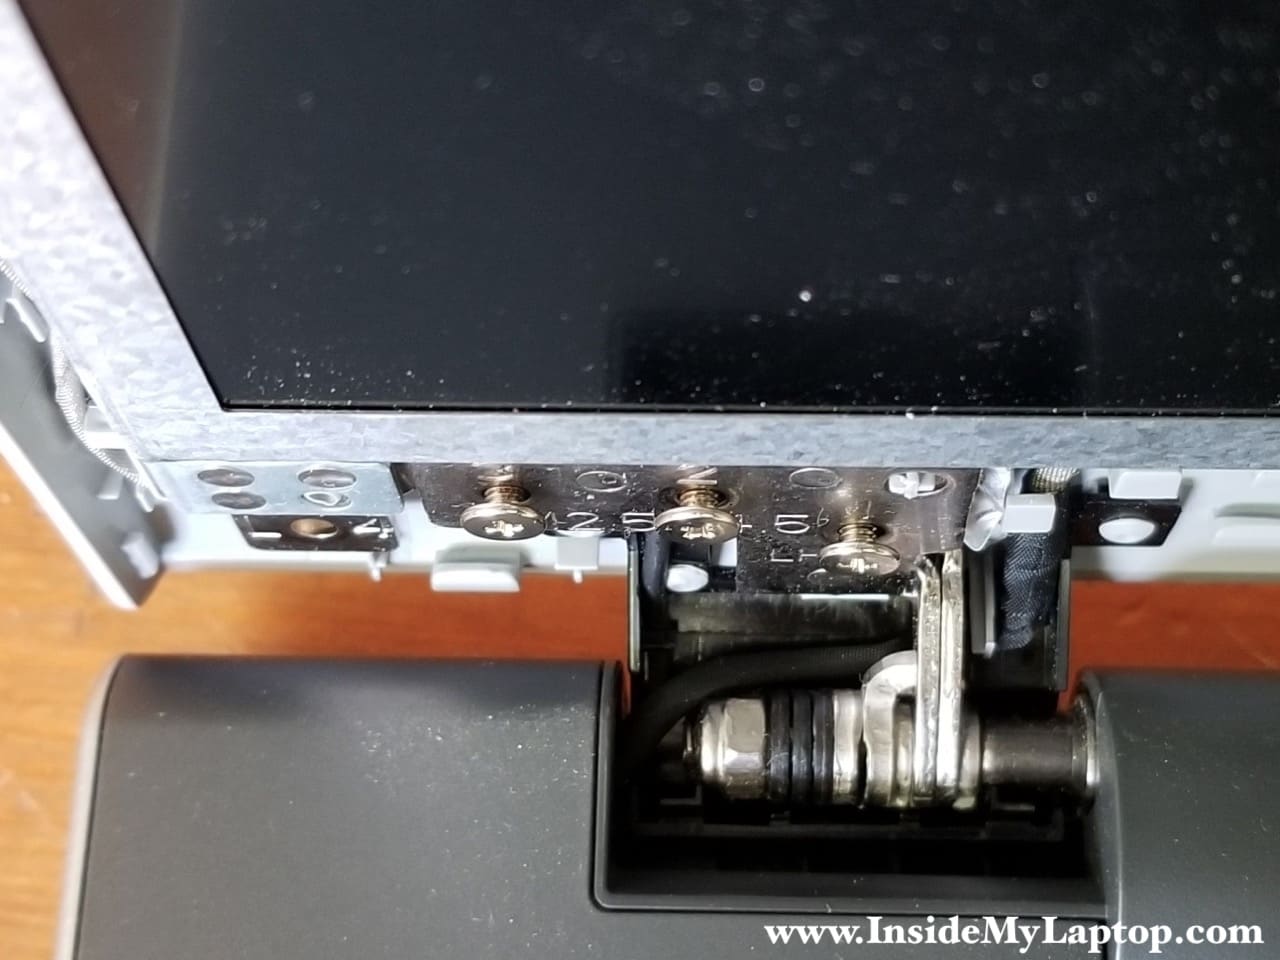
Now you can separate the back cover from the LCD screen and remove three screws on the right side.

Remove three more screws on the left side.

STEP 4.
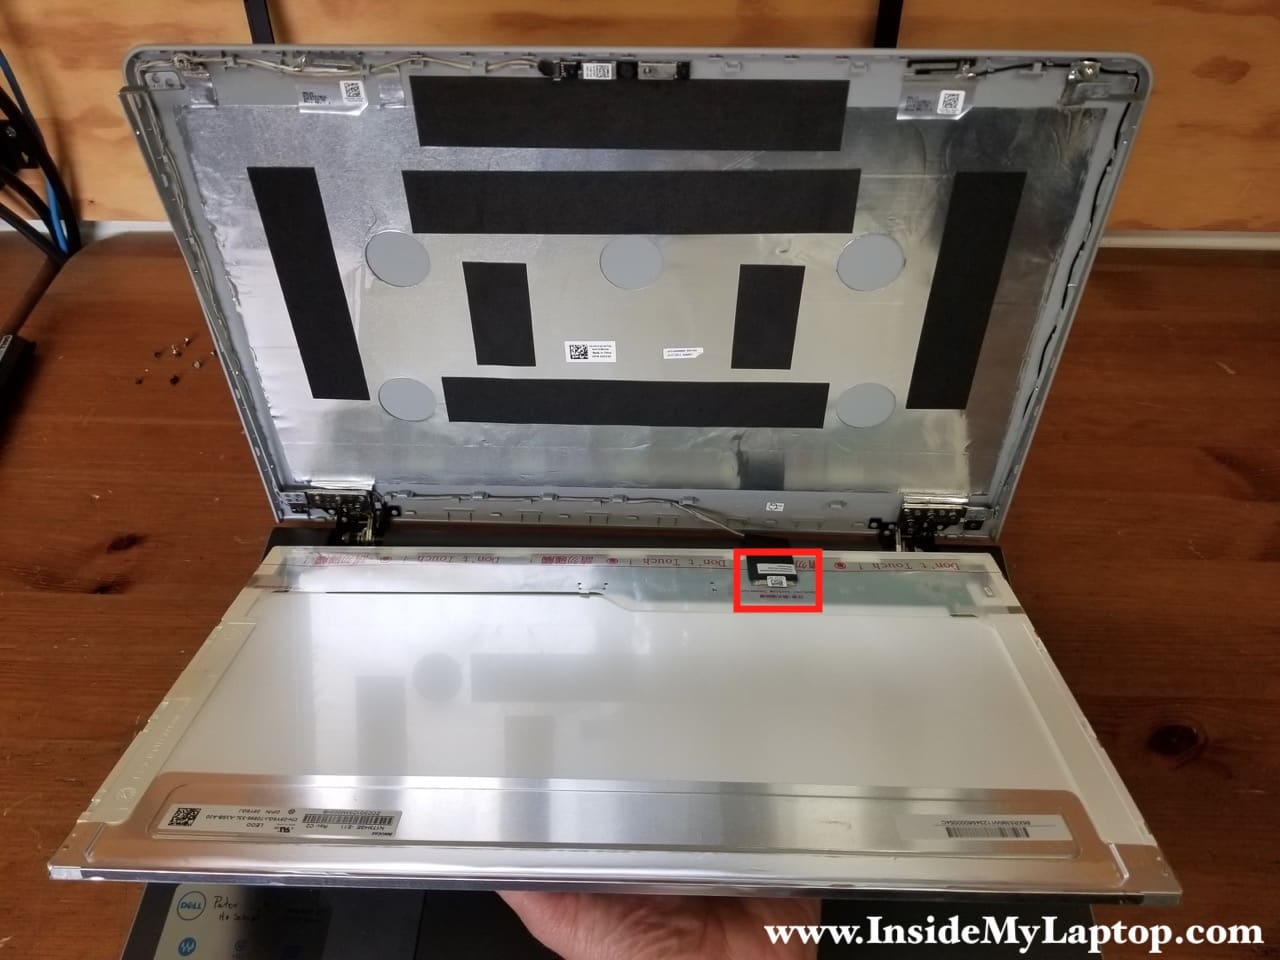
Separate the LCD screen from the back cover and place it on the palmrest.
Now you can access the display cable connector on the back of the LCD.
Peel off the tape securing the connection.

Unlock the connector by lifting up the metal bracket.
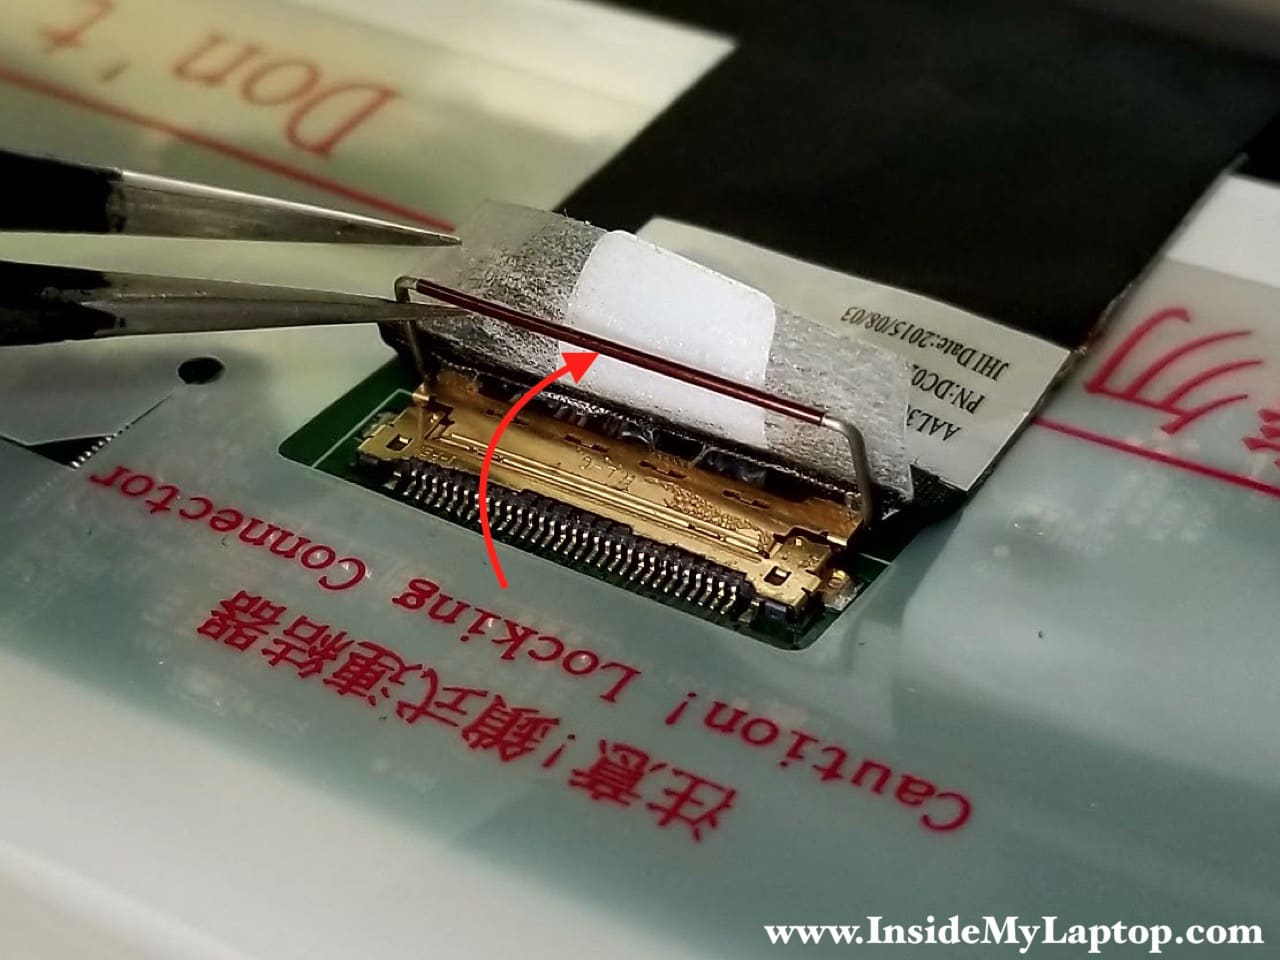
Carefully separate the cable from the LCD screen (it’s glued by adhesive tape) and unplug it.

STEP 5.
Now you are ready to replace your failed or damaged LCD screen with a new one.
Dell part number for the original LCD screen can be found on the back. It’s a combination of six numbers and letters that goes after CN.
In my case the screen part number is: 09Y6GJ. Just google the part number and you’ll find a replacement. LCD screen model N173HGE-E11

For the laptop body disassembly, proceed to the following guides:
rson
Thank you for sharing this useful information. The Lenovo Thinkpad price is high and I bought it with a lot of money and you saved my money from servicing it.
Sheri
Thanks so much!! Successfully changed out my monitor in under 10 minutes!!