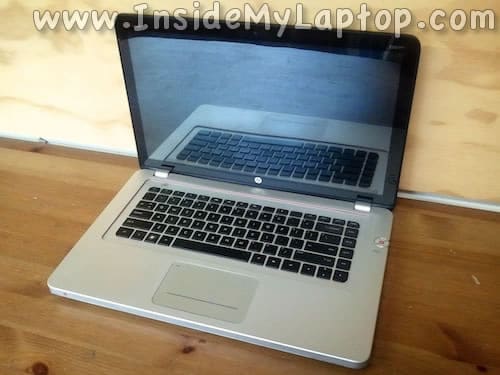
In the following guide I will show how to remove and replace failed LCD screen on HP ENVY 15 laptop.
In this particular case I will disassemble HP ENVY 15-3033cl with a glass bezel.
First of all, make sure the computer is turned off.
We are going to disassemble the display assembly and touch the display cable.
It’s a very good idea (strongly recommended) to disconnect the battery even though it takes a few extra steps.
STEP 1.
Unlock and remove the battery cover.
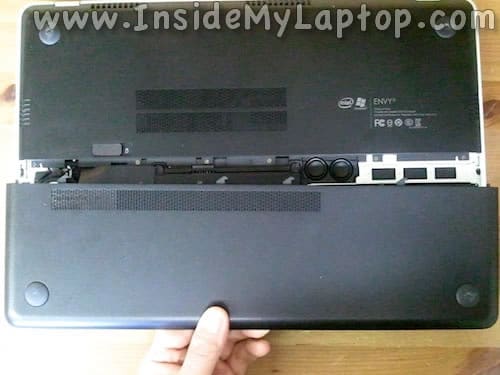
STEP 2.
The battery secured to the case by three screws.
These screws located under sticky screw covers.
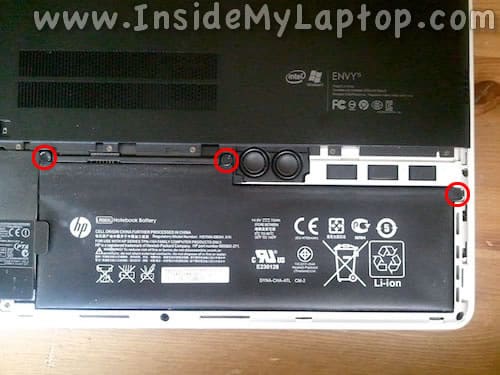
STEP 3.
You can remove the battery screw cover using a sharp object.
I’m not sure why HP covered battery screws.
Remove all three battery screws.
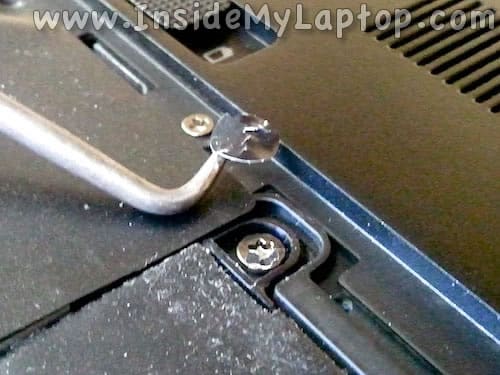
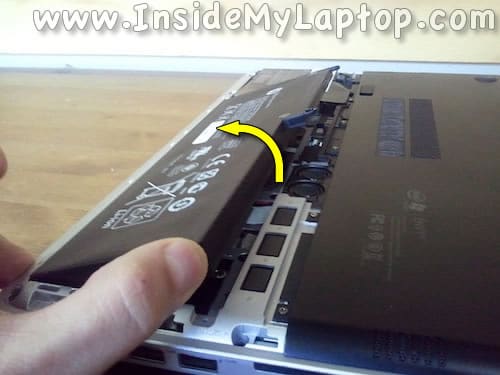
STEP 4.
Lift up and remove the battery.
STEP 5.
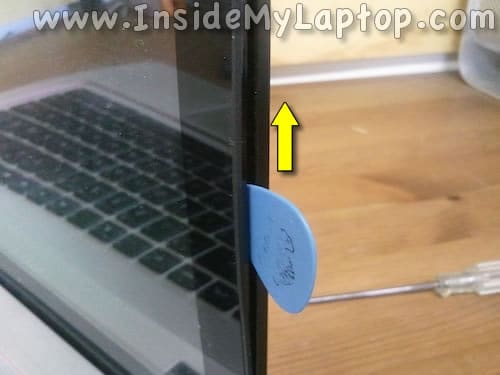
Now you can start separating the glass bezel from the display assembly using a guitar pick (or any other piece of plastic).
Insert the guitar pick between the bezel and back cover and slowly move along the side of the display.
You’ll have to unlock hidden latches.
STEP 6.
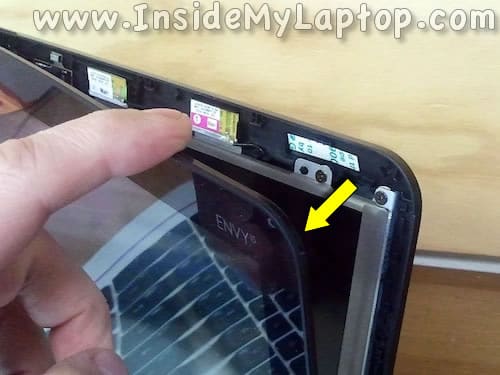
Continue separating the bezel from the display.
STEP 7.
On the bottom side of the display assembly the bezel secured to the cover by a few screws.
STEP 8.
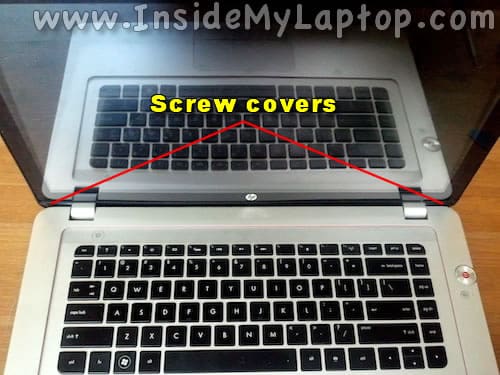
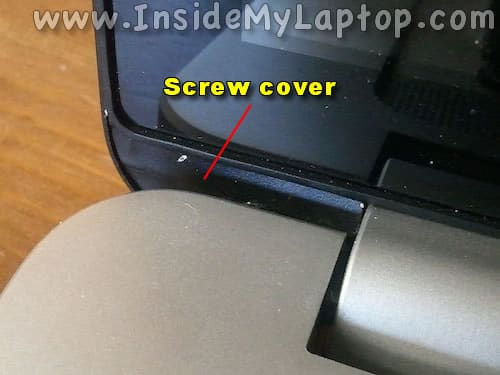
In order to access the screws you’ll have to remove the cover.
STEP 9.
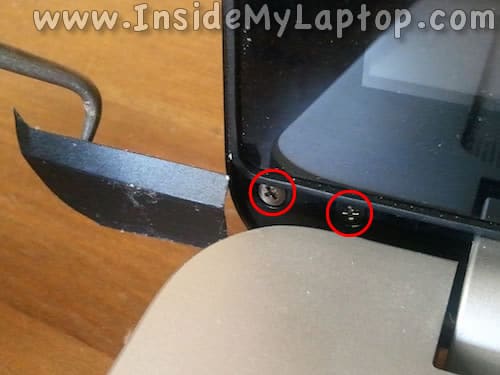
Using a sharp object remove the cover and after that remove two screws from the left side of the display assembly.
Do the same for the right side of the display assembly.
STEP 10.
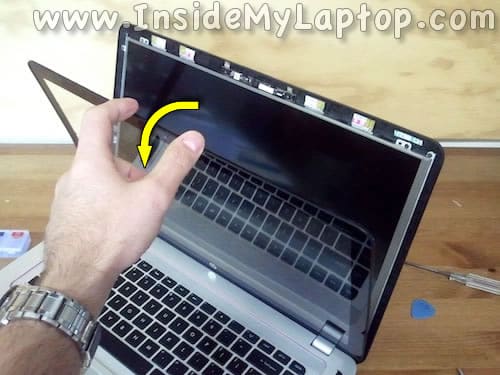
I was going to remove the glass bezel but noticed that something is holding it on the bottom.
Before you remove the bezel completely it’s necessary to remove both hinge covers.
STEP 11.
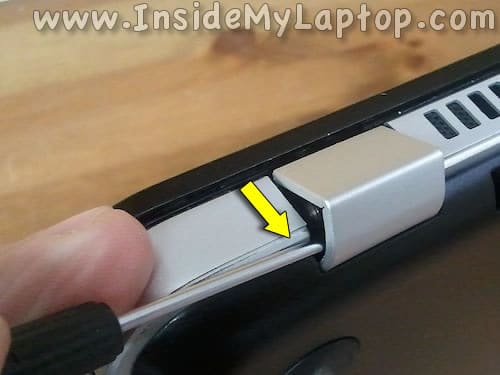
Close the display assembly and carefully start separating the hinge cover from the case using a small screwdriver.
STEP 12.
Remove both hinge covers.
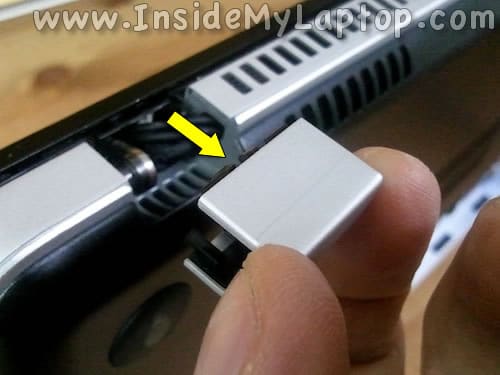
STEP 13.
On the following picture you can see both hinge covers removed.

STEP 14.
Now you can remove the screen bezel/cover completely.
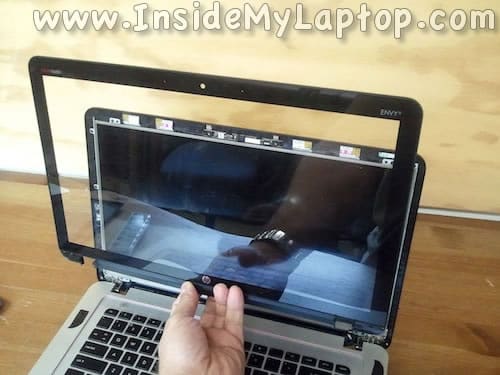
STEP 15.
Remove four screws securing the LCD screen to the display back cover.
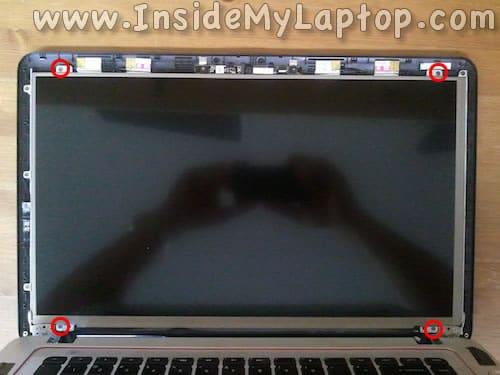
STEP 16.
Carefully separate the LCD from the display and place it the front side down on the keyboard.
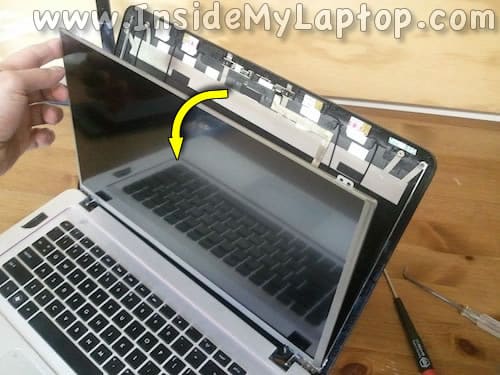
STEP 17.
Now you can access the display cable connector on the back.
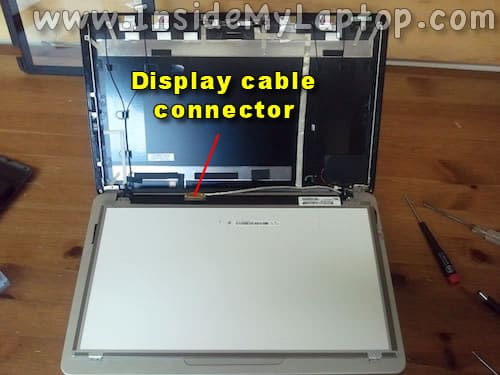
STEP 18.
Remove clear tape securing the connection and unplug the display cable from the LCD.
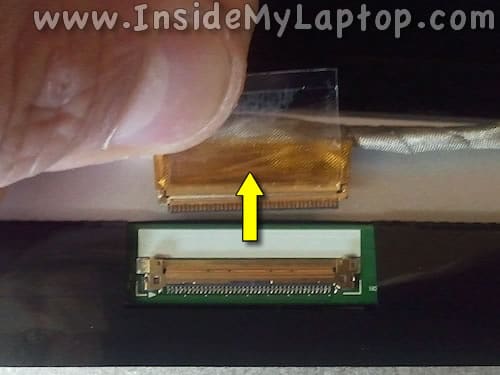
STEP 19.
Remove the damaged/failed LCD and replace it with a new one.
Assemble the notebook following all steps in the reverse order.
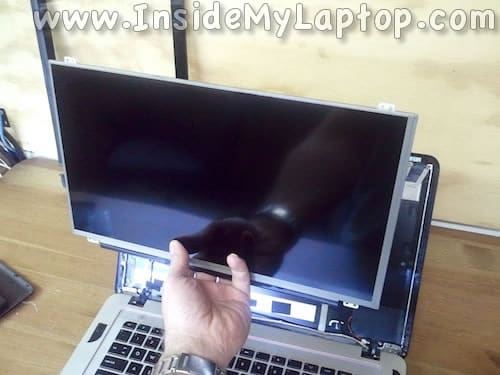
STEP 20.
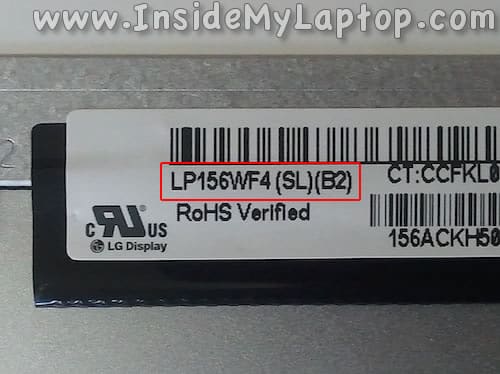
You can search for a new replacement screen using the model part number from the original screen.
In my HP ENVY 15 laptop I had this LCD installed: LP156WF4 (SL)(B2).
Indraneel
Hello, thanks for the informative article! I have an Hp Envy 15 and the display cable connector is damaged, any clue where I can buy one?
Thanks a lot, keep up the good work.
Gerald
that’s a great job.. How about replacing only the front glass for hp envy m6-n012dx ?
IML Tech
@ Gerald,
This will be a tough one. Is it a touchscreen model and the front glass glued to the display cover?
I assume it has to be removed the same way as on MacBook Pro.
Elliot
Hello, can you do a tutorial on how to take apart and clean the HP ENVY 6 Notebook PC? I’m having a lot of overheating issues with it and I don’t even know where to begin with how to take it apart. Any help would be greatly appreciated.
Mongi
Nice, thank you! How about replacing the whole screen system? My hp screen (plus casing) got damaged and I would like not only to replace the LCD screen but everything on the display side.