
In this guide I demonstrate how to remove and replace the LCD screen on an Asus X55A.
In my case the laptop was dropped and the LCD got cracked.
The entire replacement procedure will take about 20-30 minutes.
Confirm that your computer is turned off before you start.
STEP 1.
Unlock and remove the battery.
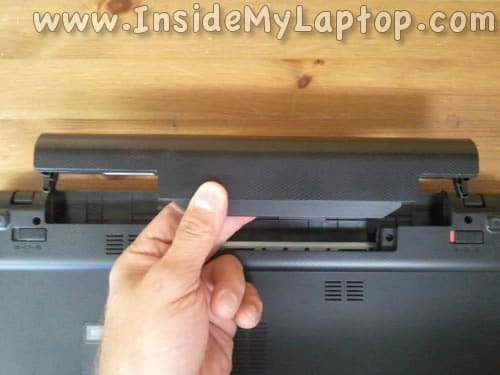
STEP 2.
You will find two screw covers located in the lower left and right corners of the display assembly.

STEP 3.
Remove both screw covers with a sharp object.
Remove both screws. These screws securing the screen bezel to the display assembly.
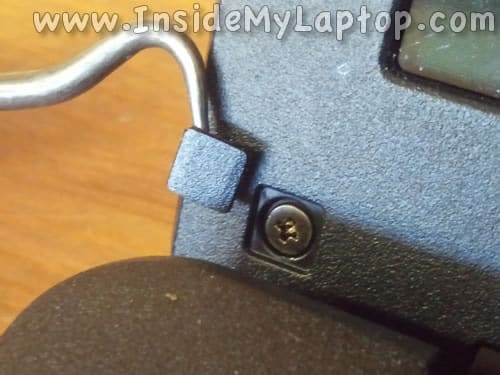
STEP 4.
Start separating the screen bezel from the display back cover.
You can use a guitar pick for that.

STEP 5.
Continue removing the bezel with your fingers.
You will have to wiggle the bezel in order to release hidden latches.
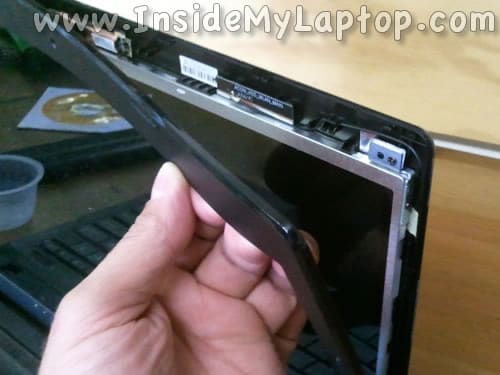
STEP 6.
Remove the screen bezel from the display assembly.

STEP 7.
Remove two screws securing the LCD to the display back cover.
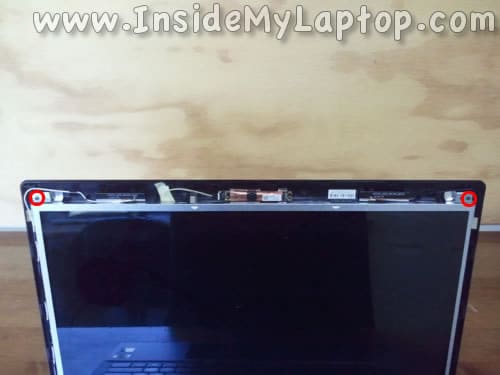
STEP 8.
Carefully separate the LCD from the back cover and place it face down on the keyboard.
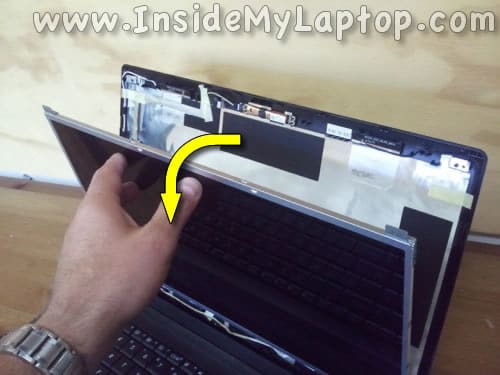
STEP 9.
Now you can access and disconnect the display cable.
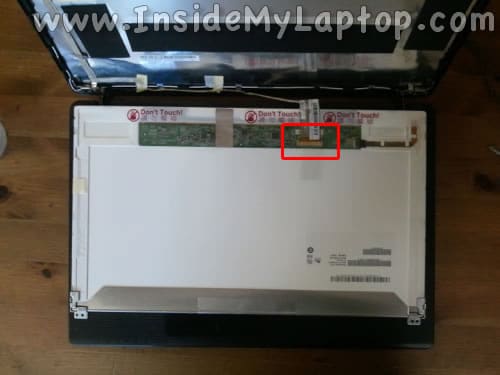
STEP 10.
Remove sticky tape securing the connection.
Unplug the display cable.
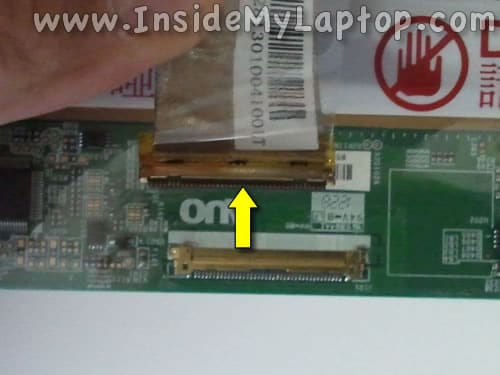
STEP 11.
Now you can remove and replace the damaged LCD.
You’ll have to transfer mounting brackets attached to the upper right and left corners to the new screen.

You can search for a new replacement screen using the model number from the back of the original one.
In my Asus X55A laptop the LCD had this model number: B156XTN02.2
After the replacement assemble everything back together following all disassembly steps in the opposite direction.

Debasish Mallik
Please demonstrate how to do the same for Asus eee PC 1015cx. I don’t see any screw at monitor panel here.