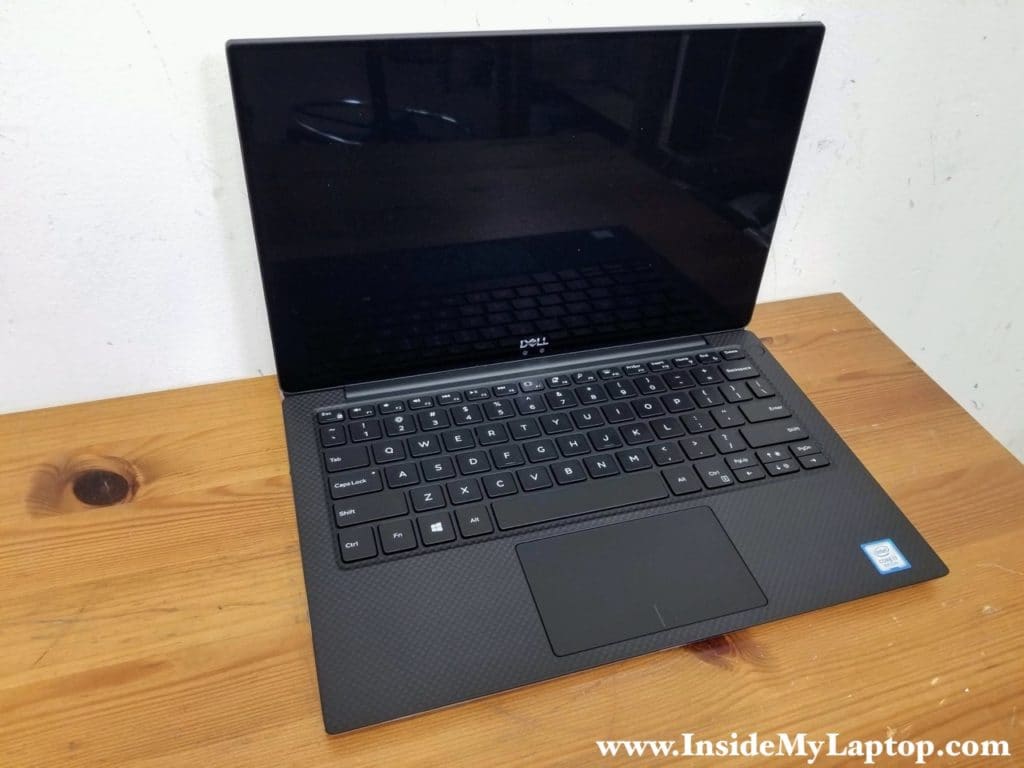
How to disassemble Dell XPS 13 9370 9380 (model P82G)

In today’s guide I show how to disassemble a Dell XPS 13 9370 9380 (model P82G) laptop.
Dell XPS 13 9370 9380 design highlights:
– All memory soldered to the motherboard. There are no slots available for RAM upgrade.
– The cooling fan assembly can be easily accessed and replaced.
– The wireless card is integrated into the motherboard.
– The headphones jack is a replaceable part.
– The keyboard can be separated from the top case.
Acer TravelMate P645 series disassembly

In this guide I show how to disassemble an Acer TravelMate P645 series laptop. In this particular case I’m taking apart model TMP 645-M-6839.
Acer TravelMate P645 series design highlights:
– Memory slot easily accessible from the bottom.
– Main battery mounted inside the laptop.
– CMOS battery soldered to the motherboard.
– DC power jack is not soldered.
– Keyboard can be separated from the top case.
– Power button board mounted under the motherboard.
Lenovo ideapad FLEX 4 touchscreen removal

This guide will help you with taking apart the display panel and removing the touchscreen from a Lenovo ideapad FLEX 4 laptop.
You can use these instructions for one of the following models:
Ideapad FLEX 4-1570 | ideapad FLEX 4-1580
Ideapad FLEX 4-1470 | Ideapad FLEX 4-1480 | Ideapad FLEX 4-1435
How to repair damaged USB port on MacBook Air

The left USB port on this MacBook Air stopped working properly. Any USB device plugged in into the left port doesn’t fit all the way in. It feels like something inside the USB port is staying on the way. Also, any USB device plugged in into the left port is not being recognized by the operating system. The right USB port, on the other hand, has no issues at all and still works as it should.
ContinuedHow to disassemble HP Pavilion 15-cs series laptop

In this guide I explain how to disassemble an HP Pavilion 15-cs series laptop. There are many different configurations in the HP Pavilion 15-cs computer line and this disassembly guide should work for most of them. In this particular case I’m taking apart an HP 15-cs0064cl model.
Here are just a few of the many other models supported:
ContinuedLenovo ThinkPad E490 E495 disassembly

In this guide I show how to disassemble a Lenovo ThinkPad E490 or E495 laptop. All disassembly steps should work for machine types 20N8, 20N9, 20NE and 20NG.
I’ll start this disassembly process with the keyboard removal because it can be done without removing any other part. After that I’ll show how to remove the base cover and access all internal components.
ContinuedSSD and RAM upgrade in Dell Inspiron 15 3558

In this guide I’m taking apart a Dell Inspiron 15 3558 laptop (model P47F) for adding more RAM and upgrading from a regular hard drive to SSD. In order to access the original hard drive and memory slots it’s necessary to remove the laptop base cover and keyboard. There is no service hatch on the bottom in this model.
Dell Inspiron 3558 has one SATA connector for 2.5″ hard drives and two memory slots. You can install up to 16GB (2x8GB) DDR3-1600 memory modules.
ContinuedLenovo ideapad FLEX 4 1570/1580 1470/1480 disassembly

In this guide I’m taking apart a Lenovo ideapad FLEX 4 laptop.
You can use these instructions for one of the following Lenovo ideapad FLEX 4 models:
Ideapad FLEX 4-1570 | ideapad FLEX 4-1580
Ideapad FLEX 4-1470 | Ideapad FLEX 4-1480 | Ideapad FLEX 4-1435
All these models are almost identical except for one screw location on the base cover.
Steps to remove and replace DC jack soldered to motherboard

Soldered DC jacks are very common these days. A wide variety of laptop motherboards have the DC jacks built-in and it is not very convenient for repair.
In this post I explain the steps I go through during the process of removing and replacing a regular DC jack soldered to a regular laptop motherboard. A full description of the equipment and supplies shown in this guide available here.
ContinuedReplace the keyboard without replacing the top case

Today I show how you can replace only the keyboard without replacing the full laptop top case even though the keyboard is not removable. This is a DIY hack so proceed at your own risk but I guess you have nothing to lose anyway.
You will need a cheap disposable soldering iron as we are going to melt some plastic. A $3.99 iron from Harbor Freight will work just fine for that. Prepare to work in a well ventilated area because it’s going to stink.
Continued