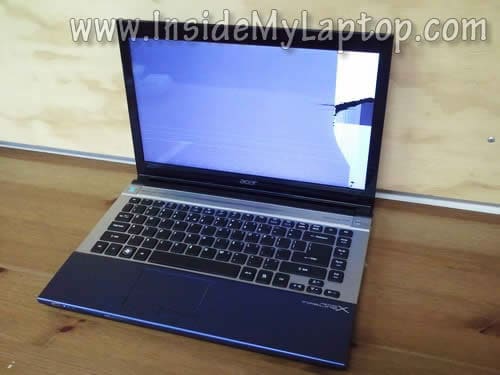
How to replace screen on Acer Aspire 4830

In this guide I explain how to replace damaged LCD screen on an Acer Aspire 4830 series laptop (Model No. P4LJ0).
In this particular case I’ll be replacing it on an Acer Aspire 4830T-6678 model.
Make sure the computer is turned off and battery removed before you start taking it apart.
How to replace screen on Dell Inspiron N5110

In this guide I show how to access, remove and replace the LCD screen on a Dell Inspiron N5110 (Inspiron 15R).
If you need instructions for taking apart the laptop base, check out my previous disassembly guide for Dell Inspiron N5110.
How to disassemble Dell Inspiron N5110 (Inspiron 15R)

In this guide I explain how to disassemble a Dell Inspiron N5110 laptop also sold as Dell Inspiron 15R.
I will disassemble the base and remove the motherboard in order to access the DC jack board and hard drive.
How to replace screen on Acer Aspire 5830TG-6782

In this guide I’ll be removing and replacing the LCD screen on an Acer Aspire 5830TG-6782.
Most likely you can use this guide for other models in the Acer Aspire line. If it works for your laptop please mention the model number in comments after the post.
How to replace screen on Dell Latitude E5420

In this guide I explain how to replace the LCD screen on a Dell Latitude D5420.
It’s very easy to replace the screen on this laptop. The entire replacement procedure took me about 15 minutes.
Taking apart HP Pavilion dv7. Guide 3.

In this guide I’ll be taking apart a HP Pavilion dv7 laptop.
This is my THIRD disassembly guide for HP Pavilion dv7 series. This guide was made for HP Pavilion dv7-6000 series.
In this particular case I’m taking apart dv7-6113cl model.
If your laptop looks like one shown on the following picture, this guide will work for you.
At the end of the guide you’ll find links to other three dv7 models.
Taking apart Sony Vaio VPCZ1

In this guide I’ll be taking apart a Sony Vaio VPCZ1.
I’ll show how to remove the keyboard/palmrest assembly in order to access the internal components.
You can use this guide for accessing the hard drive (which is mounted inside the case), memory modules, optical DVD drive and wireless card. Also, when you remove the palmrest assembly you can access the cooling fan and clean it up.
In this particular case I’m taking apart Sony Vaio VPCZ1290X model.
How to replace screen on Asus K53U

In this guide I explain how to replace LCD screen on an Asus K53U.
This is my second guide for this model. In the first guide I explained how to disassemble Asus K53U body and access internal components.
This guide might fit some other Asus models. If it works for you please mention the model number in the comments.
How to disassemble Asus K53U

In this guide I explain how to diassemble an Asus K53U.
I’ll go though the following major laptop disassembly steps:
STEP 1-4: Accessing and removing the memory modules, hard drive, DVD drive and wireless card.
STEP 5-11: Disconnecting and removing the keyboard.
STEP 12-16: Removing the palmrest assembly. Accessing the CMOS battery.
STEP 17-21: Disconnecting and removing the motherboard.
STEP 22-24: Accessing and removing the cooling fan and DC power jack harness.
Replacing screen on HP G42 or Compaq Presario CQ42

In the following guide I show how to remove and replace the LCD screen on a HP G42 or Compaq Presario CQ42 laptop.
In this particular case I’m removing screen from a HP G42-303DX model.
In order to replace the LCD screen it’s necessary to separate the display panel from the base assembly first. Otherwise you will not be able to remove the bezel. Check out my first HP G42 and Compaq Presario CQ42 disassembly guide for the display panel removal instructions (steps 1-27).
OK, let’s assume the display pane has been removed and now we can start taking it apart.