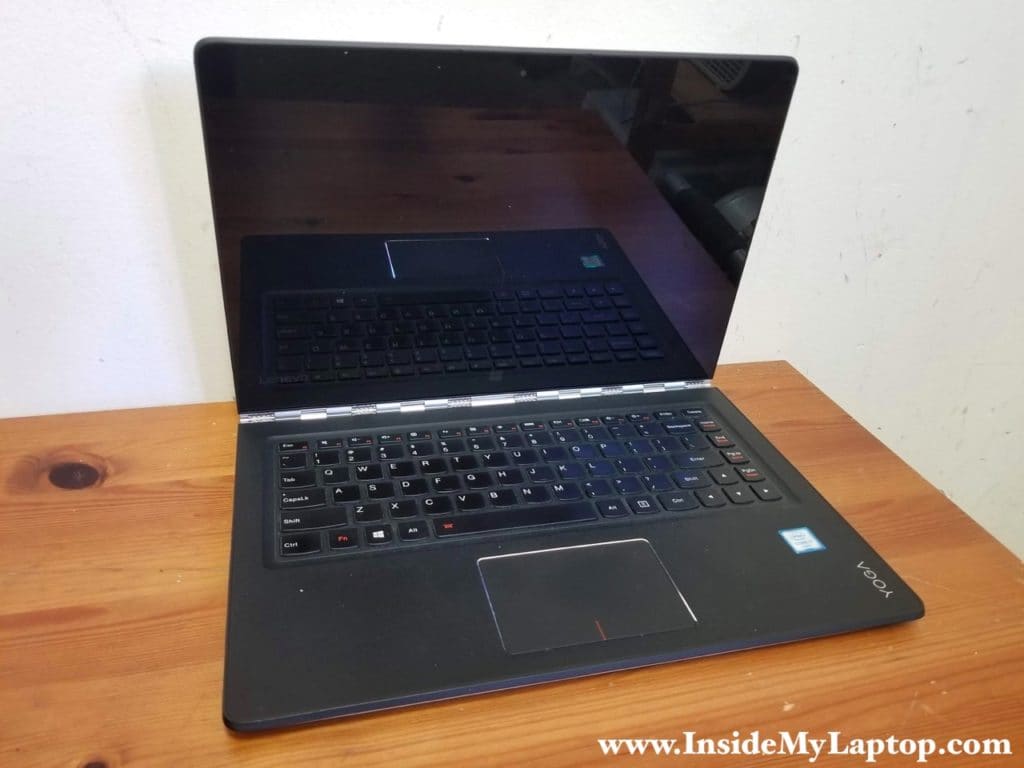
In this post I explain how to remove the touchscreen and the display cable from a Lenovo Yoga 900-13ISK model 80MK laptop.
It’s possible to remove the touchscreen with the cable while the display is still attached to the laptop base.
For complete laptop disassembly instructions please check out this Lenovo YOGA 900-13ISK2 80UE disassembly guide. Both models are identical.
As always I strongly recommend disconnecting the battery before removing or replacing any laptop components.
STEP 1.
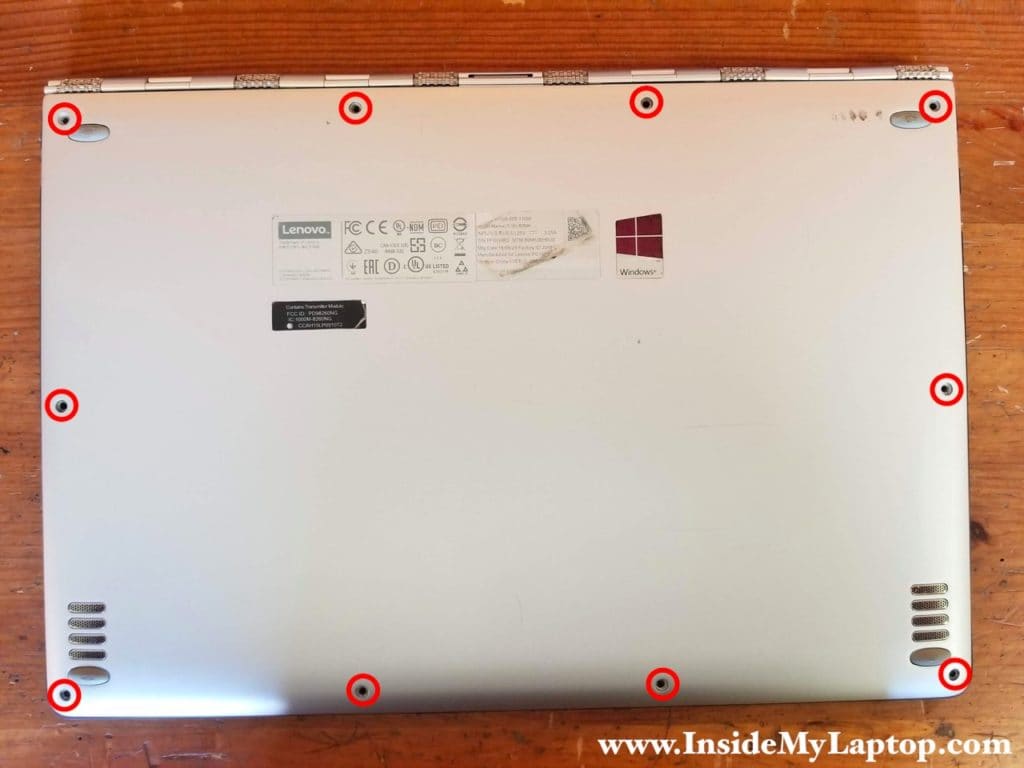
Remove all screws from the base cover.
STEP 2.
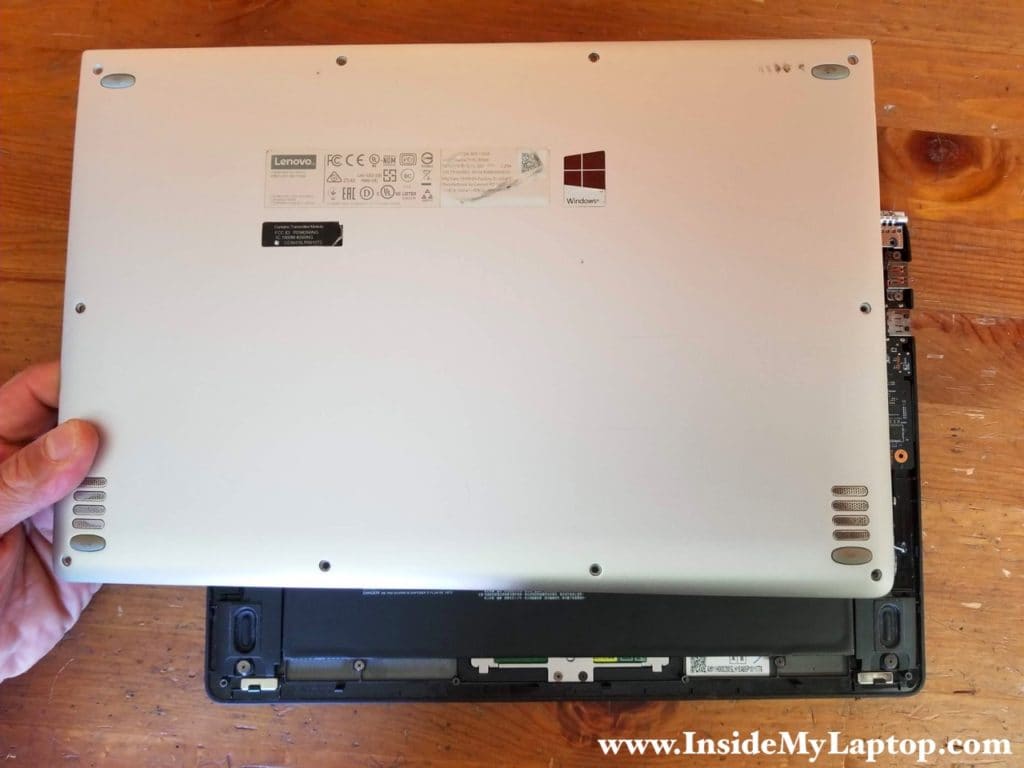
Remove the base cover.
STEP 3.
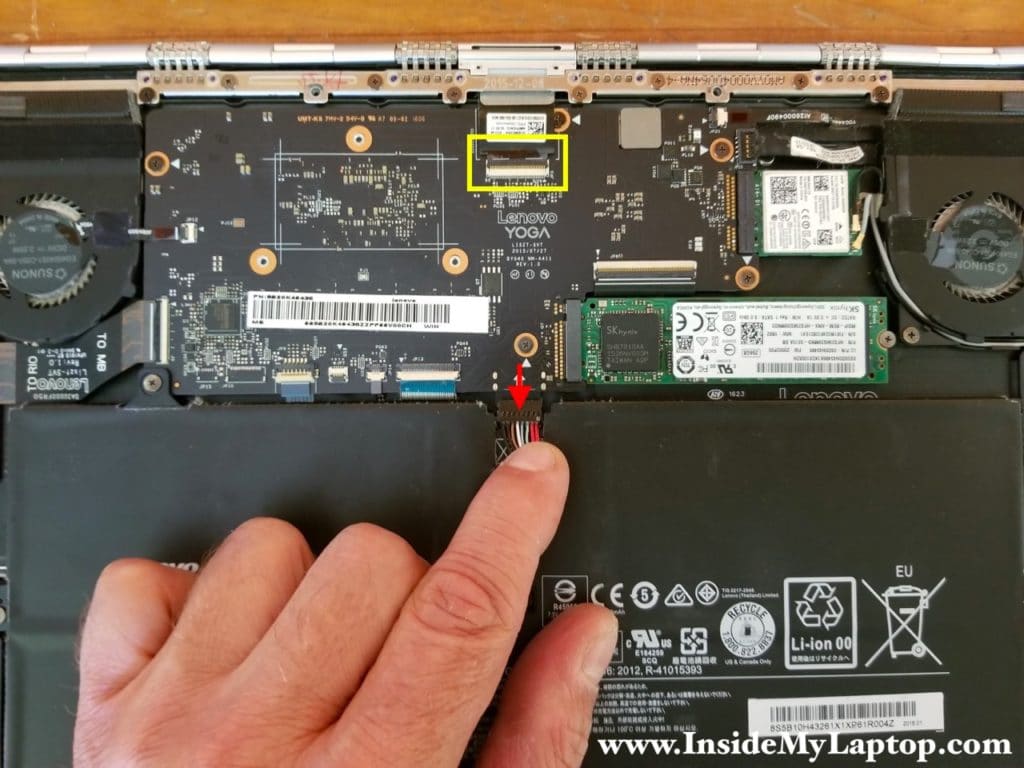
Unplug the battery cable from the motherboard. The battery connector located on the bottom side of the motherboard but it is easily accessible. This is battery type L14L4P24.
STEP 4.
Disconnect the display cable from the motherboard.
Unlock the connector by lifting up the locking tab (red arrow) and pull the cable out (yellow arrow).
You need to disconnect the cable only if you plan to replace it. For the touchscreen replacement this step is not necessary.

STEP 5.
Now the hardest part of the disassembly – separating the touchscreen from the display back cover.
I’m using a plastic case opener tools for that. Insert the tool between the touchscreen and the back cover. The screen attached to the cover with a strip of adhesive tape.
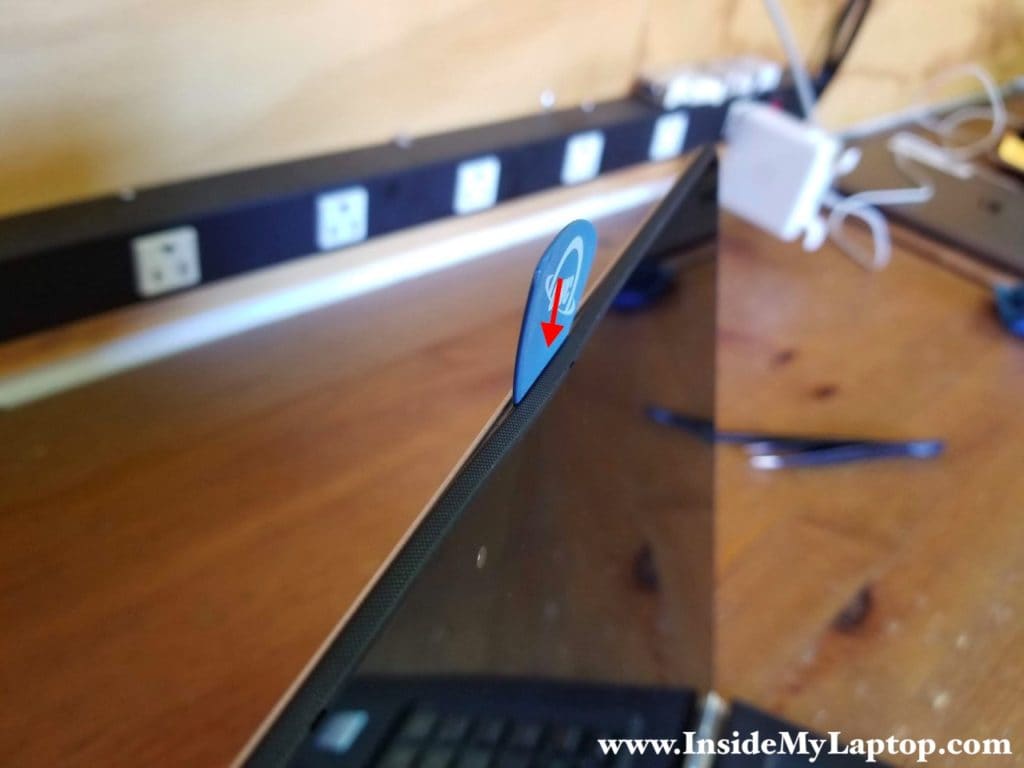
STEP 6.
Moving the case opener tool along the side of the screen will help you to cut the adhesive tape.
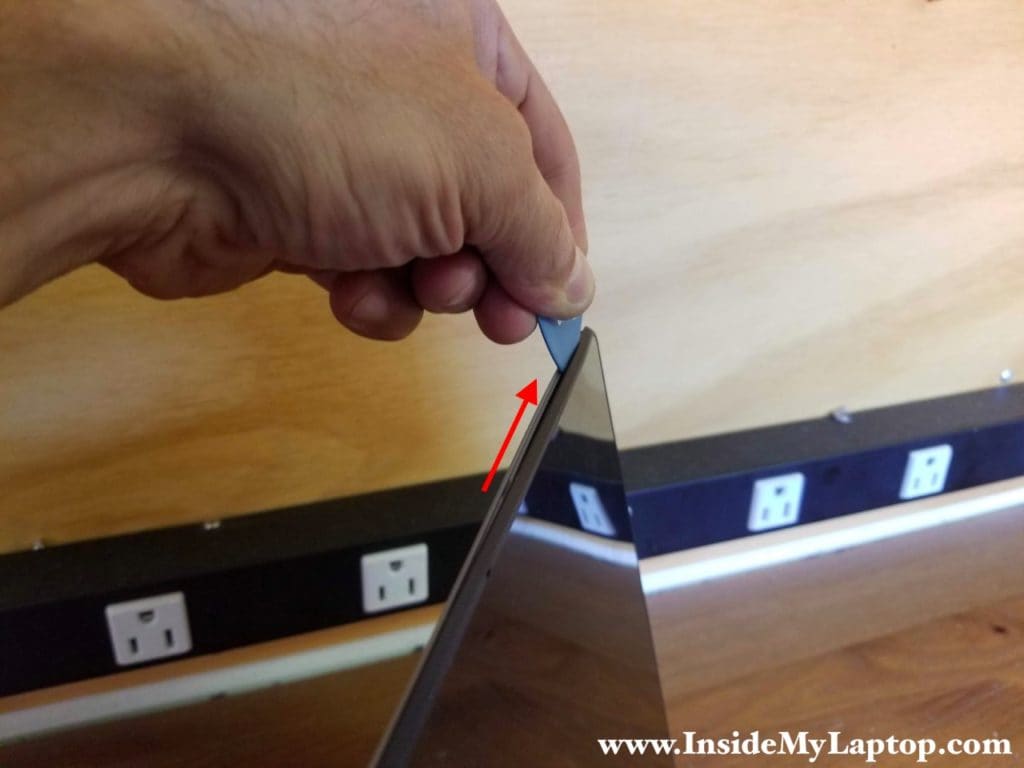
STEP 7.
Continue separating the touchscreen on the top and both sides of the display panel. I’m using a few case opener tools at the same time to prevent the screen from gluing itself back to the cover.
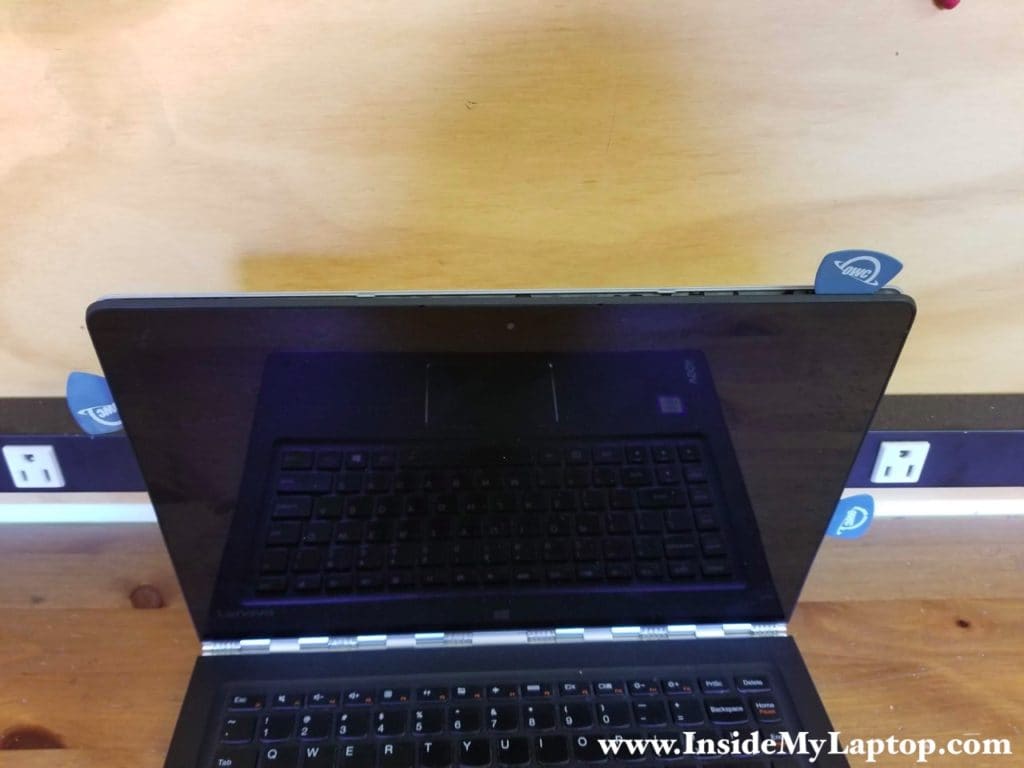
STPE 8.
Separate the touchscreen assembly from the back cover and place it on the palmrest.
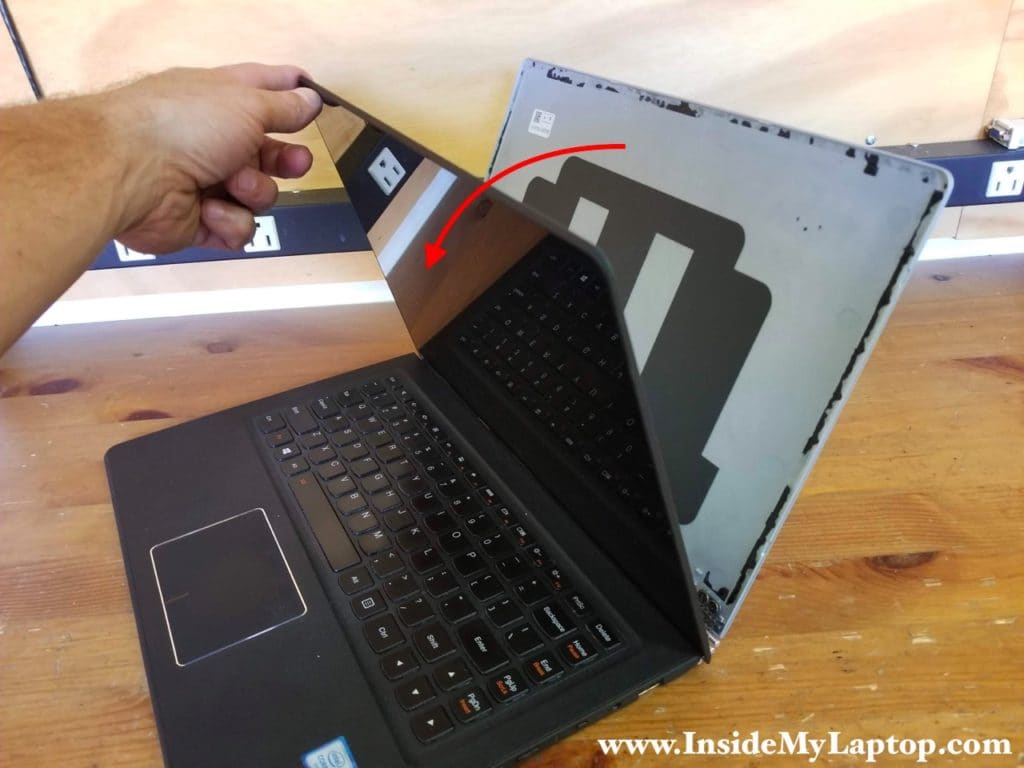
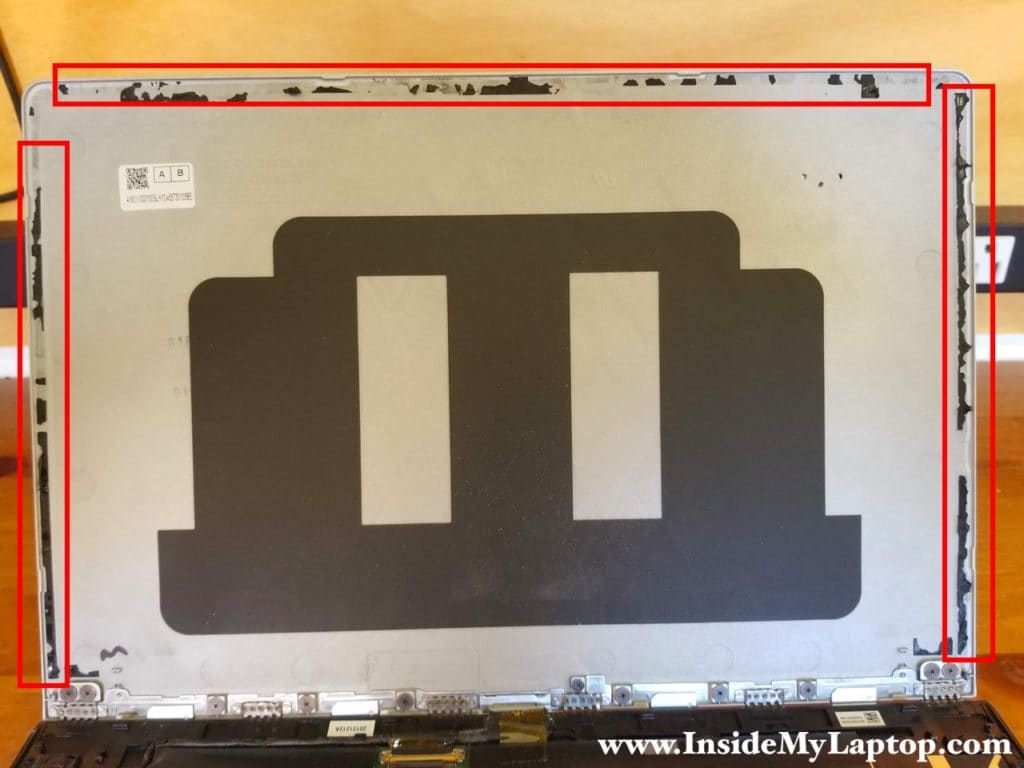
On the following picture you can see how the adhesive tape was applied under the screen. There is no adhesive tape on the lower side of the back cover, it’s only on the top and both sides.
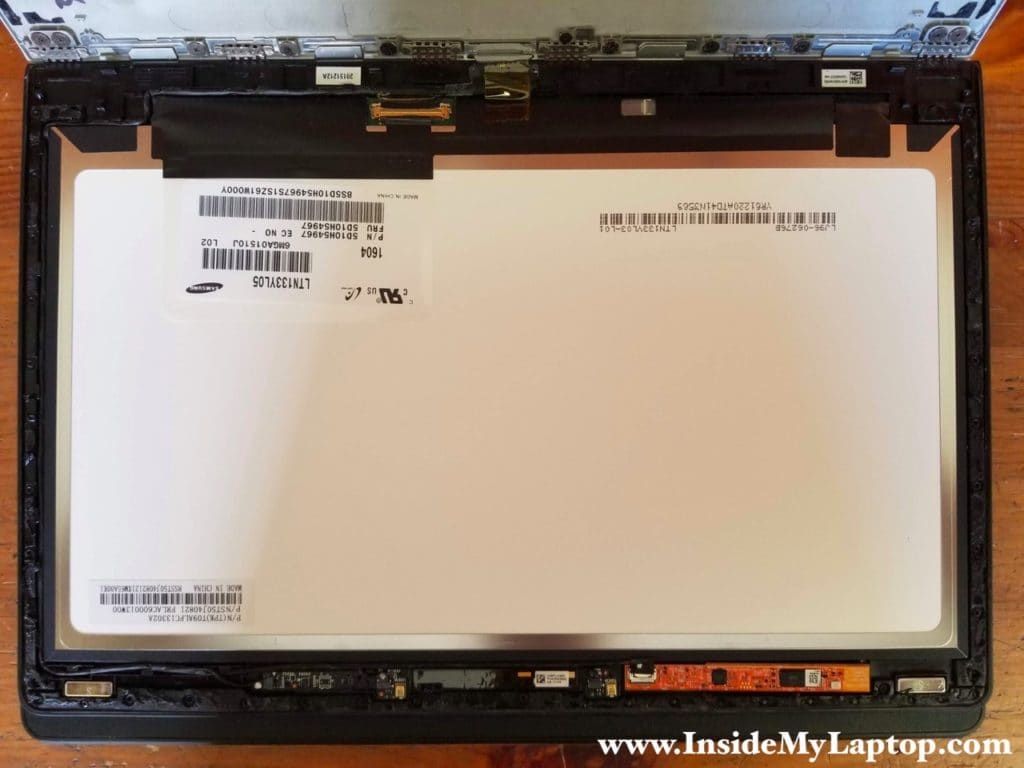
After the touchscreen is separated, you can access the back side and disconnect all cables.
STEP 9.
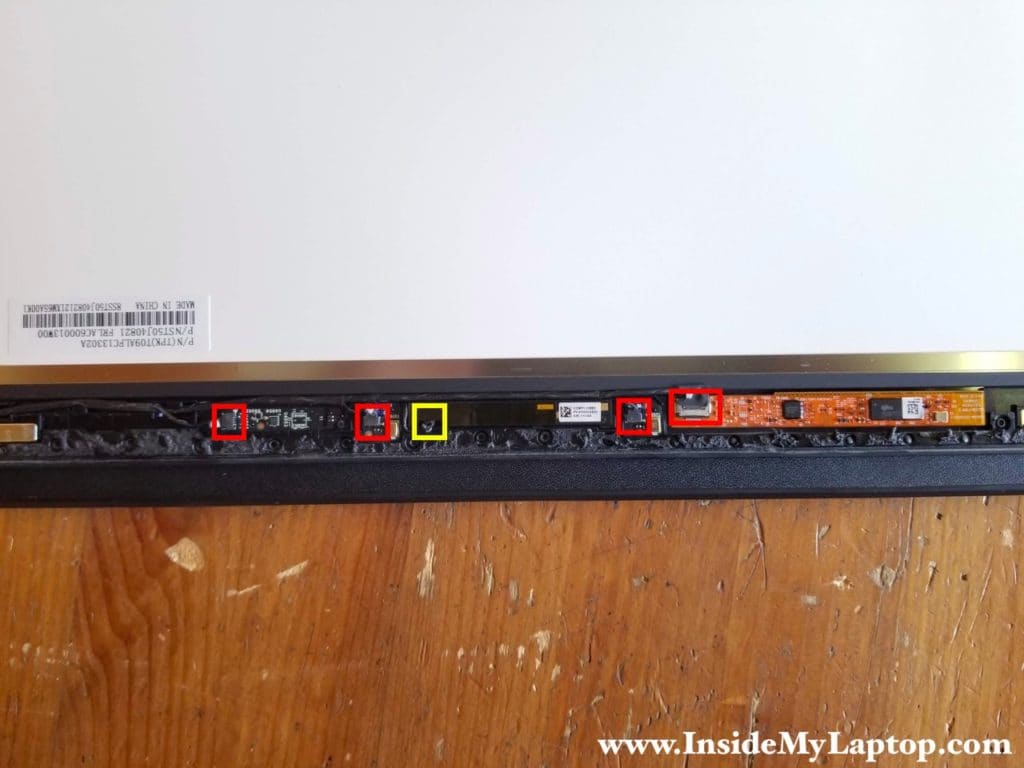
Disconnect four cables color-coded in red.
The webcam cable (yellow square) connector located on the bottom side of the webcam. In order to disconnect this cable it’s necessary to remove the webcam which is glued to the frame with adhesive tape.
STEP 10.
Carefully separate the webcam from the display assembly and disconnect the cable (yellow arrow). Work carefully because the webcam board is very thin.
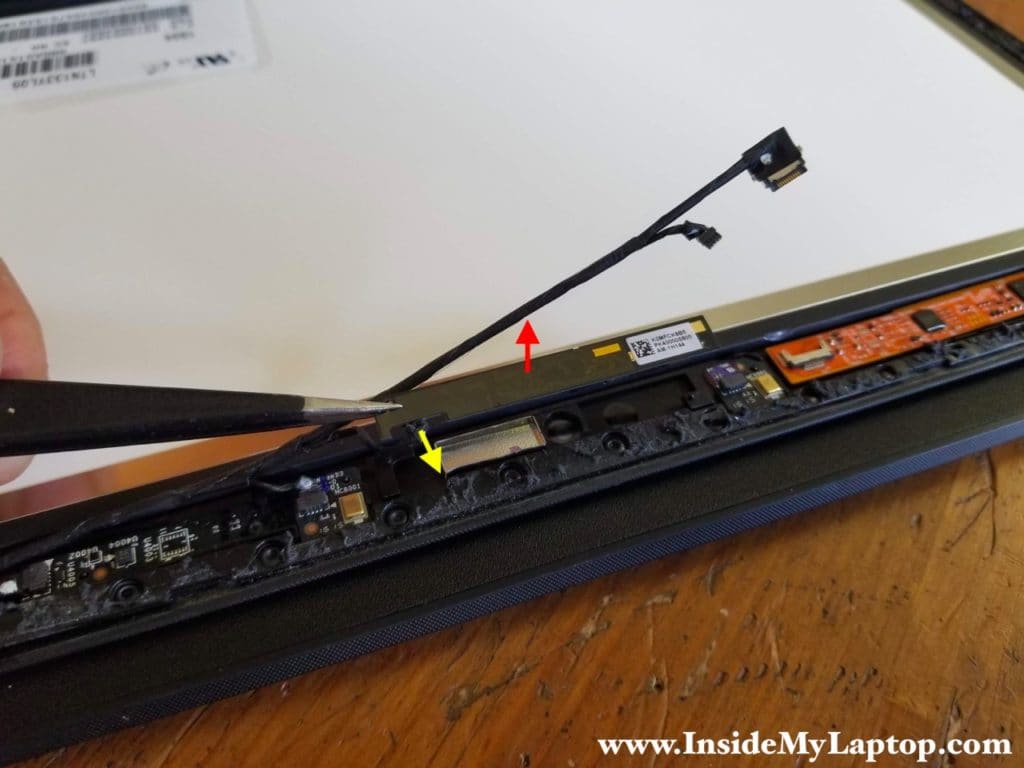
STEP 11.
Unroute the cable from the guided path on the left side of the display assembly.
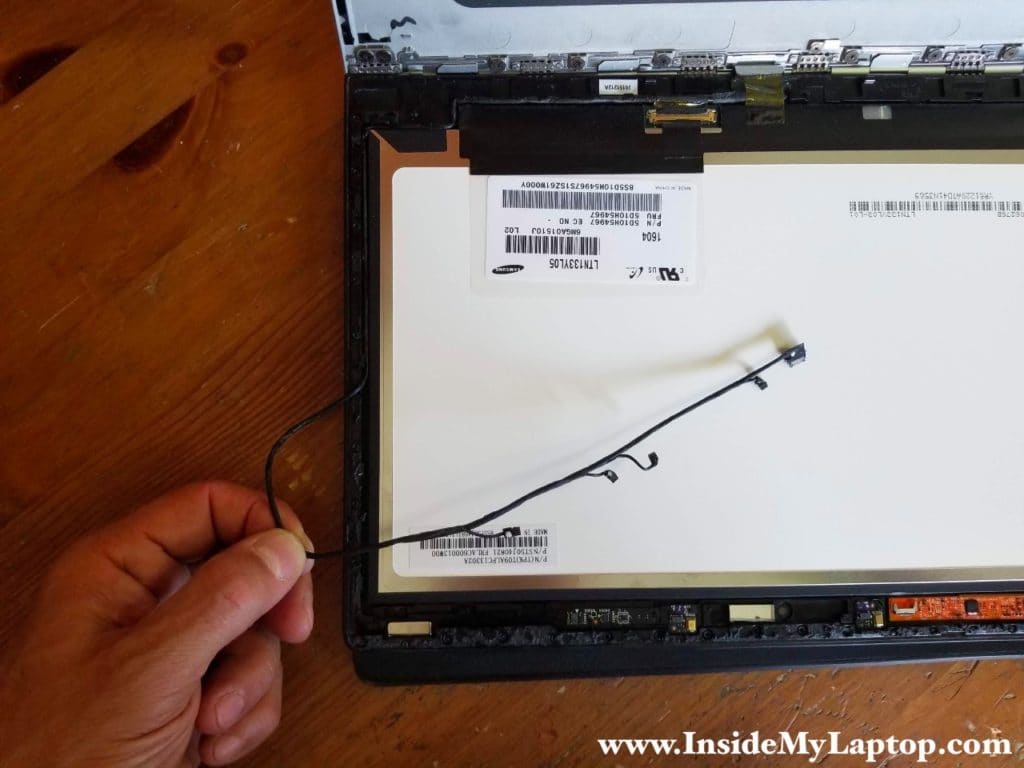
STEP 12.
Unlock the display cable connector by lifting up the metal bracket (red arrow).
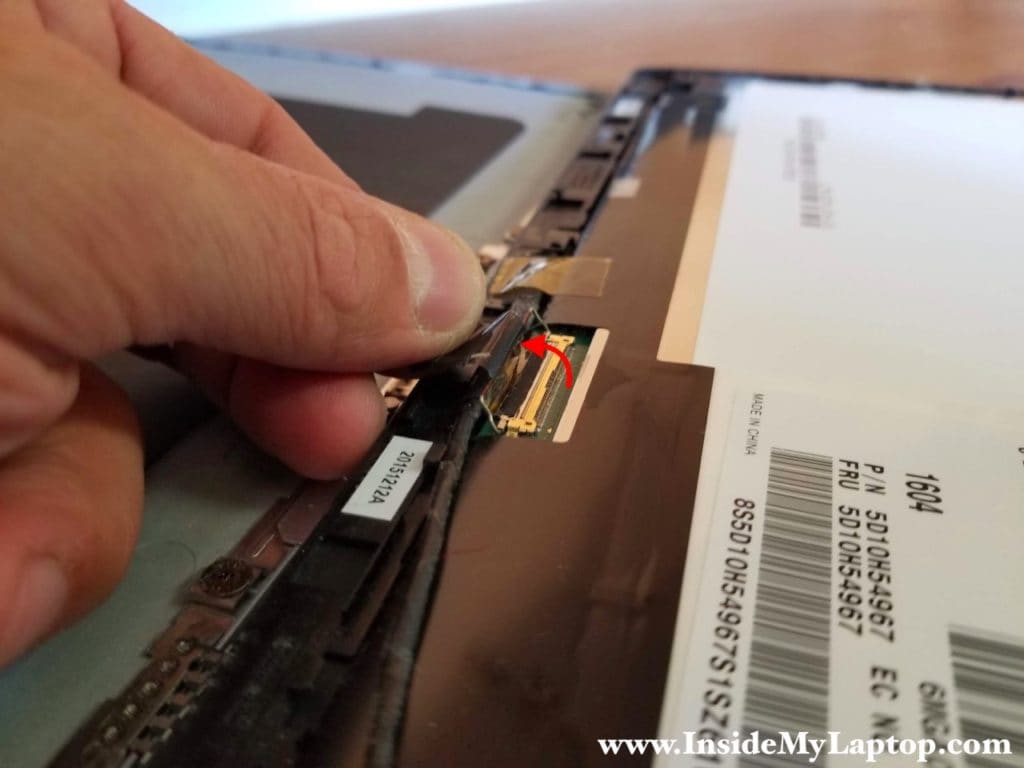
STEP 13.
Disconnect the display cable from the screen.
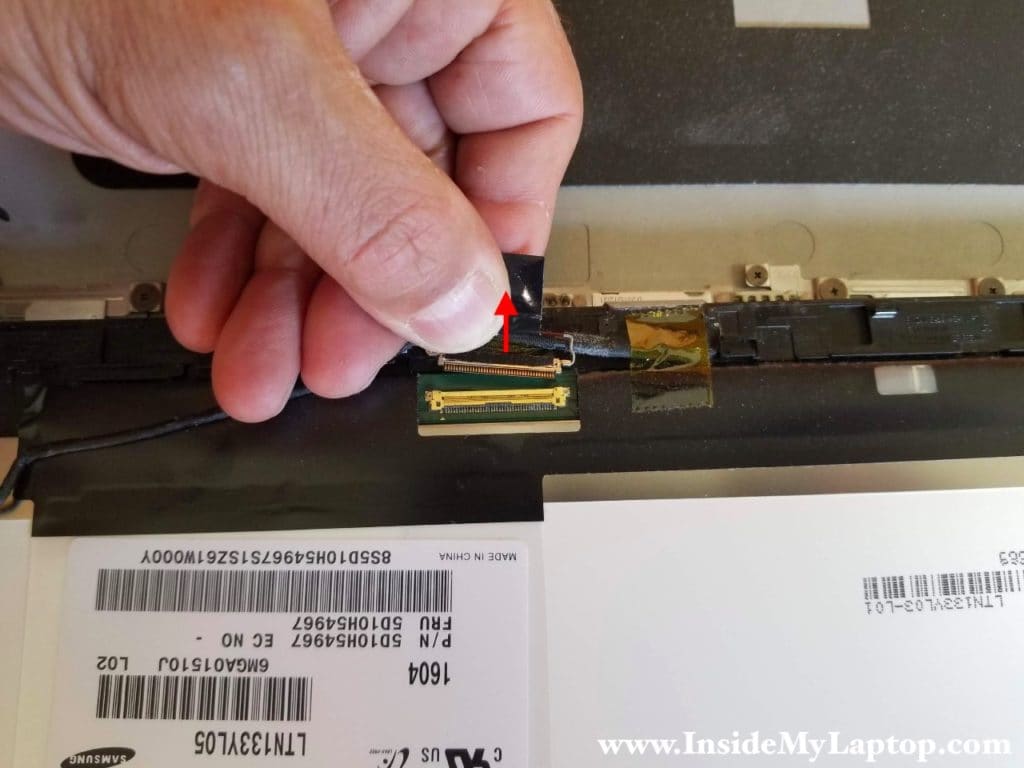
STEP 14.
Remove the touchscreen assembly completely.
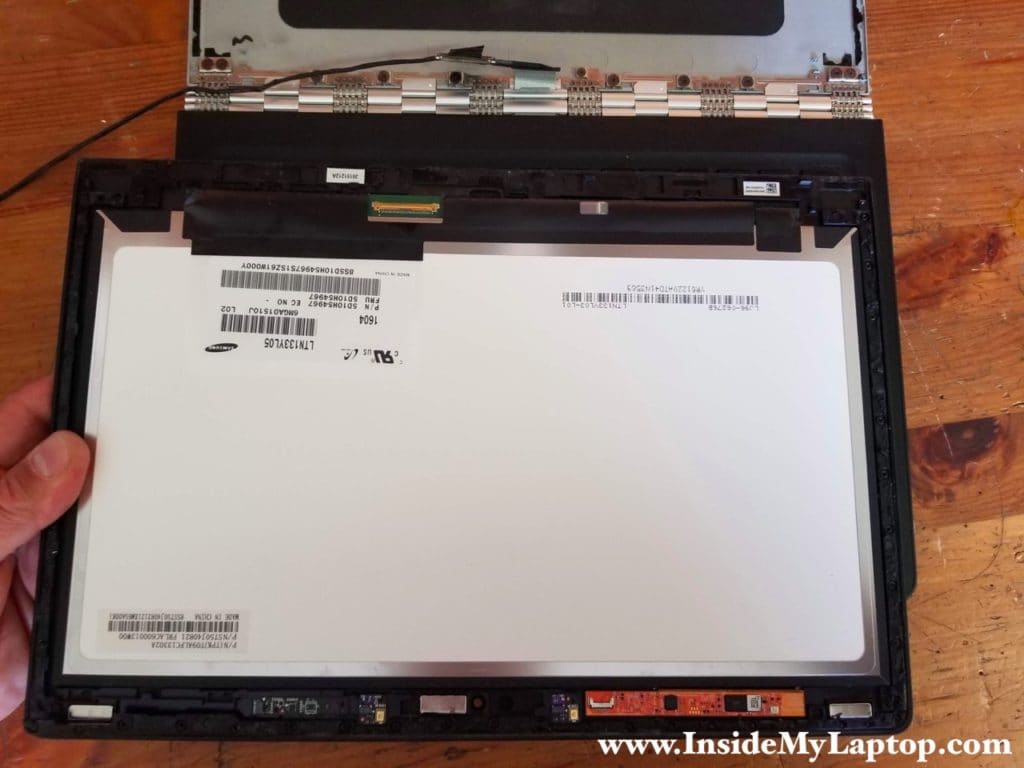
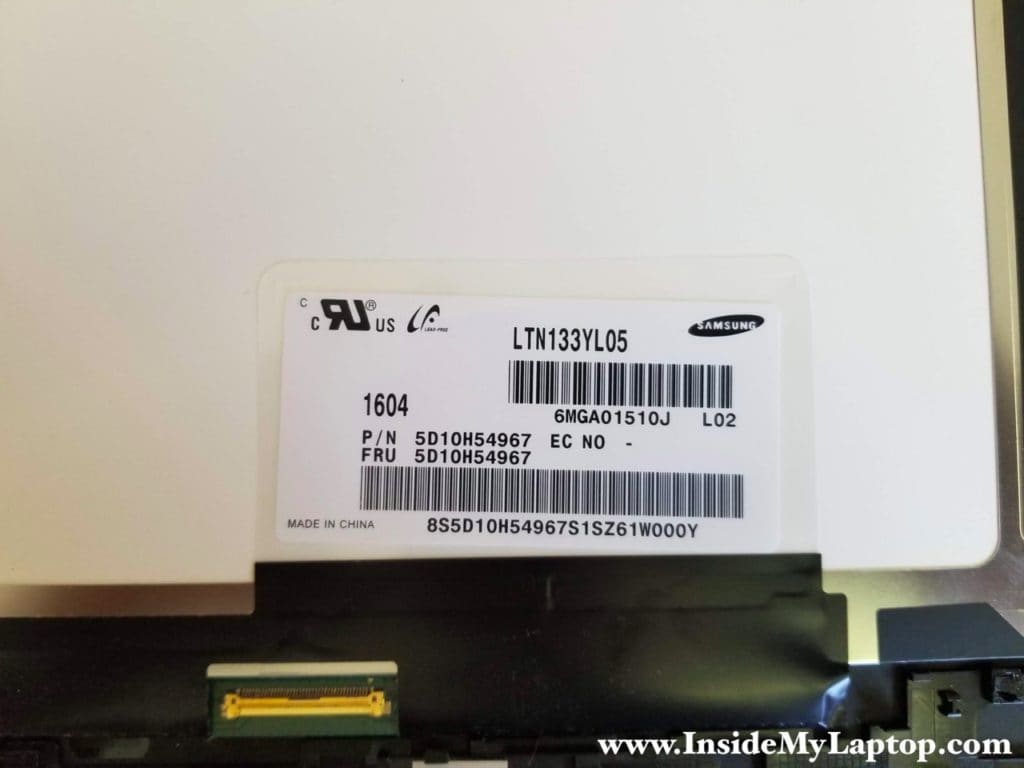
You can find a new replacement touchscreen if you search by the model number printed on the original screen.
In this Lenovo Yoga 900-13ISK laptop I had the following screen installed: LTN133YL05.
Alternatively you can search for a replacement using Lenovo FRU part number: 5D10H54967.
STEP 15.
Pull the display cable out. This step if necessary only if you plan to replace the cable.

STEP 16.
Remove the display cable completely and replace it with a new one if necessary.

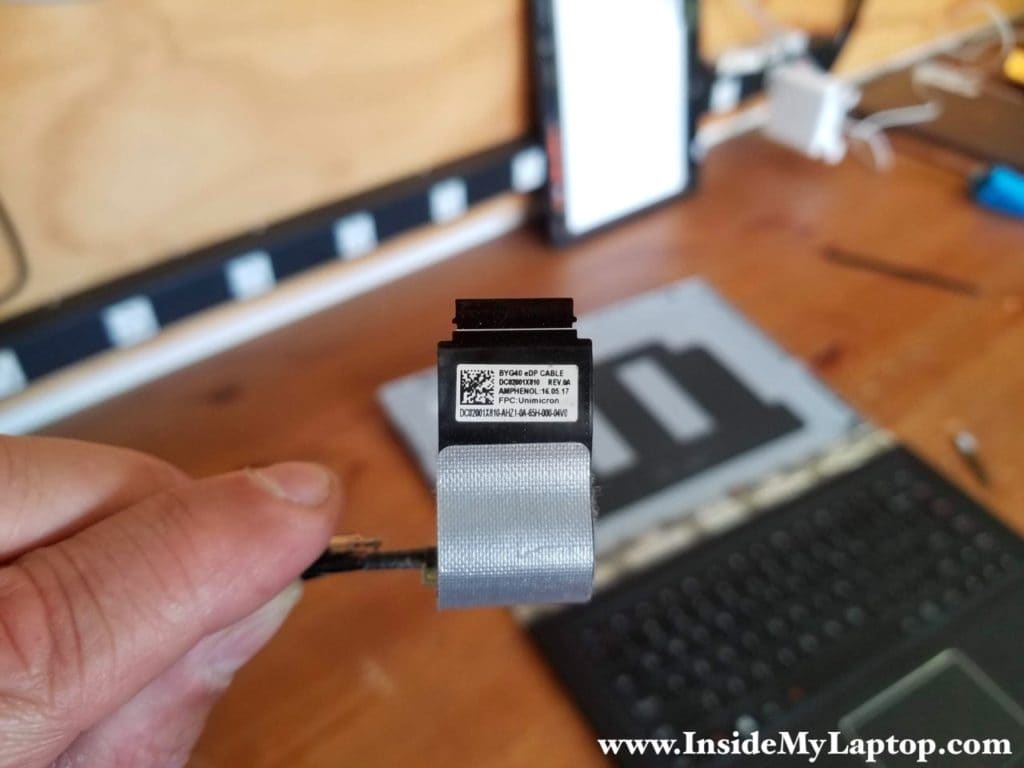
The display part number printed on the cable.
In this Lenovo Yoga 900-13ISK laptop I had cable with the following part number: DC02001X810 Rev.0A.
