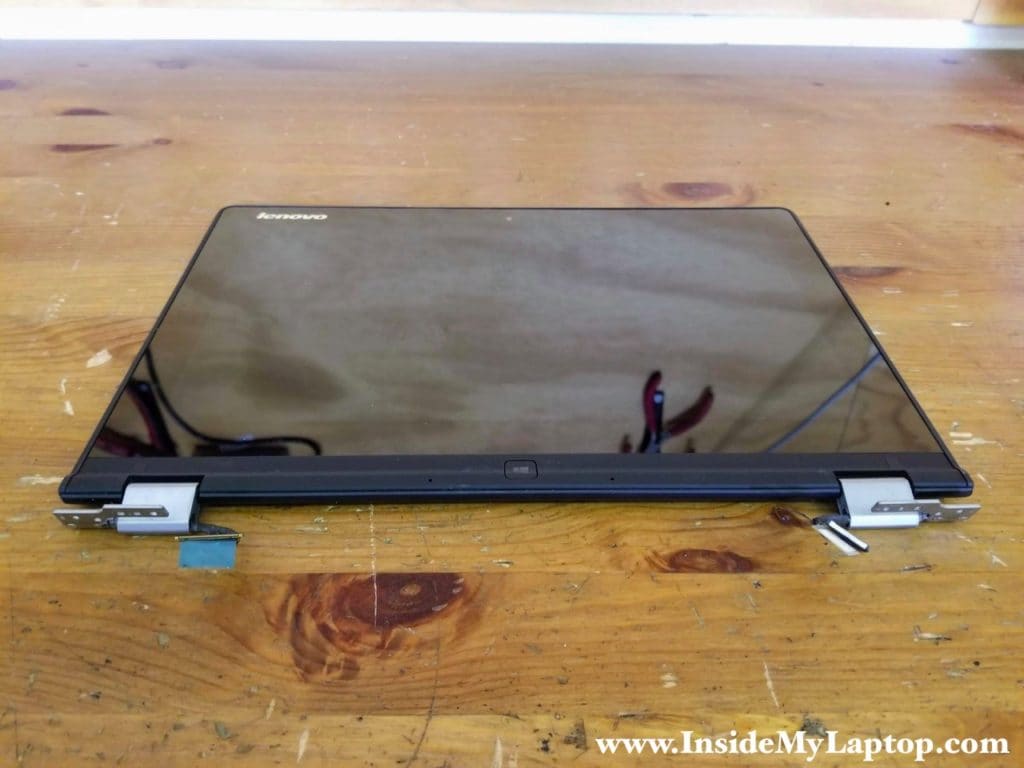
In this guide you will find Lenovo Yoga 2 11 20332 touch screen removal instructions.
It’s possible to remove and replace the touch screen while the display is still attached to the laptop base but easier to do when the display is removed (as shown in my example).
You can remove the display following this Lenovo Yoga 2 11 disassembly guide (steps 11-13).
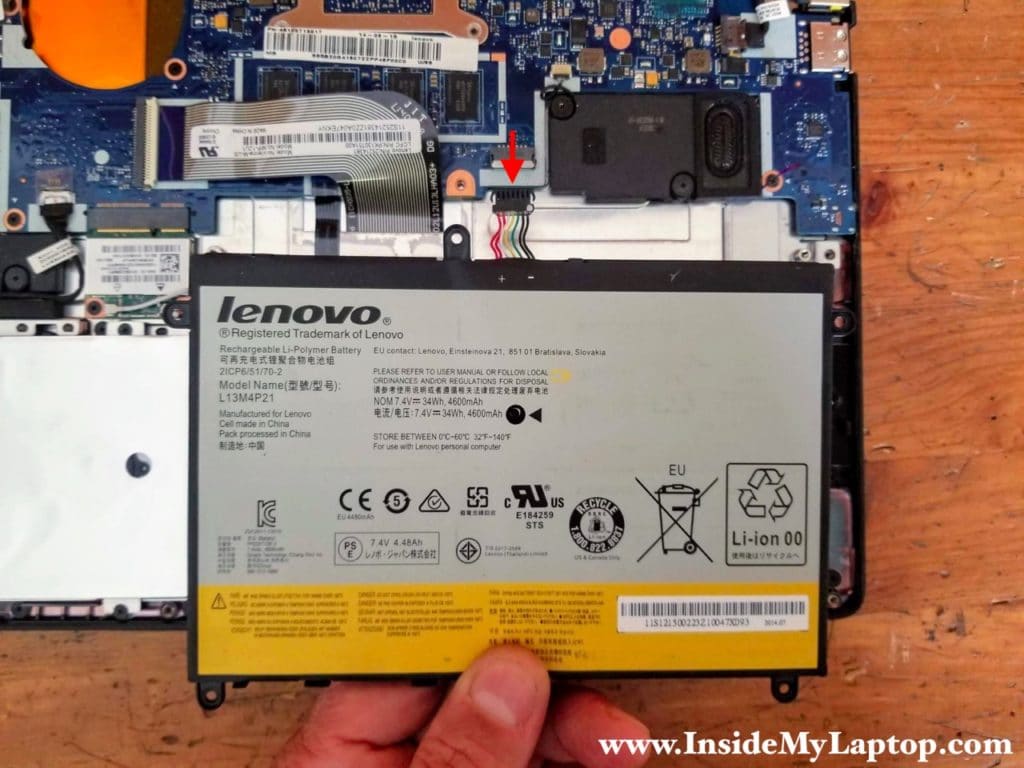
It’s strongly recommended to disconnect the laptop battery from the motherboard before proceeding with the disassembly process. This is L13M4P21 type battery.
STEP 1.
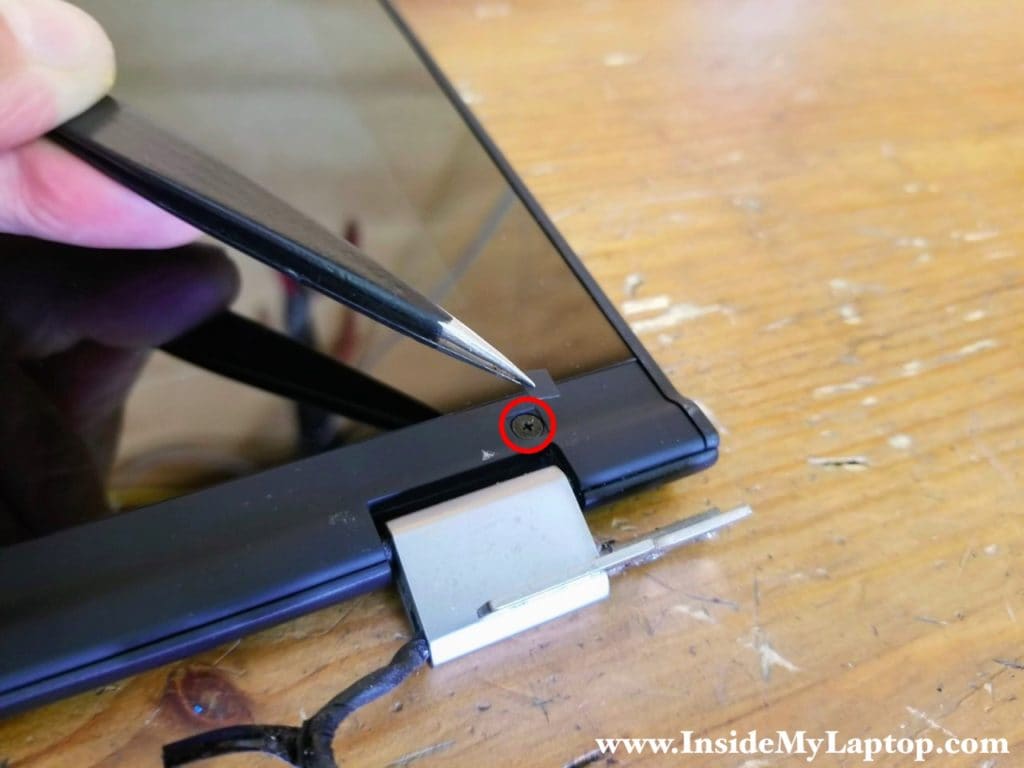
Remove one screw from the lower left side of the display. It’s hidden under a screw cover.

STEP 2.
Remove one more screw from the lower right side of the display.
STEP 3.
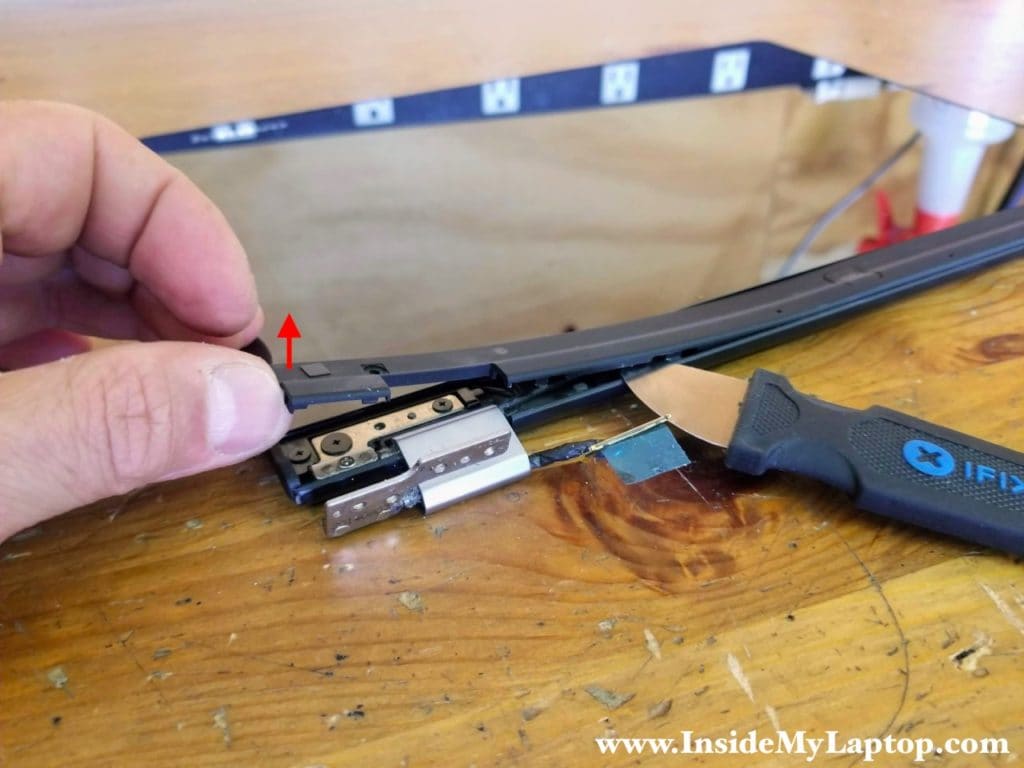
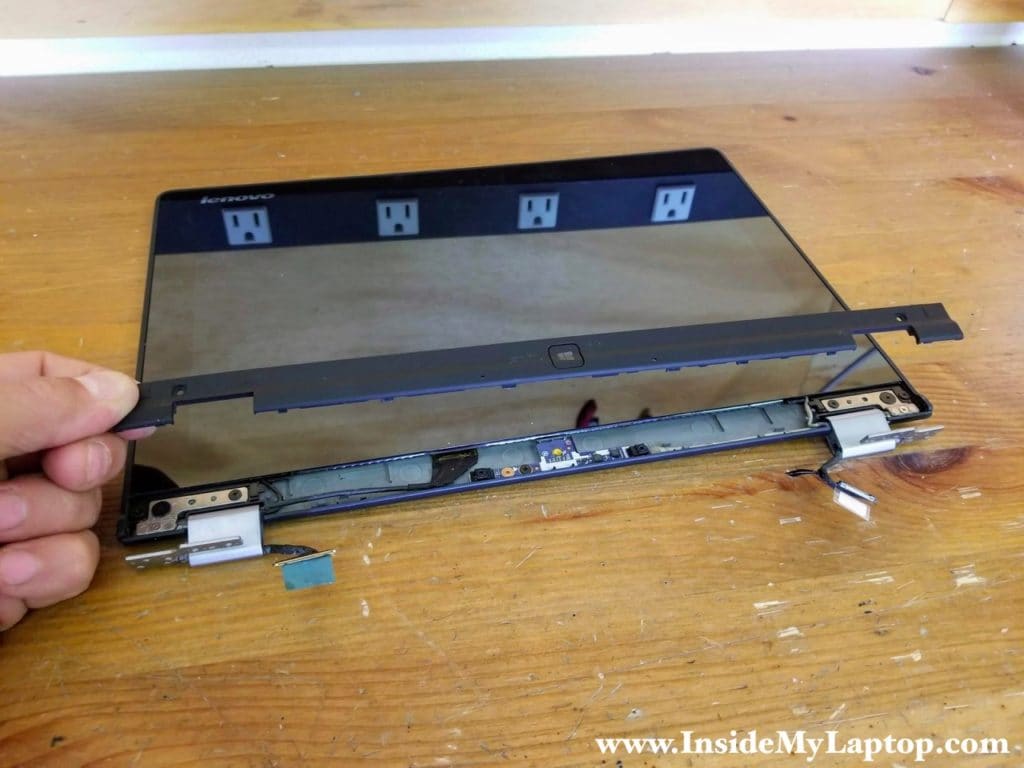
Start separating the hinge cover from the display panel. Pry up the cover using a thin case opener tool. There are many hidden latches securing the hinge cover.
Continue removing the cover with your fingers. Wiggle the cover to disengage hidden latches.
STEP 4.
Remove the hinge cover.
STEP 5.
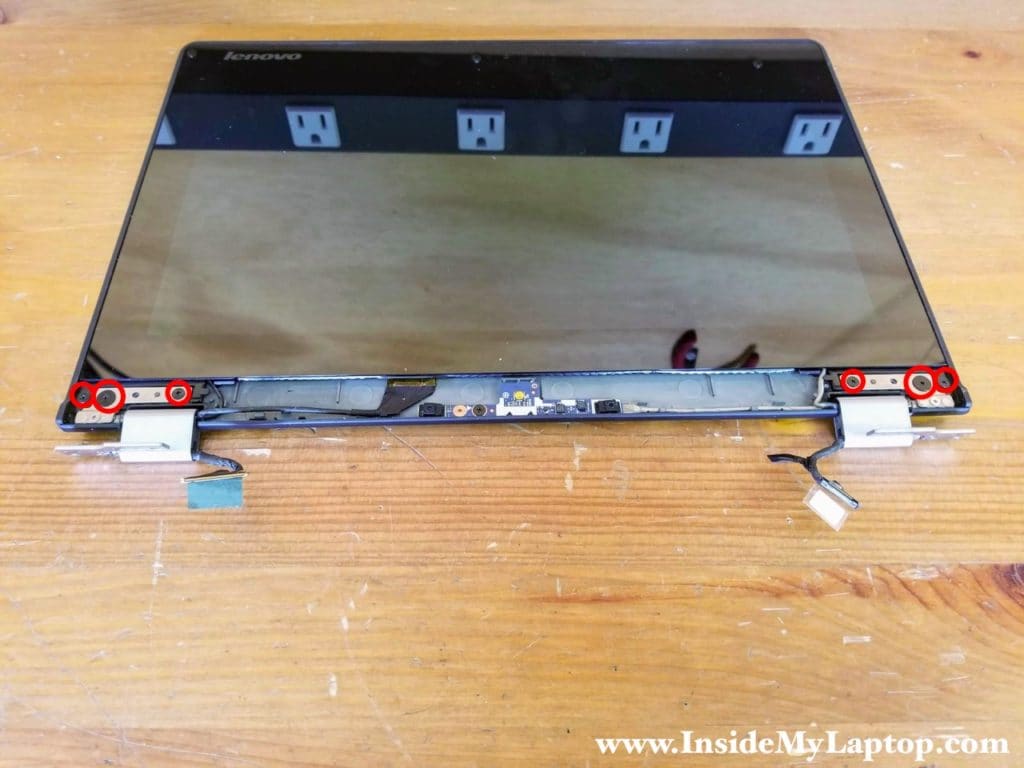
Remove six screws securing the left and the right display hinges.
These screws are different so remember their proper locations.
STEP 6.
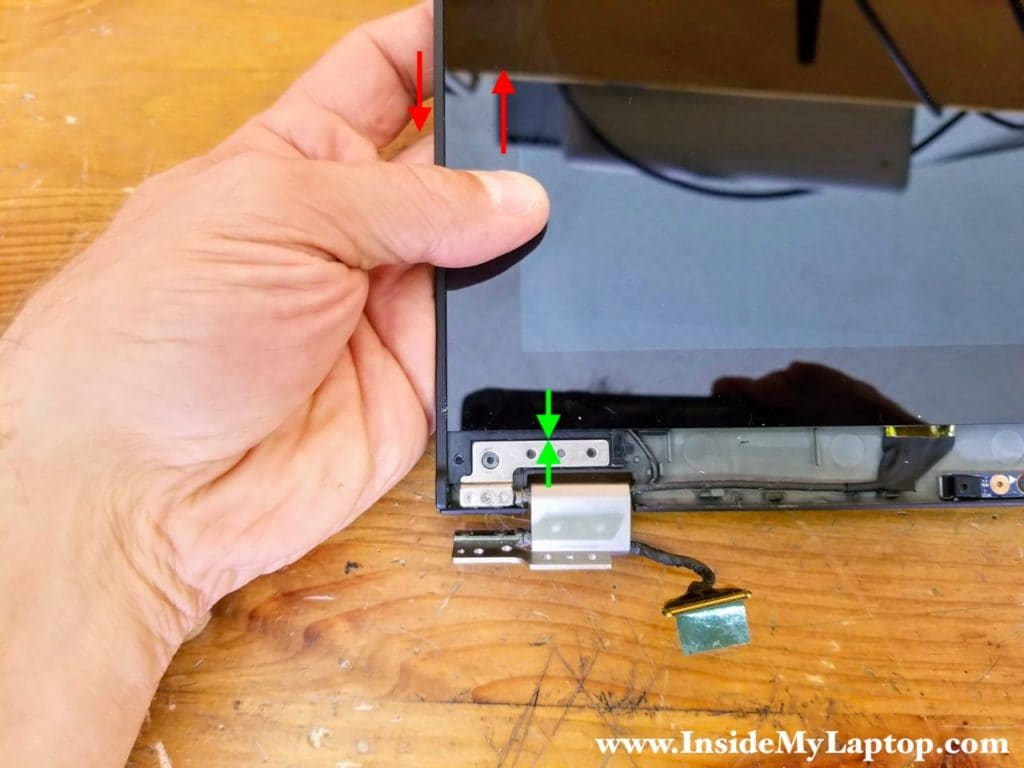
Slide the touchscreen assembly up with your thumbs. Slide the left and the right sides of the touchscreen at the same time. It has to be done in order to disengage hidden latches securing the touchscreen assembly to the display back cover.
Pay attention to the gap between the touchscreen and the hinges. Notice that there is no gap between the touchscreen and the hinges before you start (a gap between green arrows).
STEP 7.
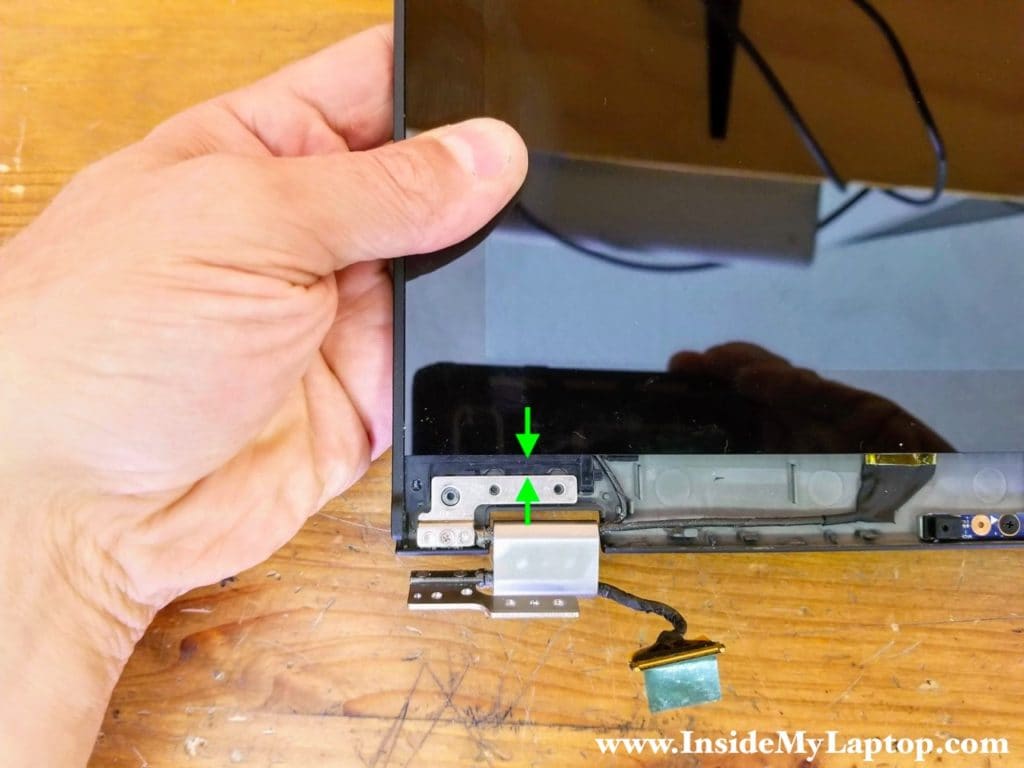
After the touchscreen is shifted up, you will see a gap between the touchscreen and the hinges (a gap between green arrows).
STEP 8.
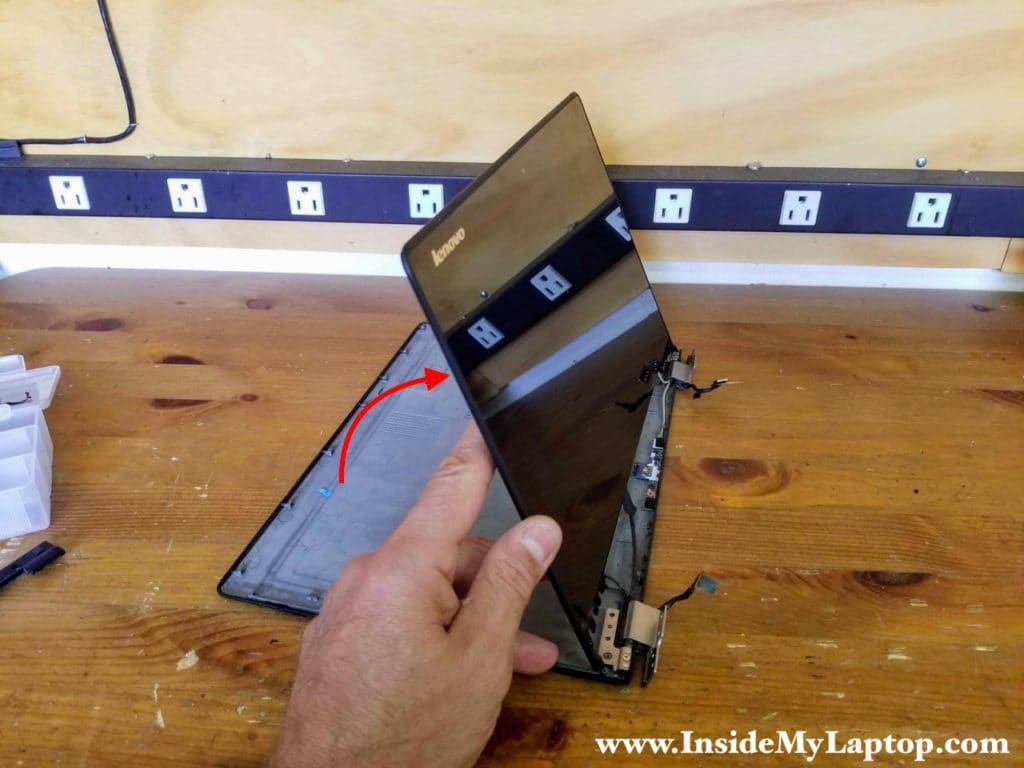
Continue separating the touchscreen assembly from the back cover.

STEP 9.
Turn the touchscreen upside down and place it on the desk.
STEP 10.
Now you can access the display video cable connector on the back of the LCD screen.

STEP 11.
Remove sticky tape securing the connection and unplug the display video cable from the LCD screen.

STEP 12.
Remove four screws securing the webcam and two circuit boards to the touchscreen.

STEP 13.
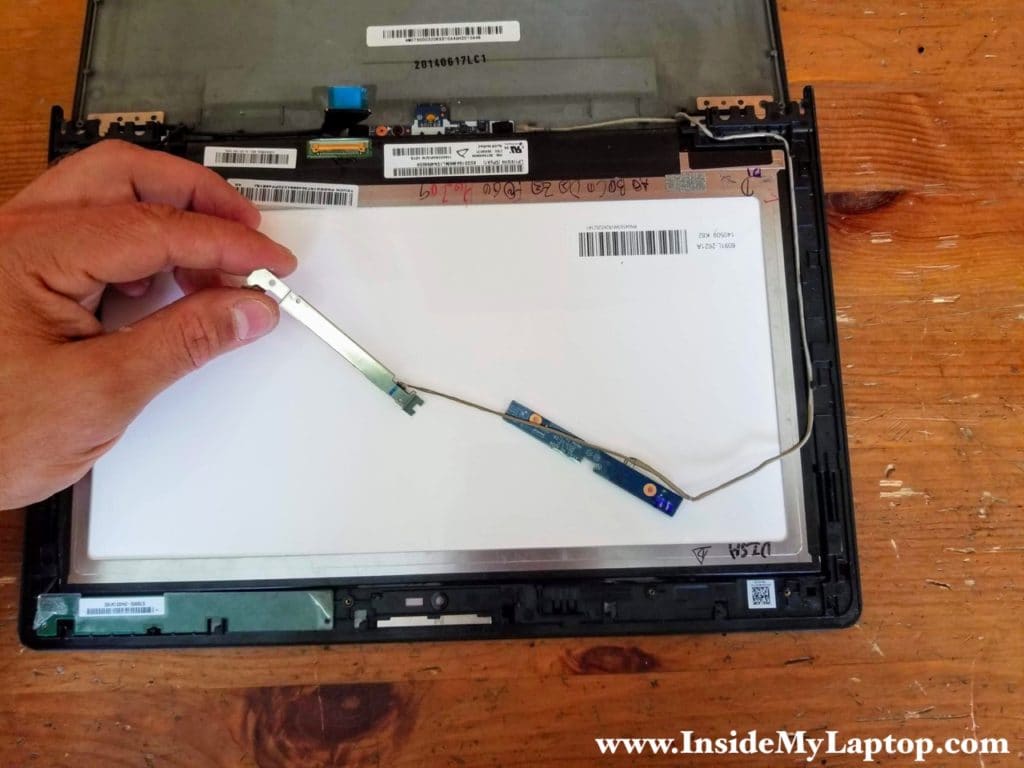
Carefully separate the webcam and the blue board from the bezel and unroute the cable from the guided path on the right side.
STEP 14.
Carefully separate the green board but don’t remove it completely. It’s still connected to the screen.
The green board will stay connected to the screen when you remove it.

STEP 15.
Disconnect the cable from the left side of the board.

STEP 16.
Unroute the cable from the guided path on the left side of the bezel.

STEP 17.
Now you can separate the touchscreen assembly from the display back cover and replace it if necessary.

You can find a new replacement touchscreen assembly using the model number printed on the original one.
In this particular Lenovo Yoga 2 11 20332 laptop I had the following touchscreen installed: LP116WH6 (SP)(A1).
Alternatively, you can find a replacement using Lenovo FRU number: 00HM131.

Replace the screen and assemble the display panel following all disassembly steps in reverse order.