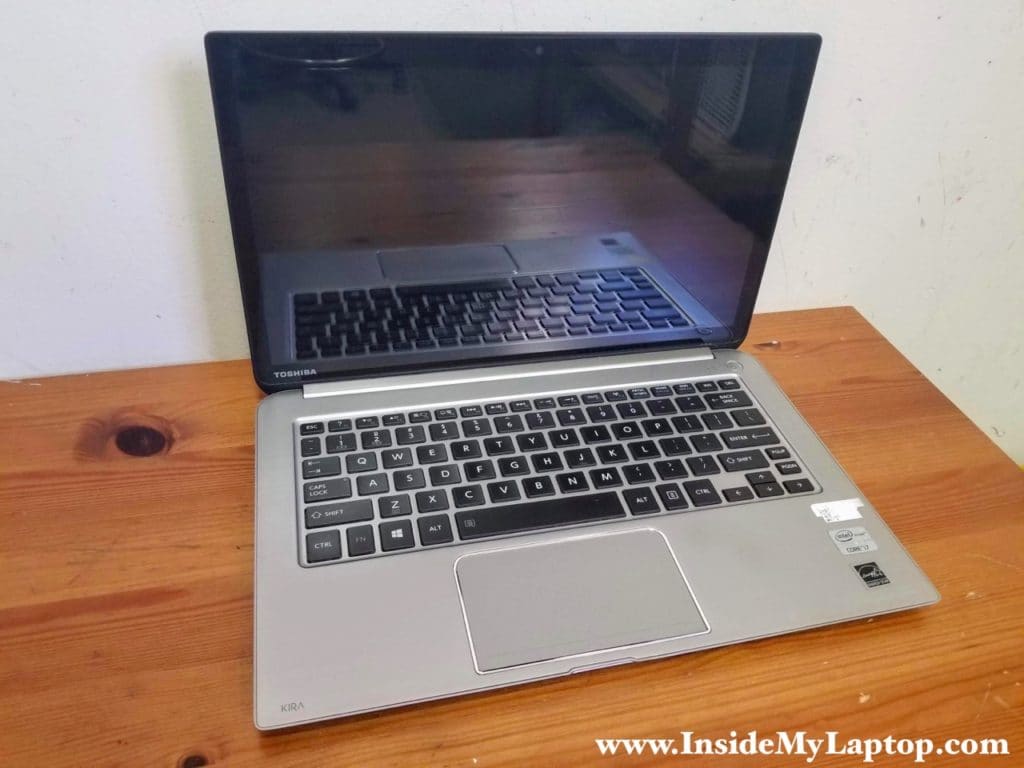
In this guide I explain how to disassemble a Toshiba Kira ultrabook. I show how to remove all main internal components and separate the display panel from the laptop base.
If you want to replace the LCD screen, it’s necessary to remove the display panel first. The display removal shown in the steps 17-18.
STEP 1.
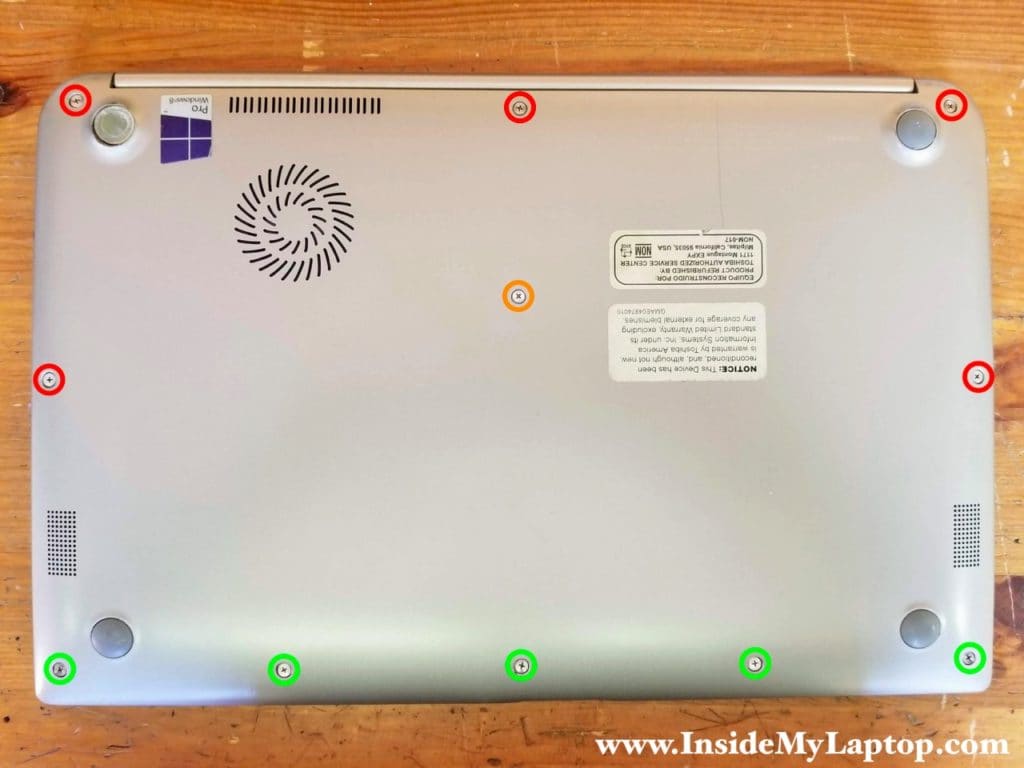
Remove all screws from the bottom cover. There are three types of screws used on the bottom and I color-coded them by the screw length.
Orange – one longes screw.
Green – five shortest screws.
STEP 2.
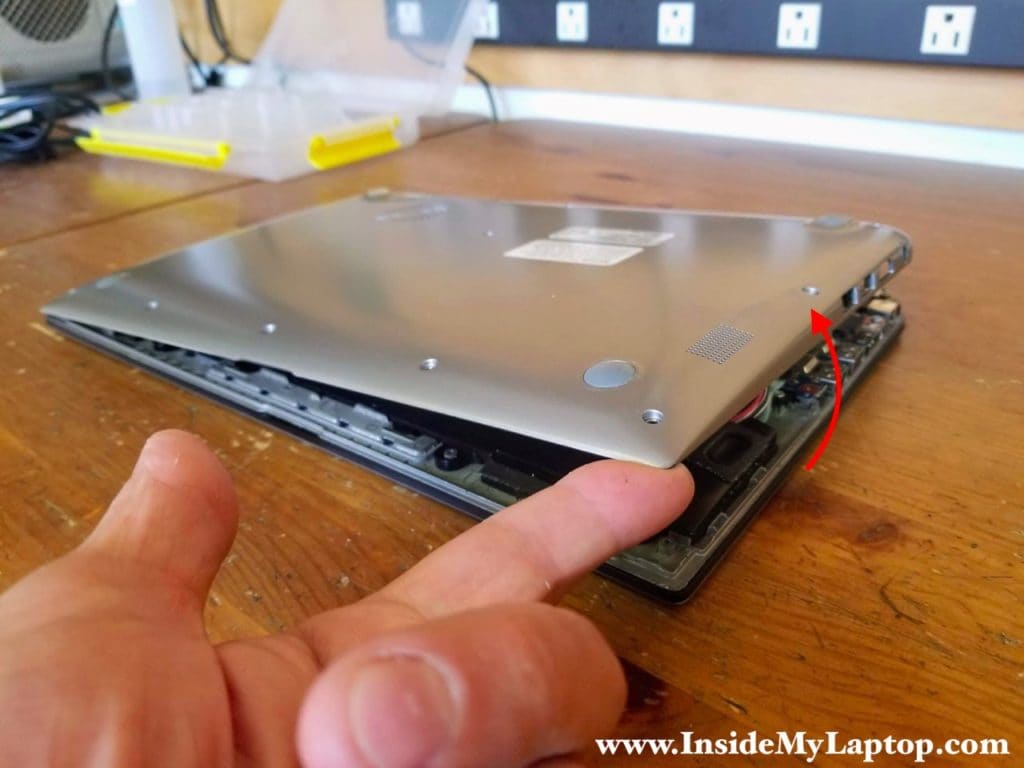
Lift up and remove the bottom cover.
STEP 3.
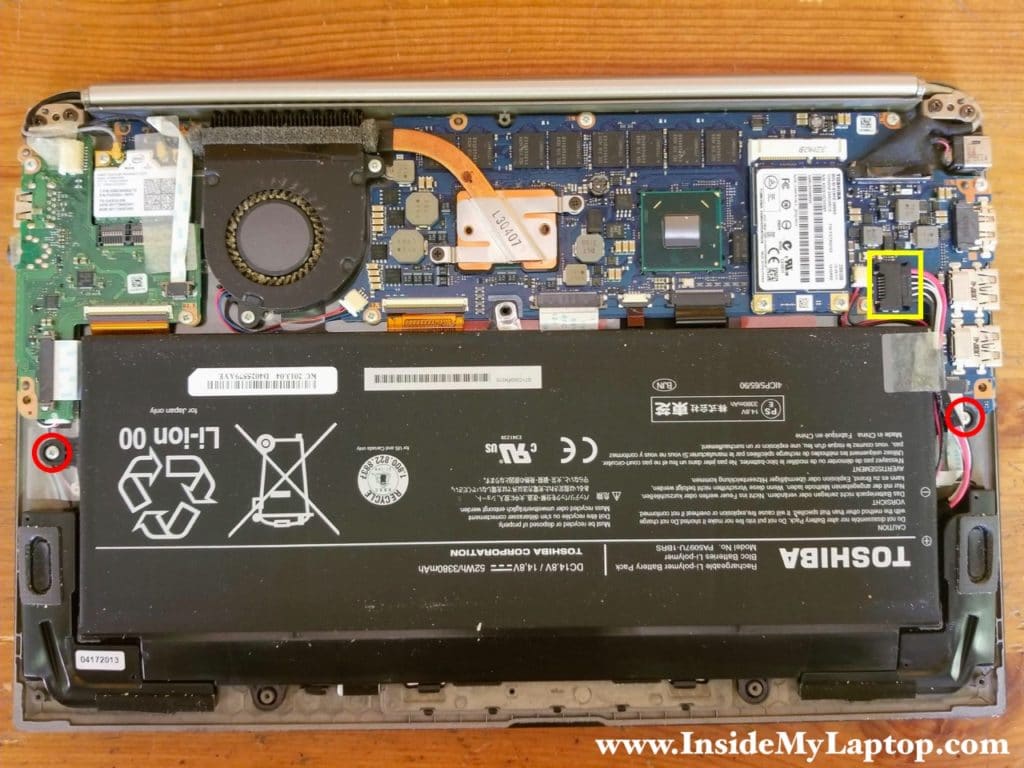
Remove two screws securing the battery.
Unplug battery cable from the motherboard.
STEP 4.
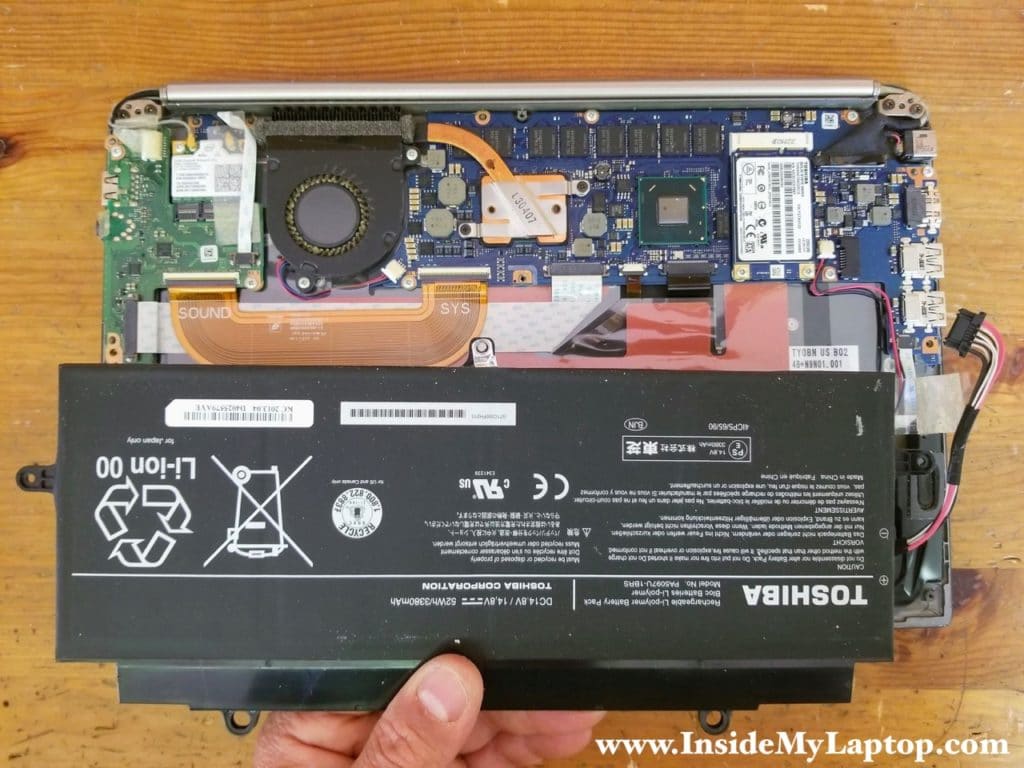
The battery cable and the speaker cable are taped to the side of the battery. Peel off the tape securing the cables. Remove the battery.
Replacement battery type PA5097U-1BRS.
STEP 5.
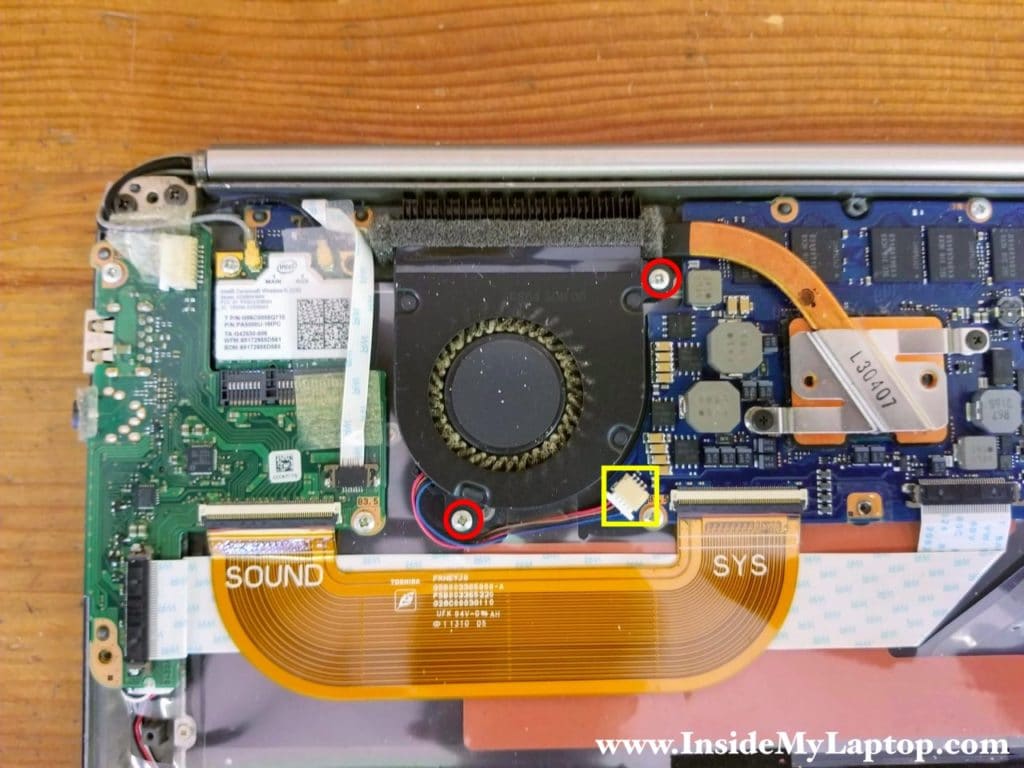
Remove two screw securing the cooling fan and disconnect the fan cable from the motherboard.
STEP 6.
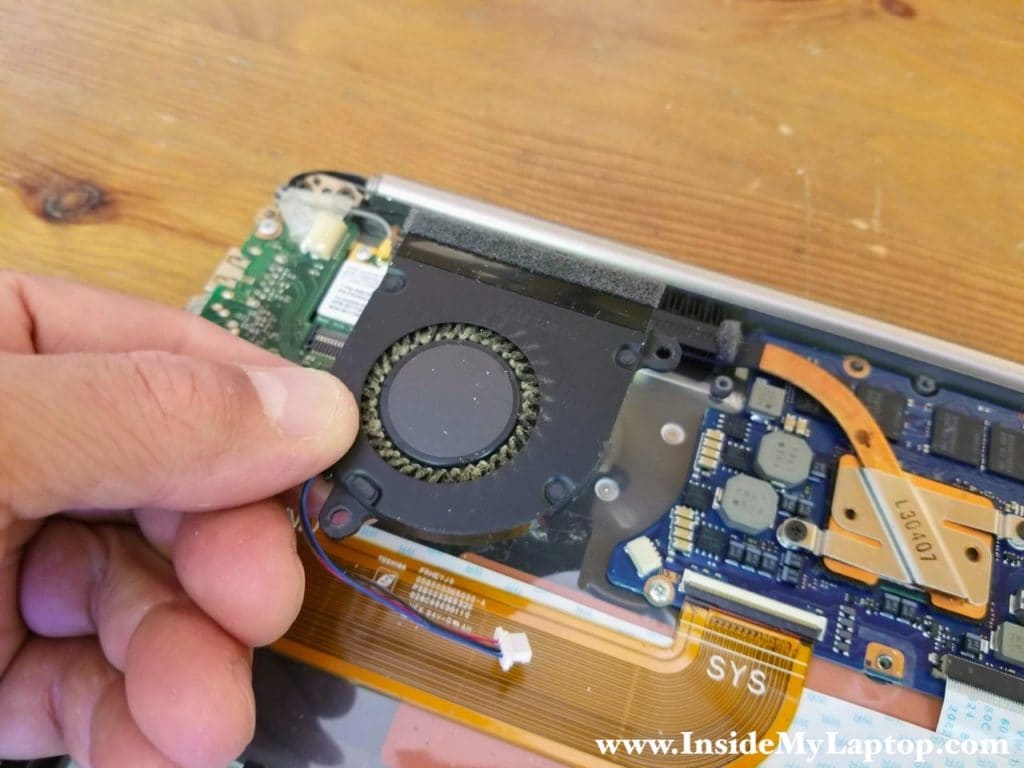
Remove the cooling fan.
STEP 7.
Remove two screws securing the solid state drive.
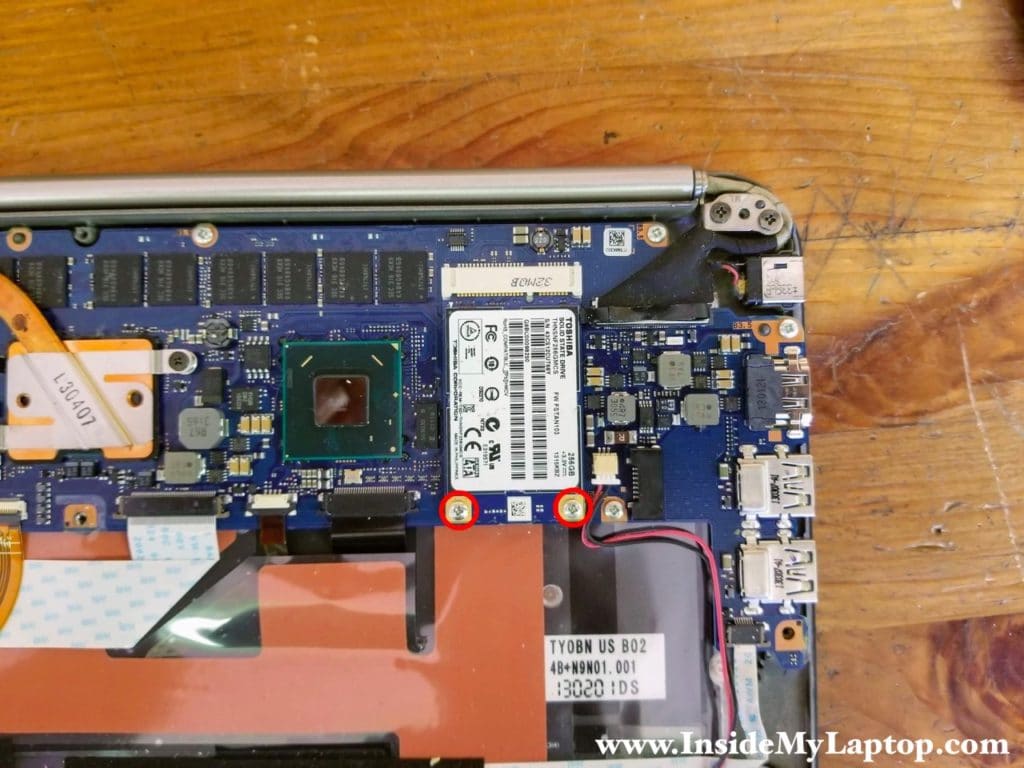
STEP 8.
Pull the solid state out of the slot and remove it.
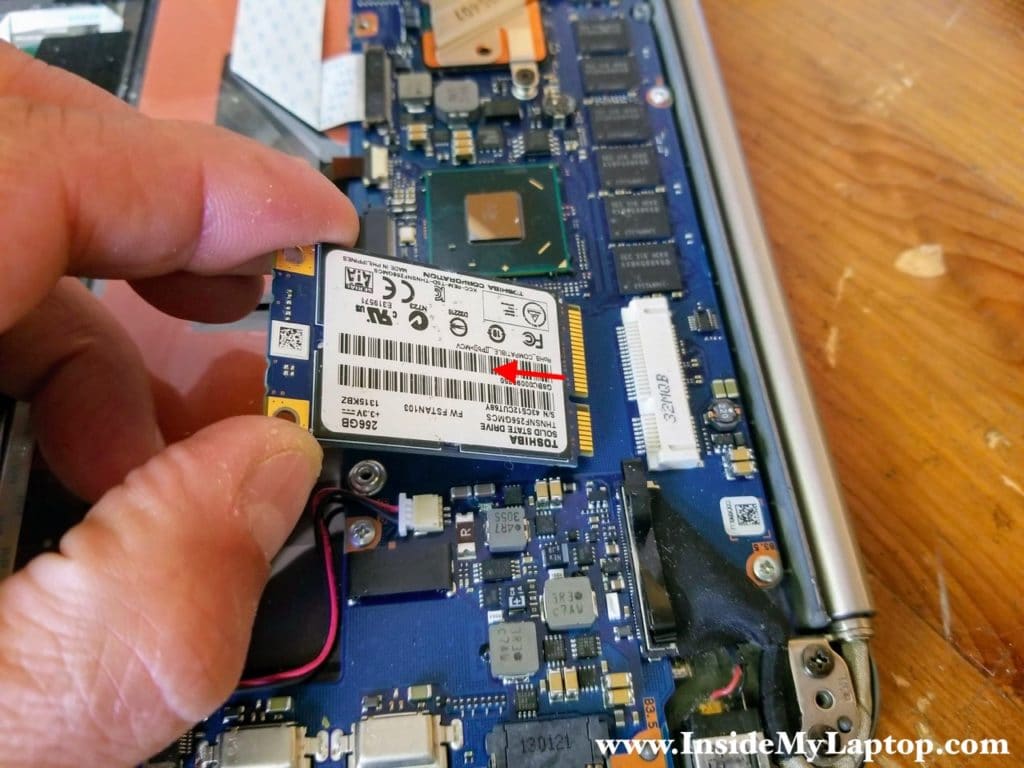
STEP 9.
Remove one screw securing the Wi-Fi LED board and disconnect the cable.
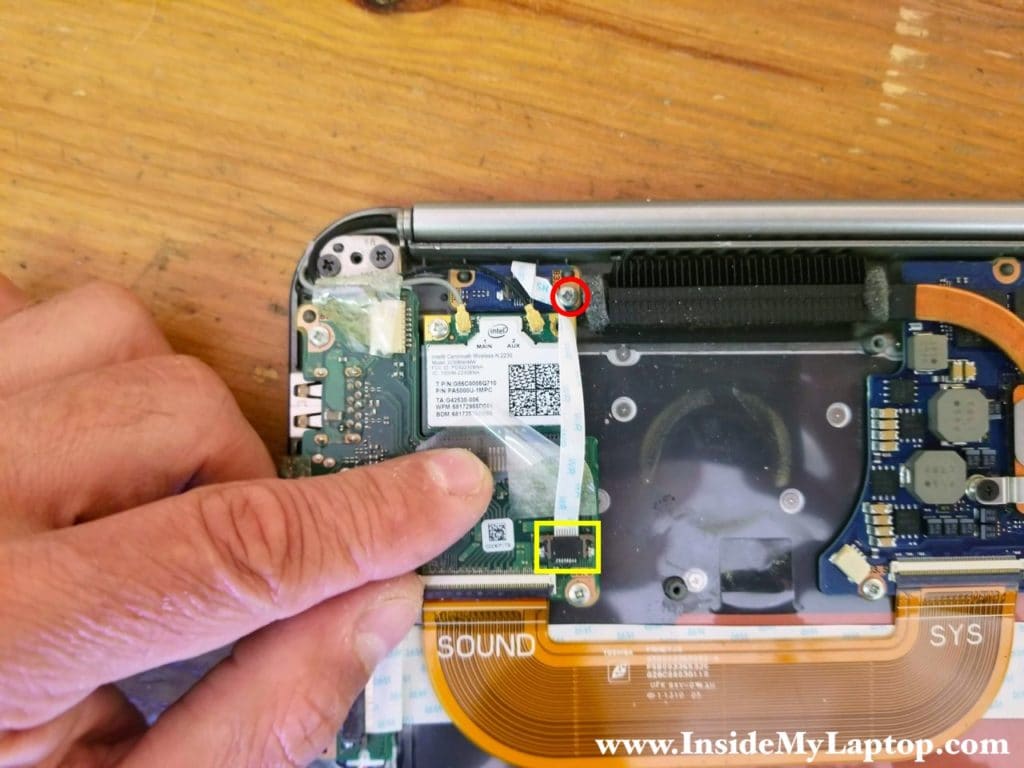
STEP 10.
Remove the Wi-Fi LED board.
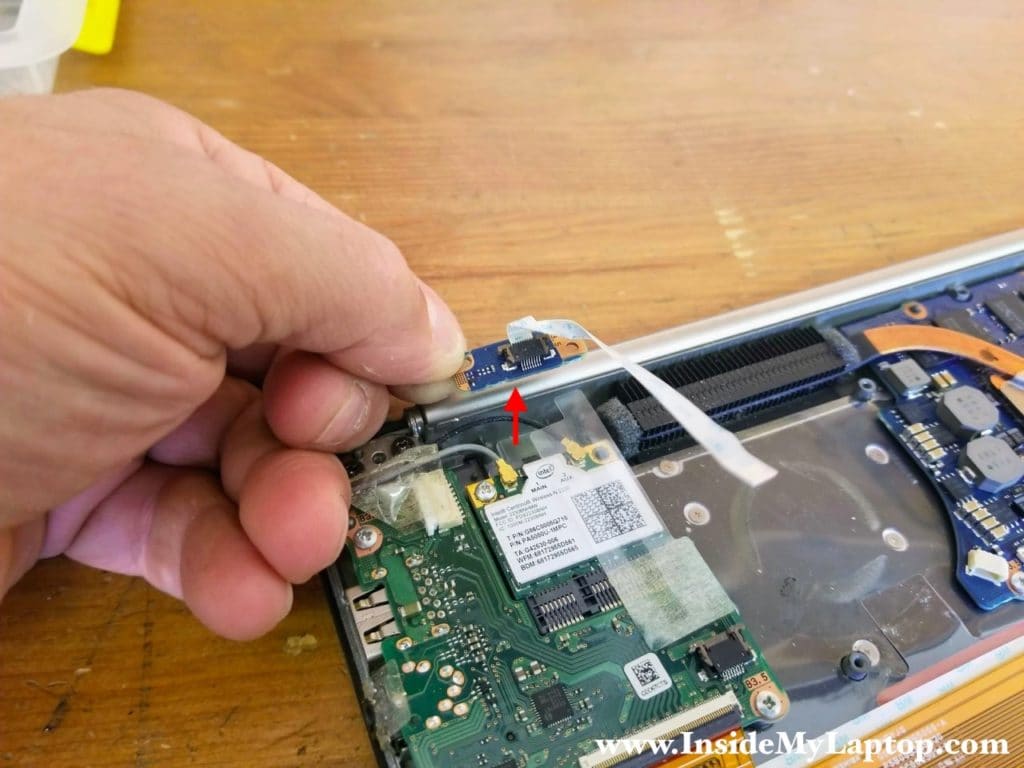
STEP 11.
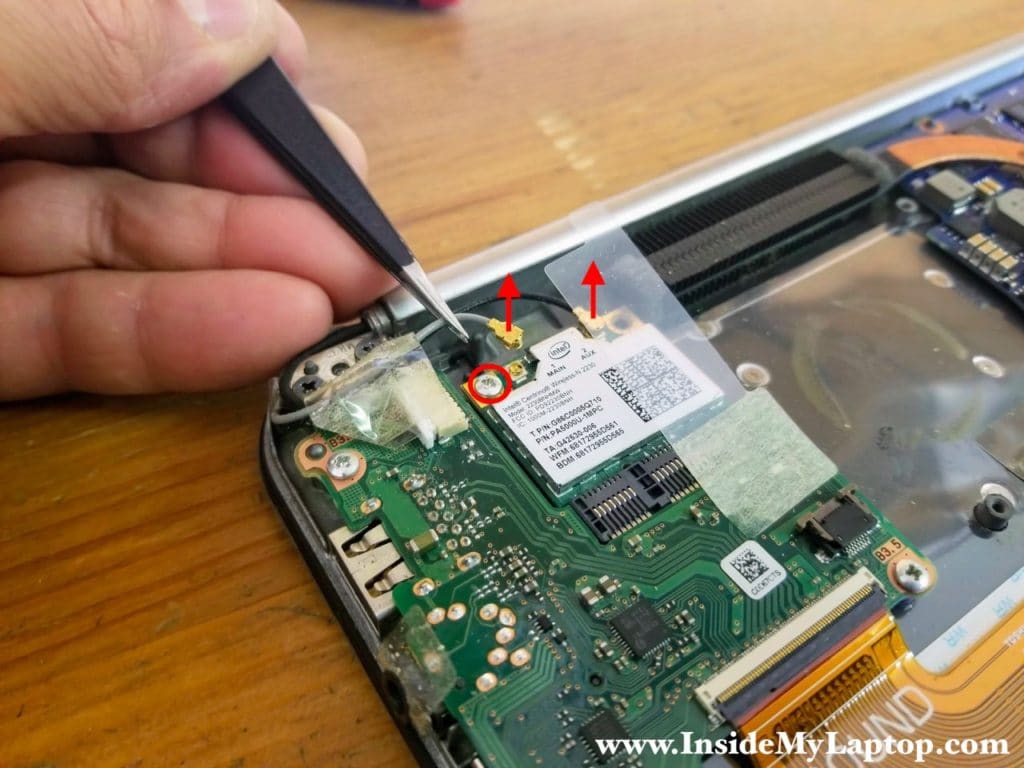
Disconnect both antenna cables from the wireless card and remove one screw.
STEP 12.
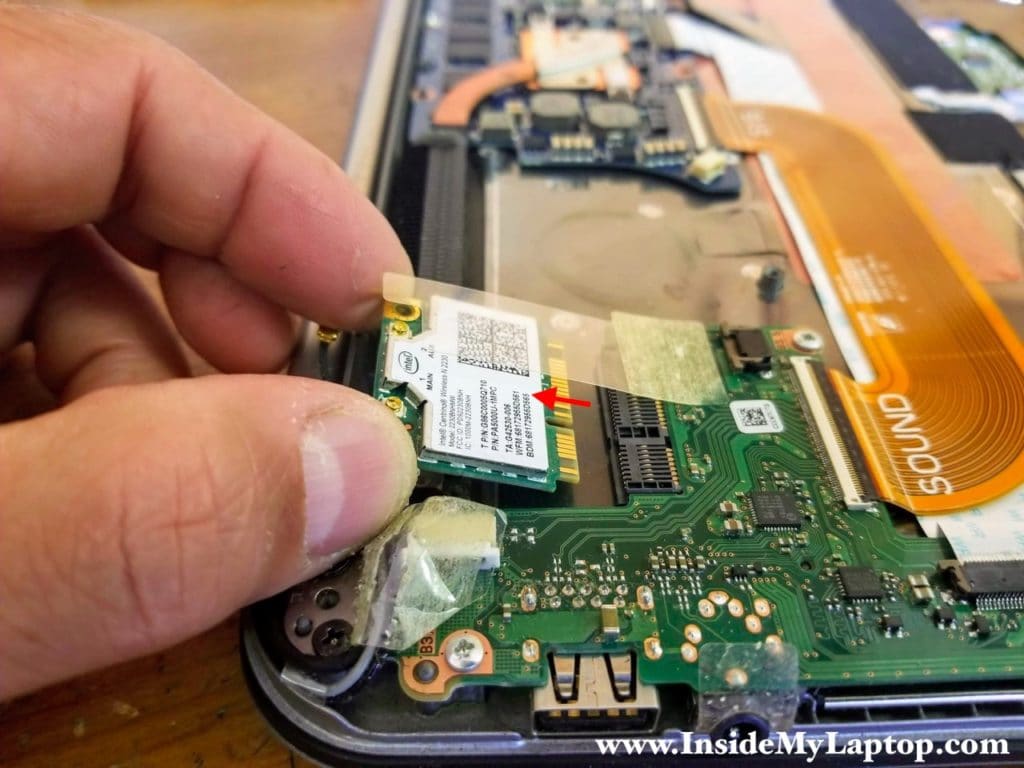
Remove the wireless card.
STEP 13.
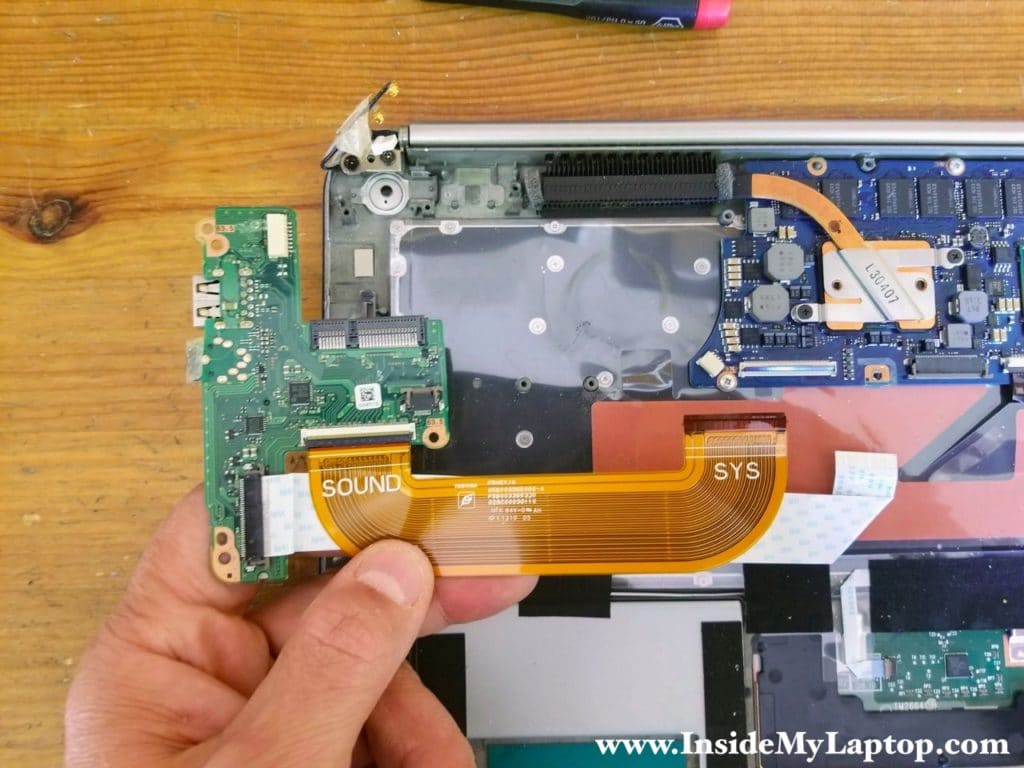
Remove two screws from the USB audio board.
Disconnect display webcam cable (orange).
Disconnect the sound cable and the I/O cable (yellow).

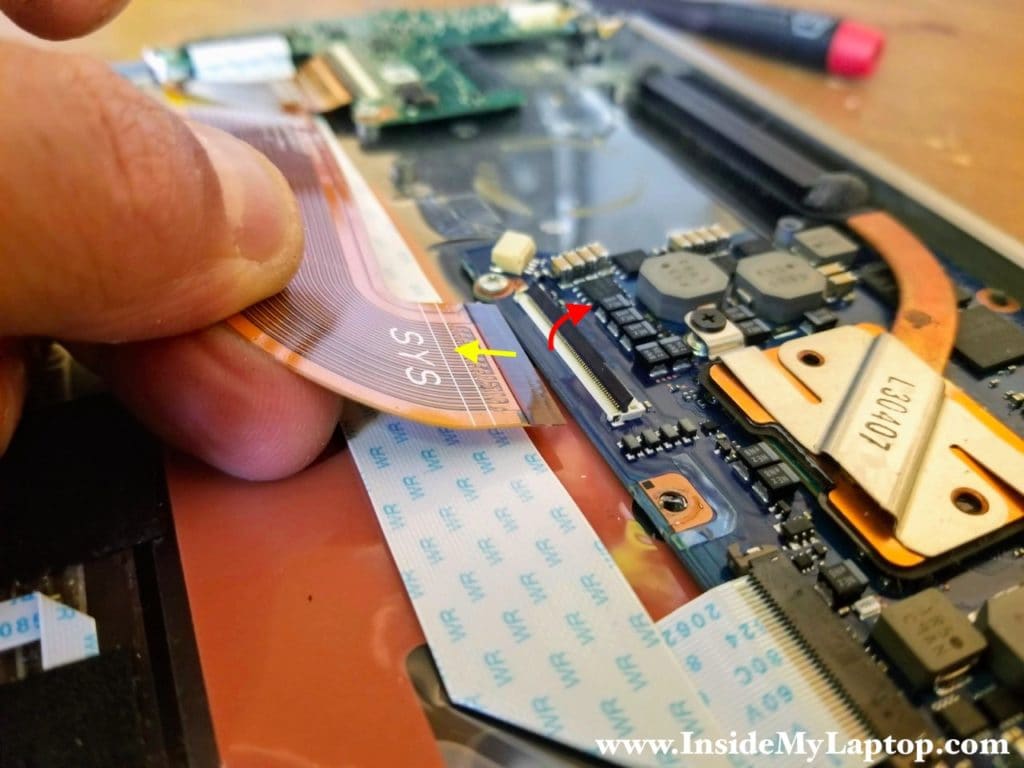
Here’s how to disconnect the sound cable.
Unlock the connector by lifting up the locking tab (red arrow).
Pull the cable out (yellow arrow).
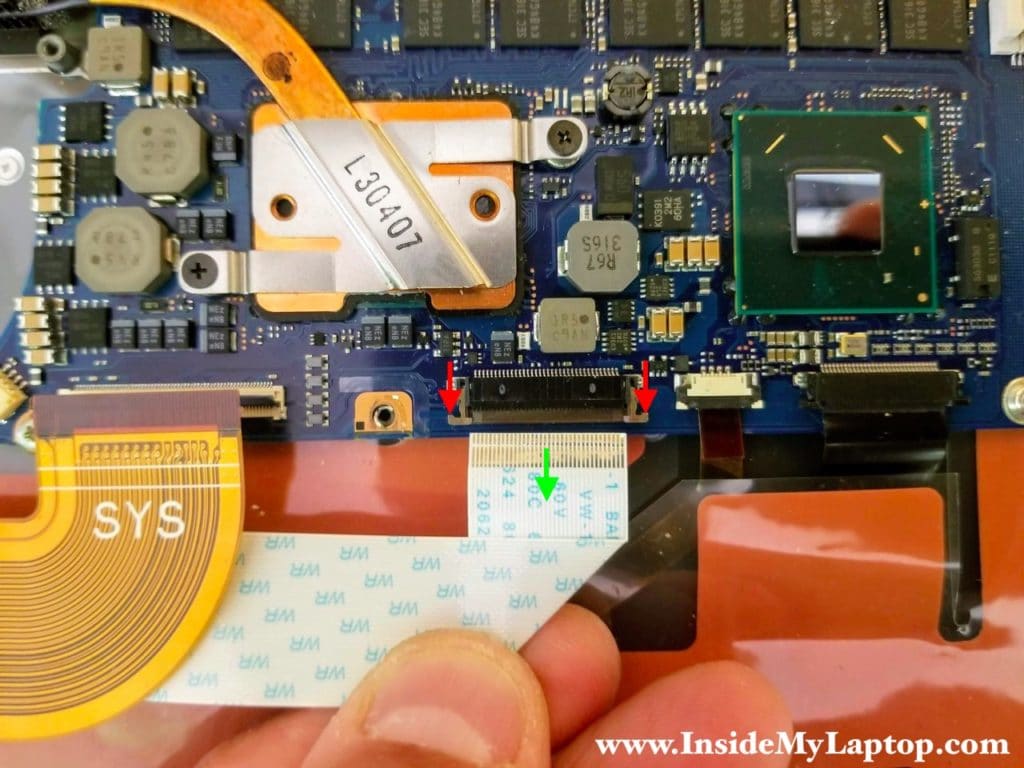
Here’s how to disconnect the I/O cable.
Unlock the connector by moving the locking tab about 2-3 millimeters to the shown direction (two red arrows). Pull the cable out (green arrow).
STEP 14.
Remove the USB audio board with the cables attached to it.
While removing the USB audio board, disconnect the speaker cable connected to the bottom side of the board.
STEP 15.
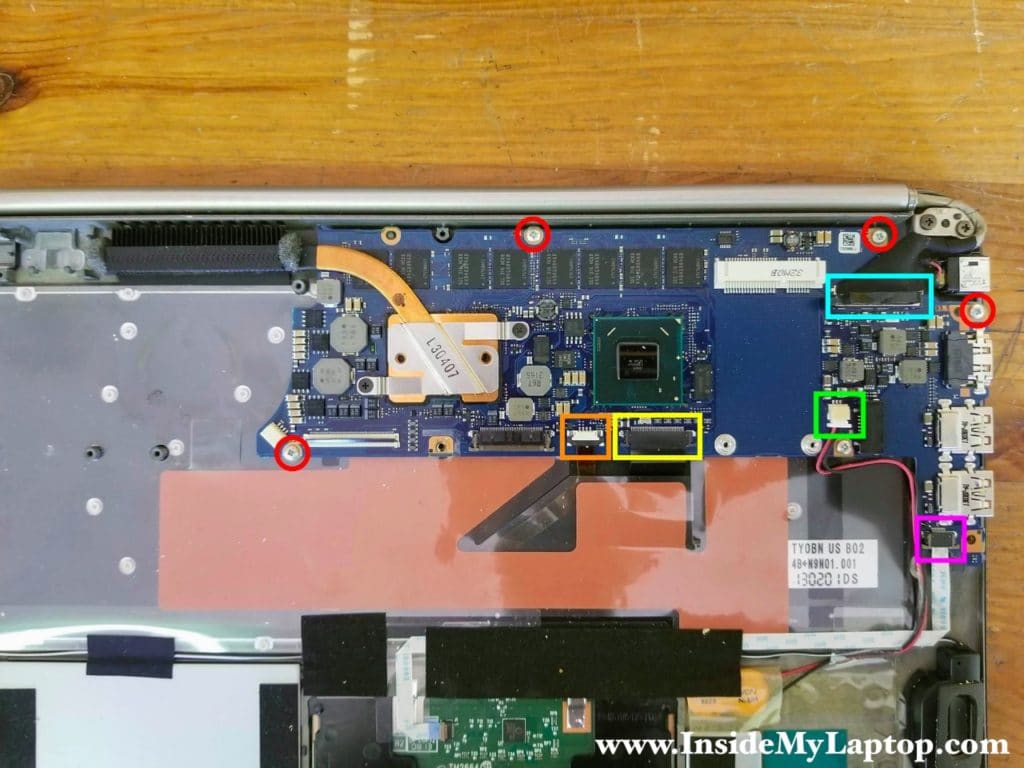
Remove four screws securing the motherboard to the top case.
Disconnect the following color-coded cables:
– Keyboard backlight cable (orange).
– Keyboard cable (yellow).
– CMOS battery cable (green).
– Touchpad cable (pink).
– Display video cable (light blue).
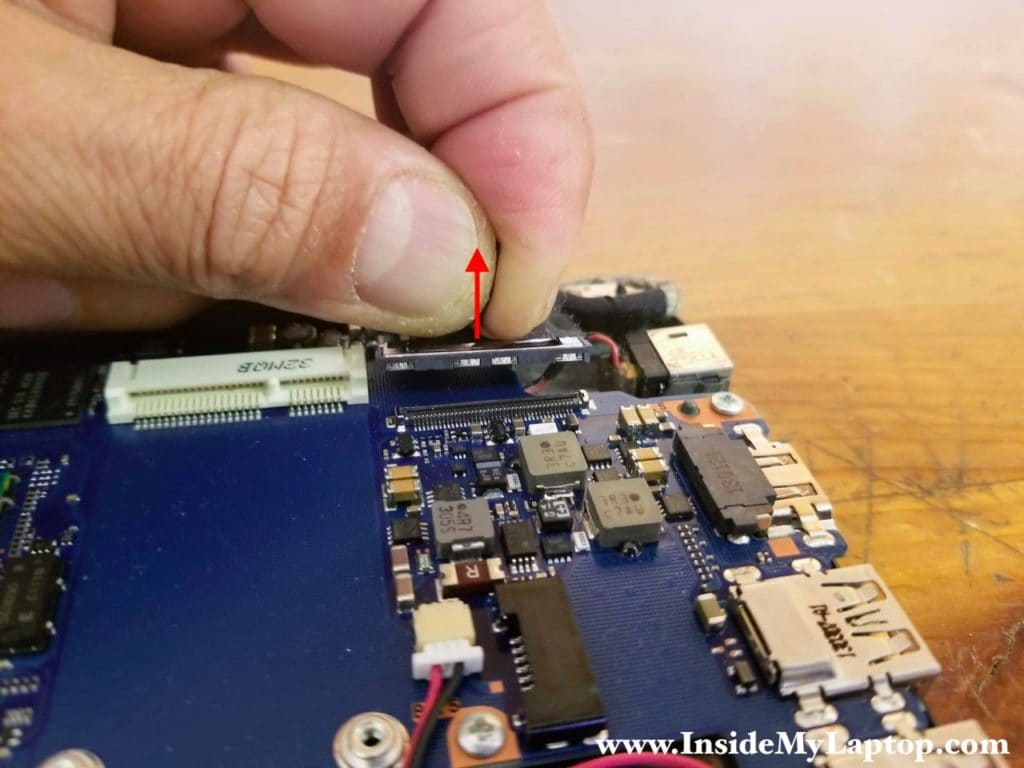
Here’s how to unplug the display video cable.
Pull up the connector by the black belt on the top.
Here’s how to disconnect the keyboard backlight cable.
Unlock the connector first (red arrow) and pull the cable out (yellow arrow).

STEP 16.
Remove the motherboard.
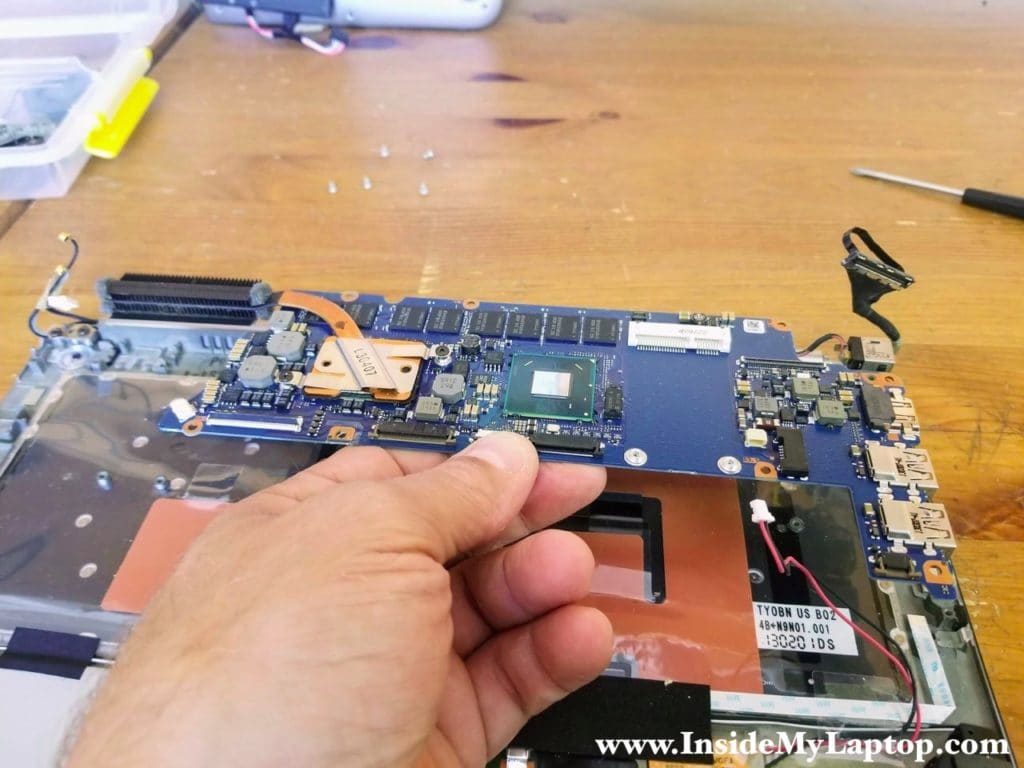
Toshiba Kira motherboard doesn’t have memory slots. Memory chips integrated into the motherboard and cannot be removed or replaced.

The DC power jack permanently attached to the motherboard.

STEP 17.
Place the laptop upside down on the edge of the desk. Make sure the display is open as it shown on the following picture.
Remove four screws securing the display hinges.
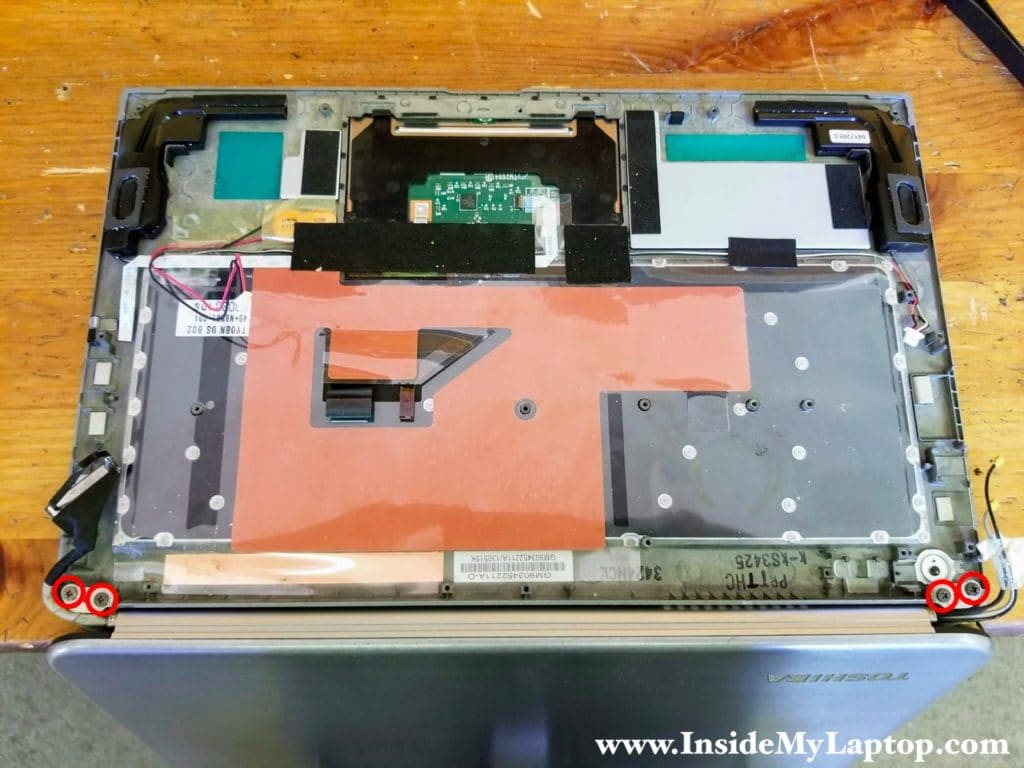
STEP 18.
Separate the display assembly from the top case and remove it.
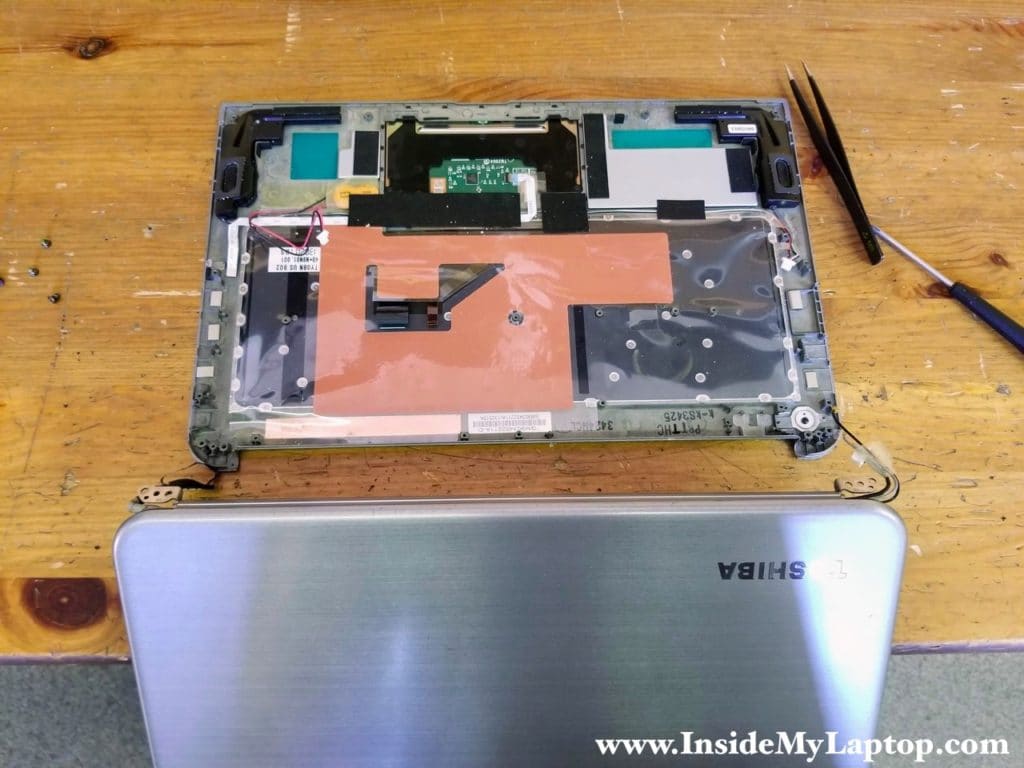
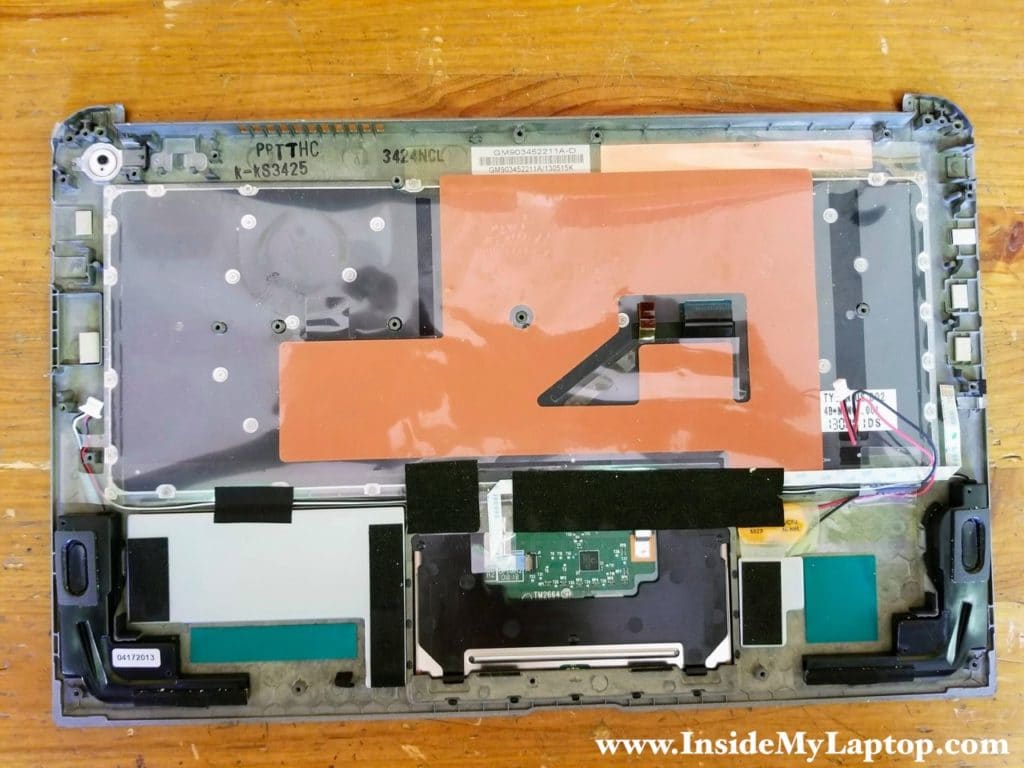
The keyboard in this Toshiba Kira ultrabook is removable. There are many small screws securing the keyboard to the top case.
Toshiba Kira screen removal
I’m not going to remove the LCD screen completely but I can give you a hint how it’s done. The LCD screen attached to front glass.
Start separating the LCD assembly from the back cover. I’m using a thin metal case opener tool. Insert the case opener between the LCD assembly and back cover and pry it up.

Continue separating the LCD assembly with your fingers.
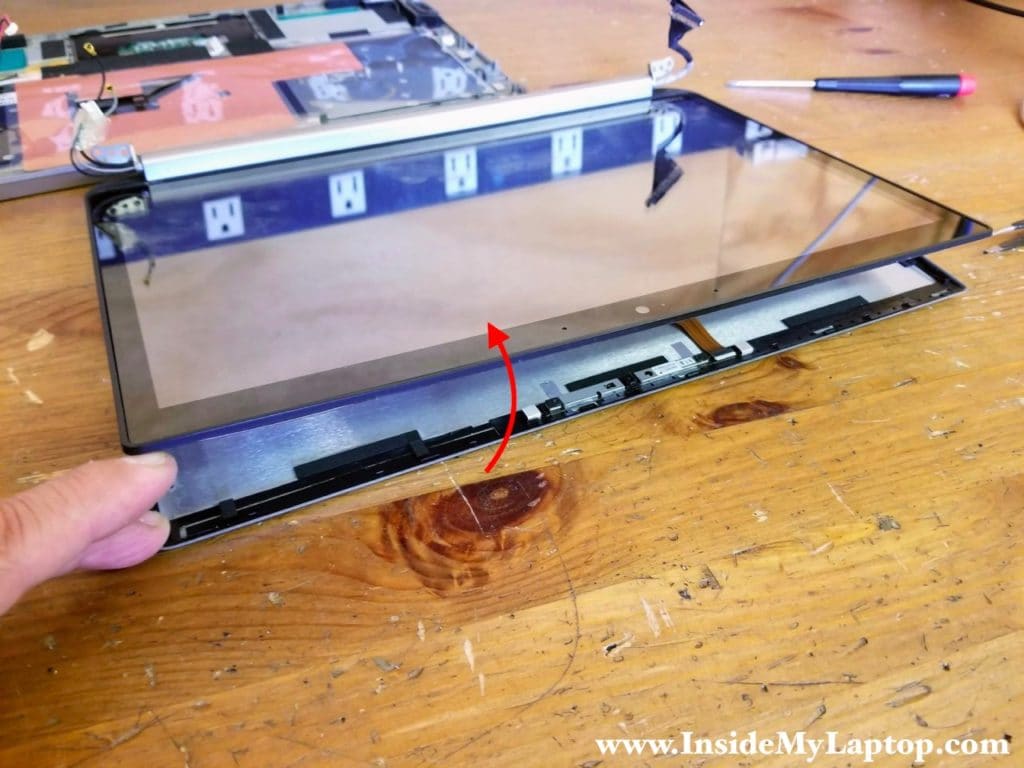
Before removing the LCD assembly it’s necessary to remove the hinge cover.
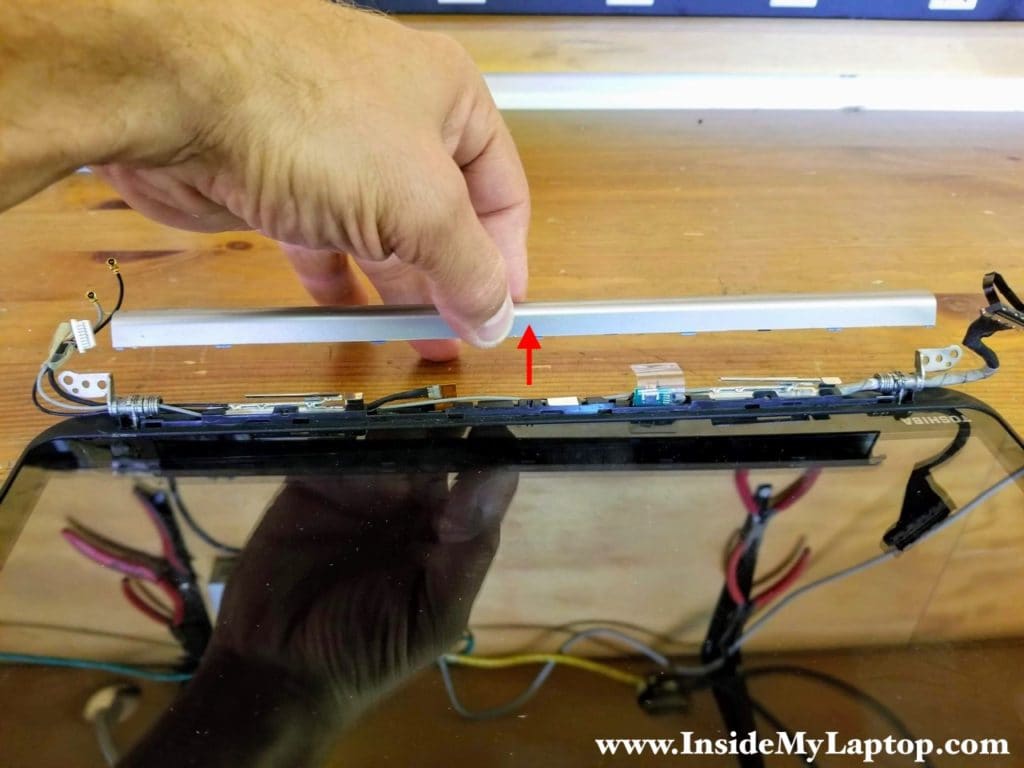
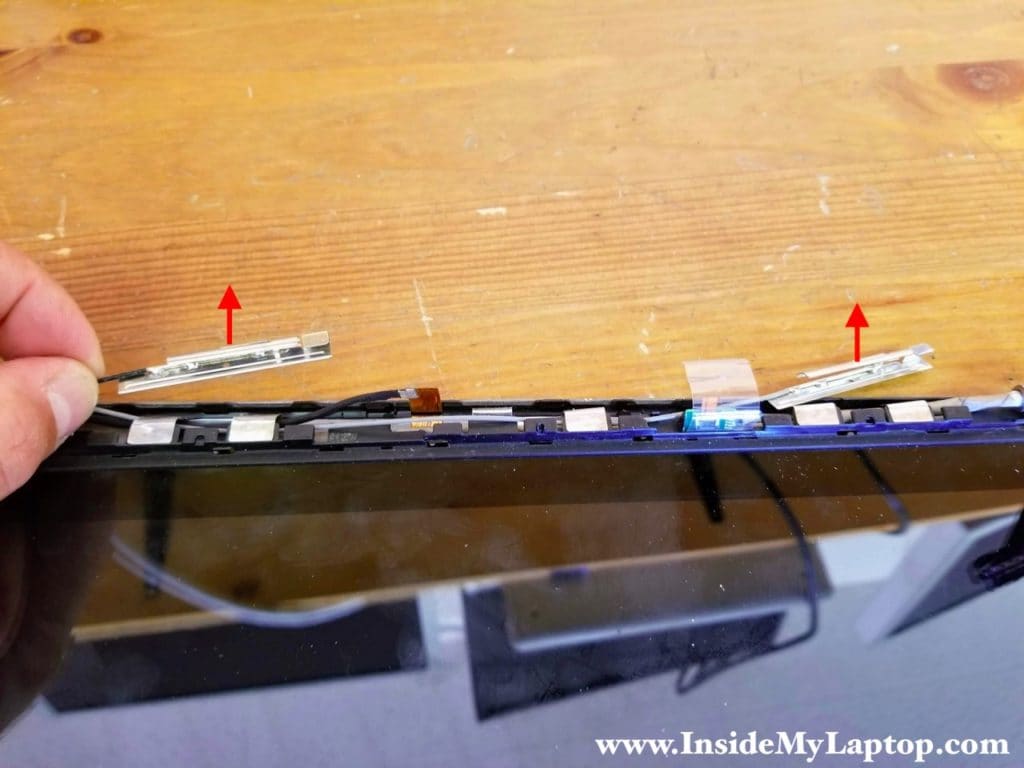
After you remove both Wi-Fi antennas and unroute the display cable, you should be able to remove the LCD assembly completely.
