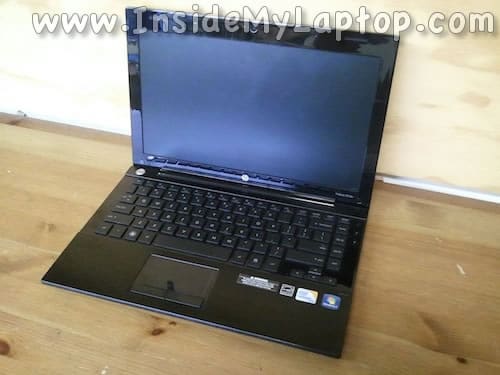
The following set of instructions was made for a HP ProBook 5310m notebooks.
I will show how to disassemble it in order to access and clean up the cooling fan.
Also, you can use this guide for replacing the keyboard and other internal components.
First of all, make sure the computer is turned off.
STEP 1.
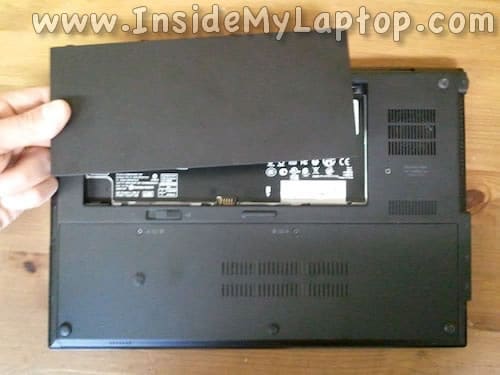
Unlock the remove the battery.
STEP 2.
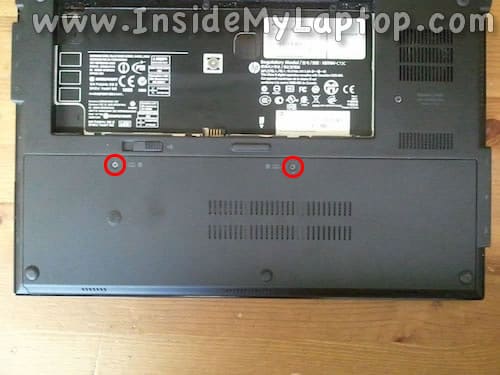
Loosen two screws securing the service cover.
STEP 3.
Slide the service cover to the shown direction.
Remove the cover.

STEP 4.
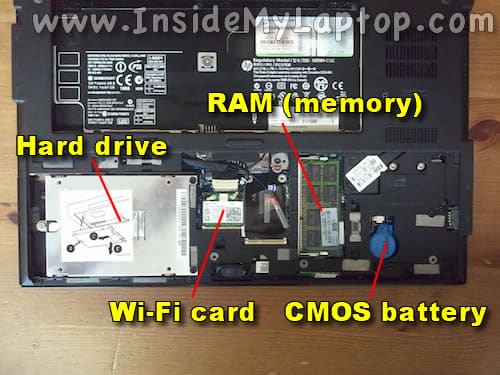
Under the service cover you can access the folioing internal components:
– Hard drive.
– Wireless card.
– RAM (memory) module. HP ProBook 5310m notebooks have only one memory slot.
– CMOS (RTC) battery.
STEP 5.
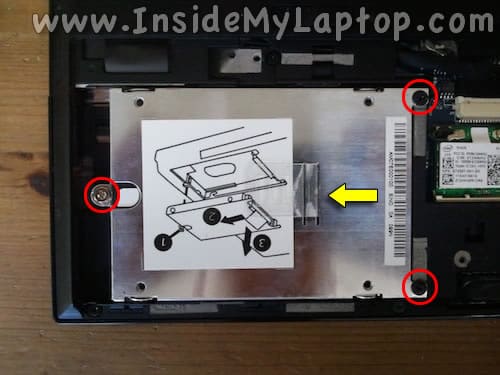
Loosen one silver screw and remove two black screws securing the hard drive assembly.
Slide the hard drive assembly to the left to disconnect it from the motherboard.
STEP 6.
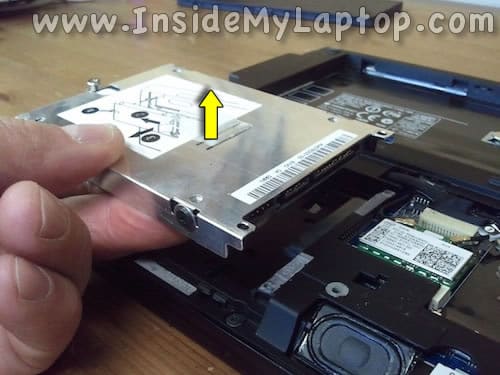
Lift up and remove the hard drive assembly.
STEP 7.
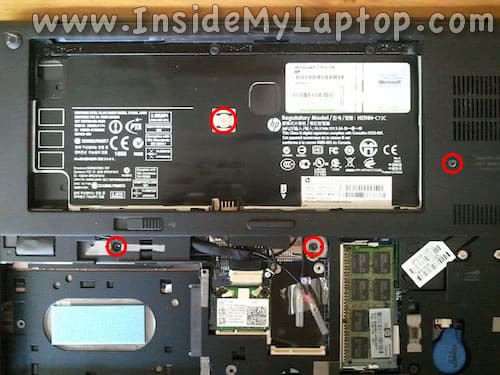
Remove four screws securing the keyboard.
STEP 8.
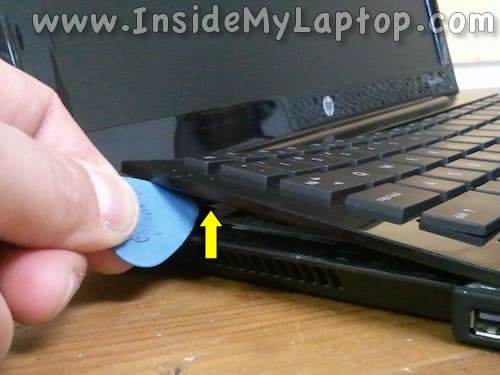
Start separating the keyboard from the bottom cover.
I’m using a guitar pick for that.
STEP 9.
Continue separating the keyboard from the top cover assembly.

STEP 10.
Lift up the top side of the keyboard and move it towards the display so you can access the keyboard cable underneath.
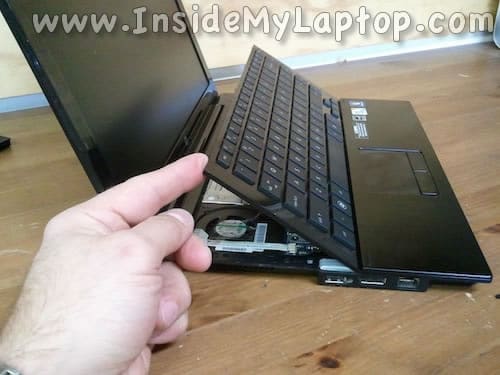
STEP 11.
Before you remove the keyboard it’s necessary to unlock the connector and release the cable.

STEP 12.
Here’s how to unlock the connector.
Lift up the left side of the cable retainer with your fingernail.
The retainer will open up at a 90 degree angle.

STEP 13.
Pull the keyboard cable from the connector.
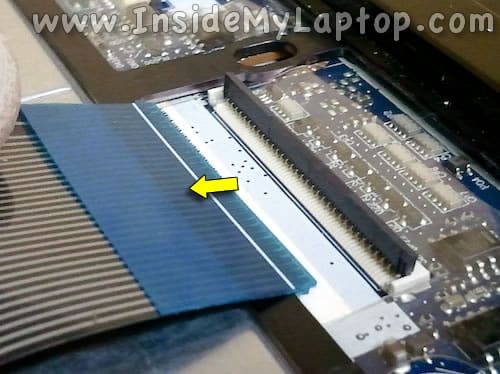
STEP 14.
Now you can remove the keyboard and replace it with a new one if needed.

STEP 15.
On the following picture you see the notebook with the keyboard removed.
Now you have limited access to the cooling fan.
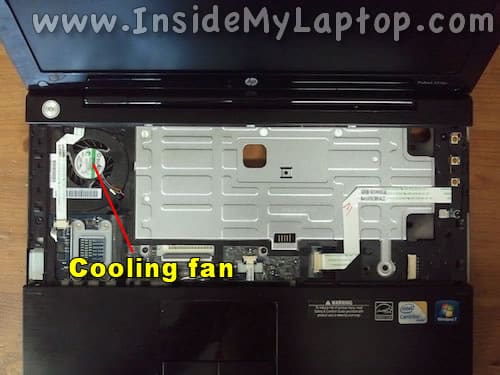
STEP 16.
If the fan is dusty, you can blow it off using an air compressor or canned air.

Trekker666
Hi, can you show how to remove BIOS chip? My girlfriend’s last boyfriend set a password on hdd and bios and now she can’t do anything.