In this guide I explain how to replace the LCD screen on an Acer Aspire 1830T series laptop.
In my case the laptop was dropped and it stopped displaying the image correctly.
In this guide I explain how to replace the LCD screen on an Acer Aspire 1830T series laptop.
In my case the laptop was dropped and it stopped displaying the image correctly.

In this guide I explain how to disassemble an Acer Aspire 5742 series laptop.
In my case I’m taking apart an Acer Aspire 5742-6682 model.
Also, this guide will work for Acer Aspire 5742z.
In this guide I explain how to remove and replace the LCD screen on a Lenovo IdeaPad Z575.
In my case the laptop was dropped and the LCD got cracked.
Most likely this guide will work not just IdeaPad Z575 model but for some other IdeaPad models too.
In the following guide I explain how to remove and replace the screen on a Lenovo E530 laptop.
In my case it failed and started showing thin vertical lines running from top to bottom.
In the following guide I explain how to disassemble a MacBook Pro 15″ (Mid 2010) in order to remove and replace the keyboard.
In my case something sticky was spilled on the keyboard and it stopped working completely. In fact, the laptop didn’t even start with the damaged keyboard connected to the motherboard.
I confirmed that this is just a failed keyboard by turning it on using the power-on pads.
The keyboard is attached to the internal side of the top cover assembly. In order to remove and replace the keyboard the entire MacBook Pro (MBP) has to be disassembled.
In this guide I show how to remove and replace damaged or failed LCD screen on a HP Pavilion g7.
As you see, in my case it’s broken. It’s cracked badly and the left side doesn’t show any image.
Make sure the computer is turned off before you start the disassembly process.
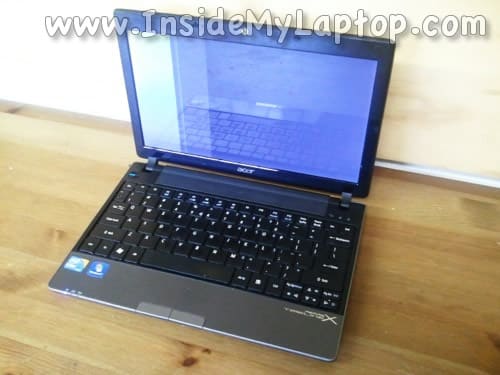
In this guide I explain how to remove and replace the LCD screen on an Acer Aspire one D255E netbook.
As you see, in my case it was cracked.
In this guide I show how to remove and replace the LCD screen on a Dell Inspiron N4010 laptop.
In my case it got cracked.
In the following guide I explain how to replace a cracked or failed LCD screen on a Dell Inspiron 14z laptop.
In my case I’ll be fixing a Dell Inspiron 14z-N411z model.
The replacement procedure is relatively simple and all you need is a Phillips screwdriver and guitar pick (or any other piece of plastic).
In this guide I explain how to disassemble a Dell Inspiron N4010 laptop.
My goal is removing and replacing the hard drive.
Dell Inspiron N4010 doesn’t have easy access to the hard drive. It’s mounted deep inside, under the motherboard.
In order to remove and replace the hard drive I’ll have to disassemble the entire laptop and remove the motherboard.
In this guide I’ll go through the following major disassembly steps:
STEP 1-3: Accessing both RAM modules and removing the DVD drive.
STEP 4-11: Disconnecting and removing the keyboard.
STEP 12-15: Removing top cover assembly.
STEP 16-18: Disconnecting and removing the cooling fan.
STEP 19-23: Removing the motherboard and hard drive.