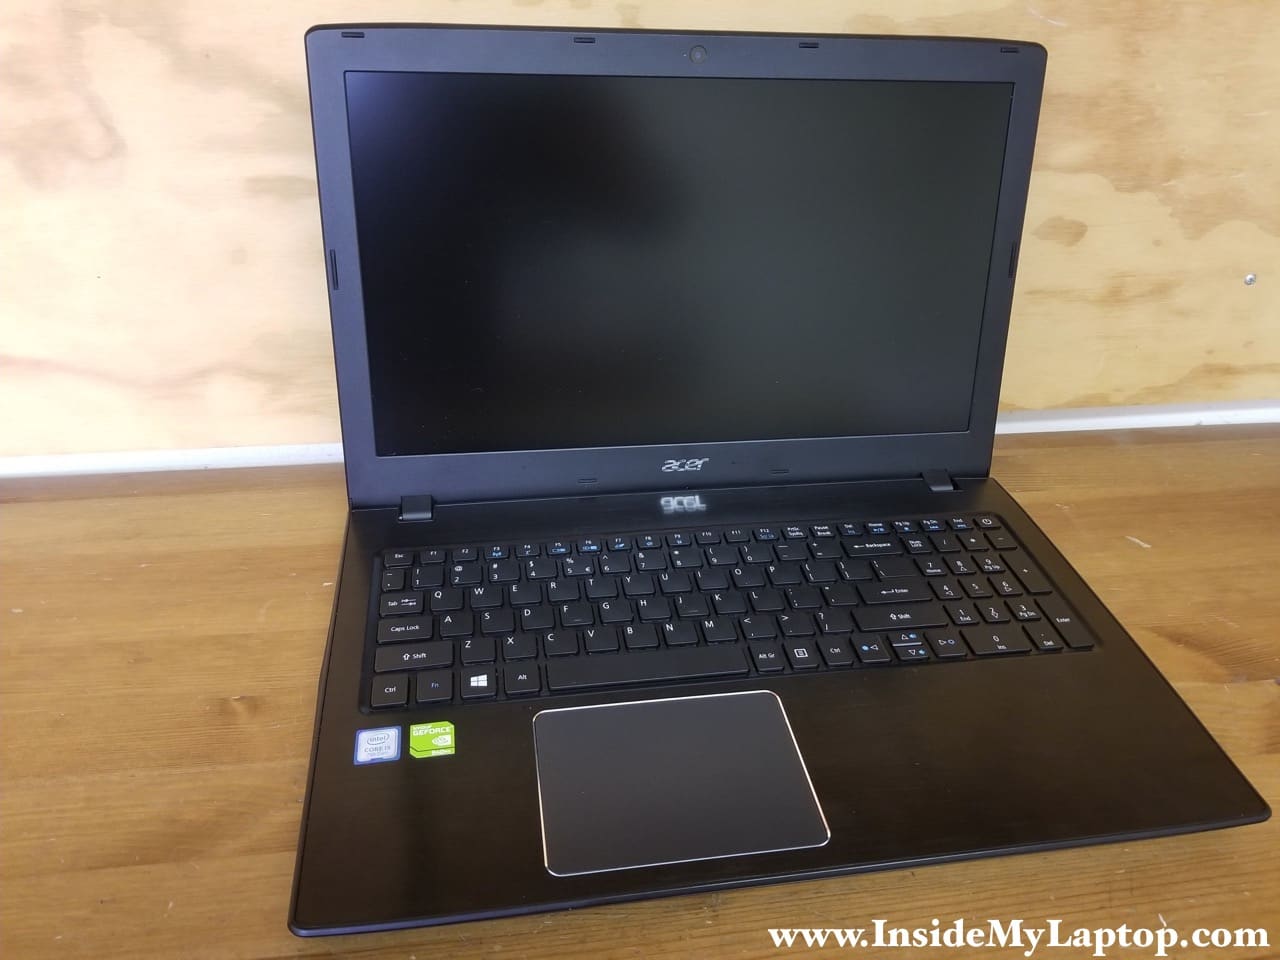
In this guide I will show how to disassemble an Acer Aspire E5-575 series laptop. Model number N16Q2.
This is an Aspire E5-575G-57D4 configuration (7th generation Intel Core i5) manufactured in 2017.
ContinuedIn this guide I will show how to disassemble an Acer Aspire E5-575 series laptop. Model number N16Q2.
This is an Aspire E5-575G-57D4 configuration (7th generation Intel Core i5) manufactured in 2017.
Continued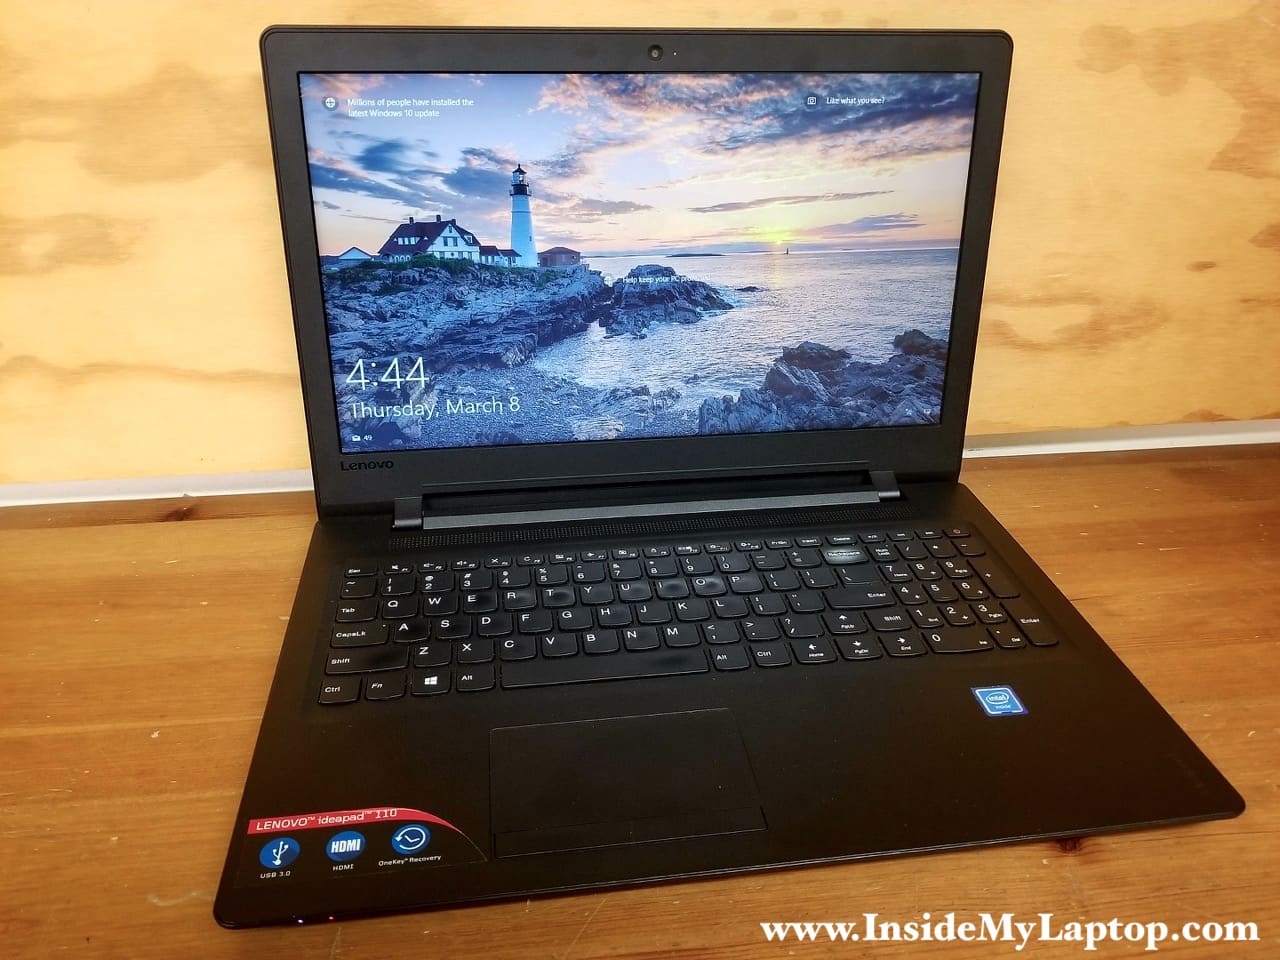
In this post I present a complete teardown guide for a 15.6″ Lenovo Ideapad 110 laptop. Model name: 80T7.
You can use it to disassemble the following Lenovo Ideapad 110 models: 110-15IBR, 110-15ACL and probably some other models manufactured in the year 2016.
Continued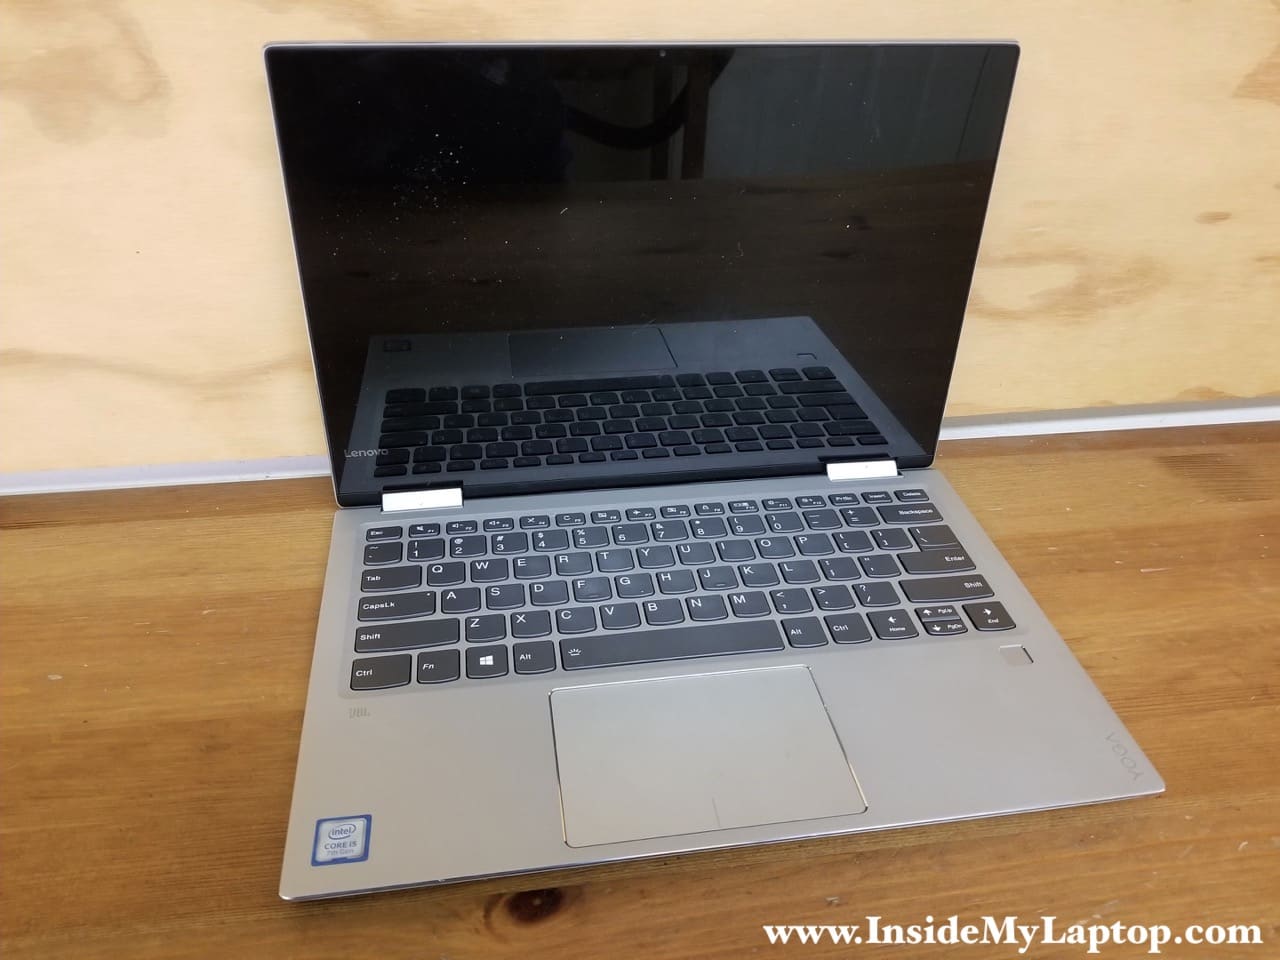
Today I will be taking apart a Lenovo Yoga 720-13IKB laptop. I will explain how to remove all the major internal components.
Let me answer a couple of questions before you asked them:
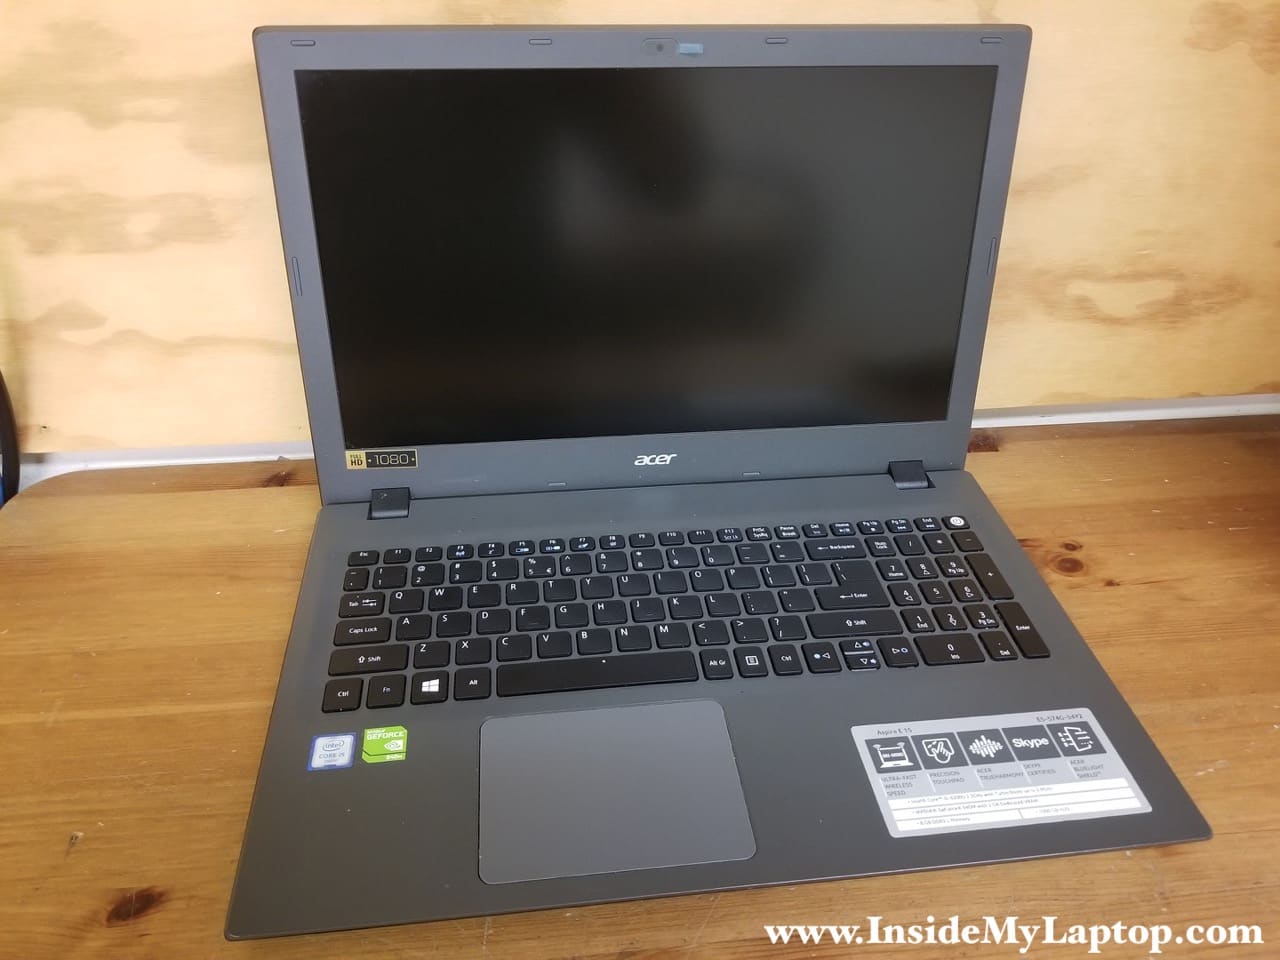
Removing and replacing the LCD screen on an Acer Aspire E 15 (E5-574G-54Y2) laptop is a relatively easy procedure.
All disassembly steps should be the same or very similar for all other models in the Acer Aspire E 15 family.
The screen is mounted under the display bezel which is attached to the display back cover. It’s easier to remove the bezel if you start from the side.
Continued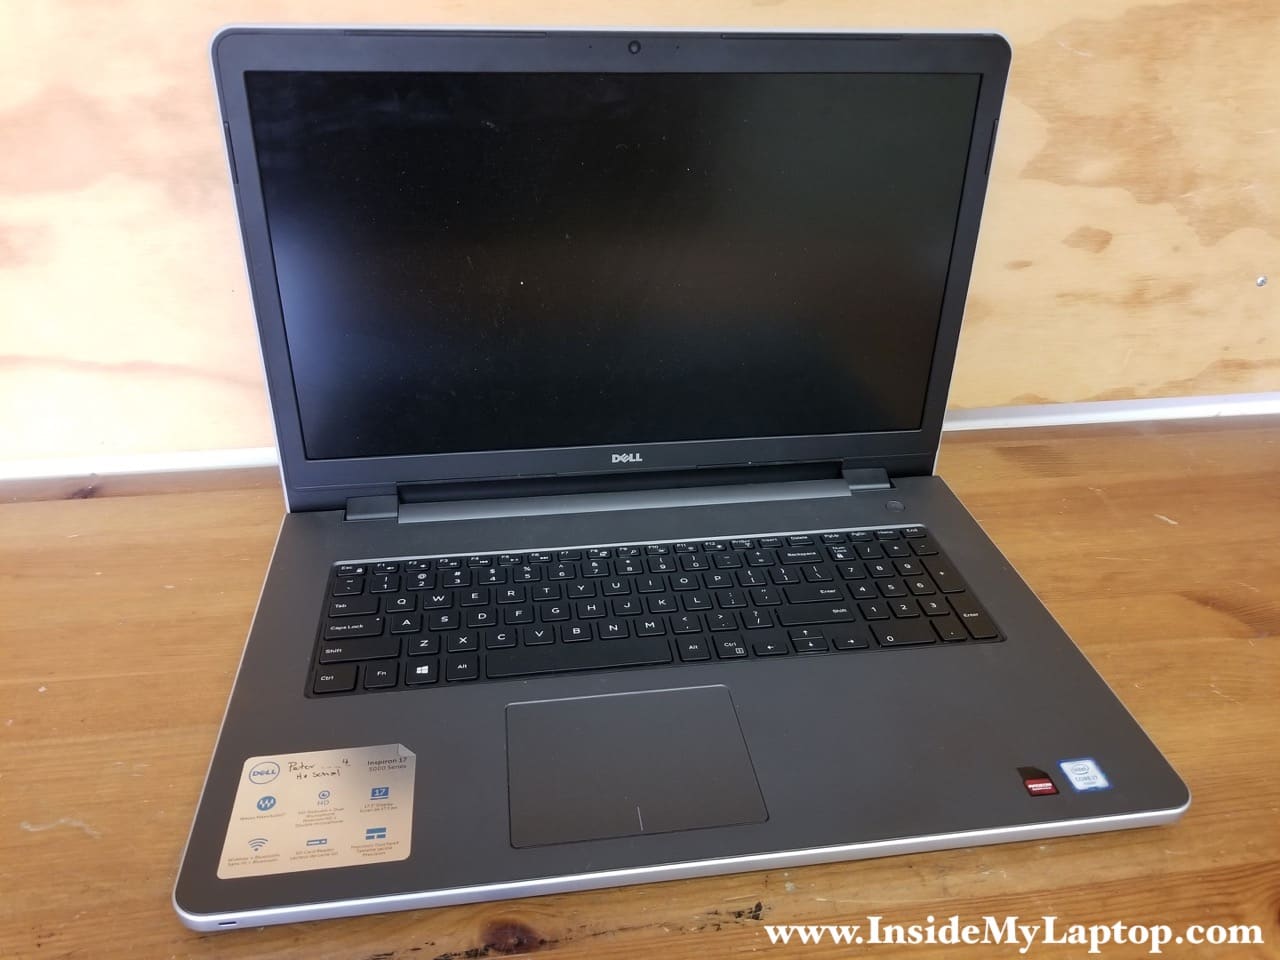
Today I show how to replace LCD screen on Dell Inspiron 15 or 17 5000 Series laptops.
This guide should work for the following Dell Inspiron models:
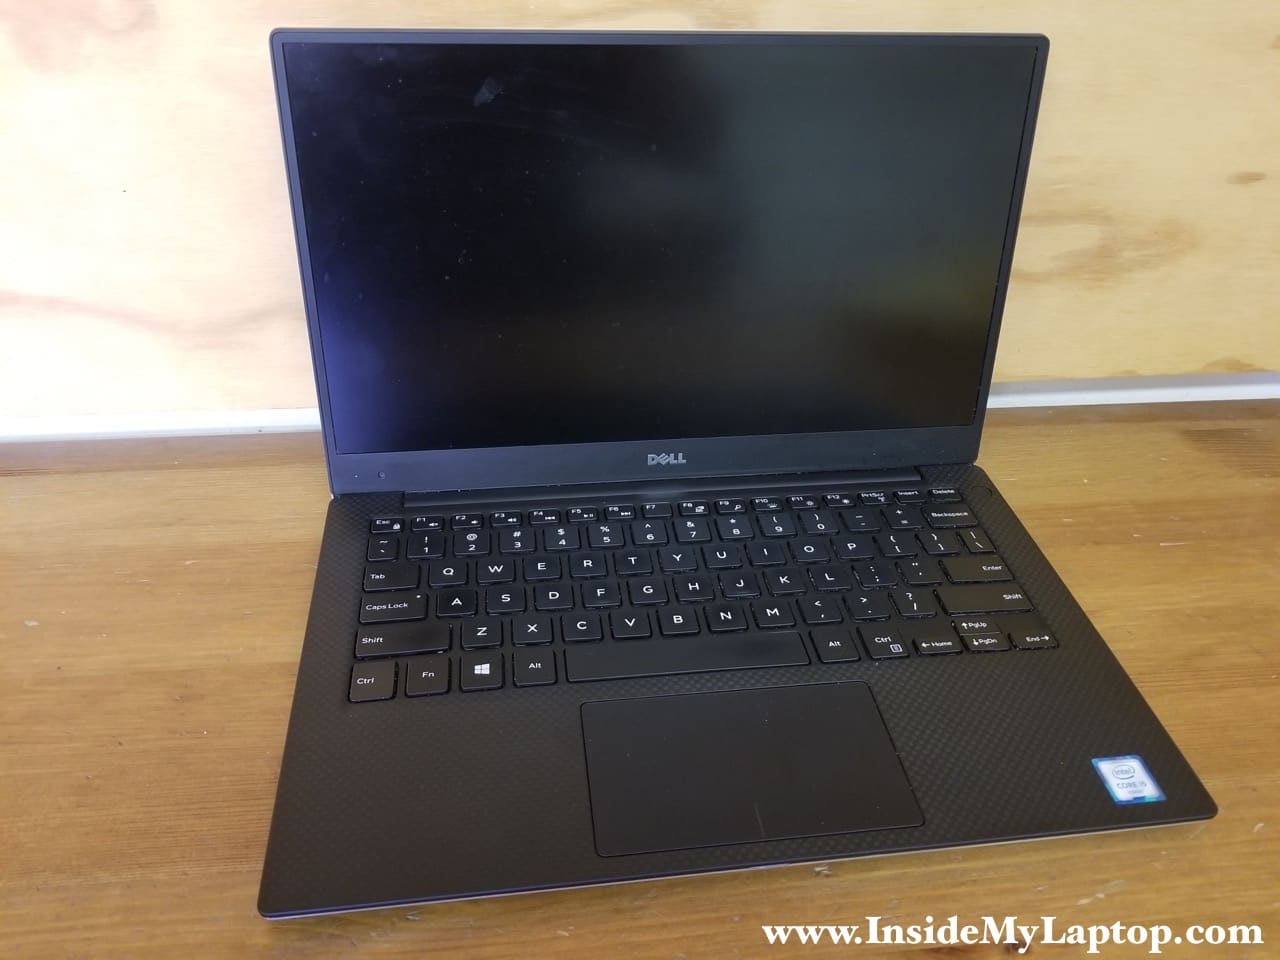
In this guide I will show how to disassemble Dell XPS 13 9343 9350 9360 Ultrabooks.
These Dell XPS 13 ultrabooks were announced and released as follows: 9343 (Early 2015), 9350 (Late 2015), 9360 (Late 2016).
I’m taking it apart in order to replace failed keyboard but you can use this teardown guide for accessing and replacing any other internal component.
Continued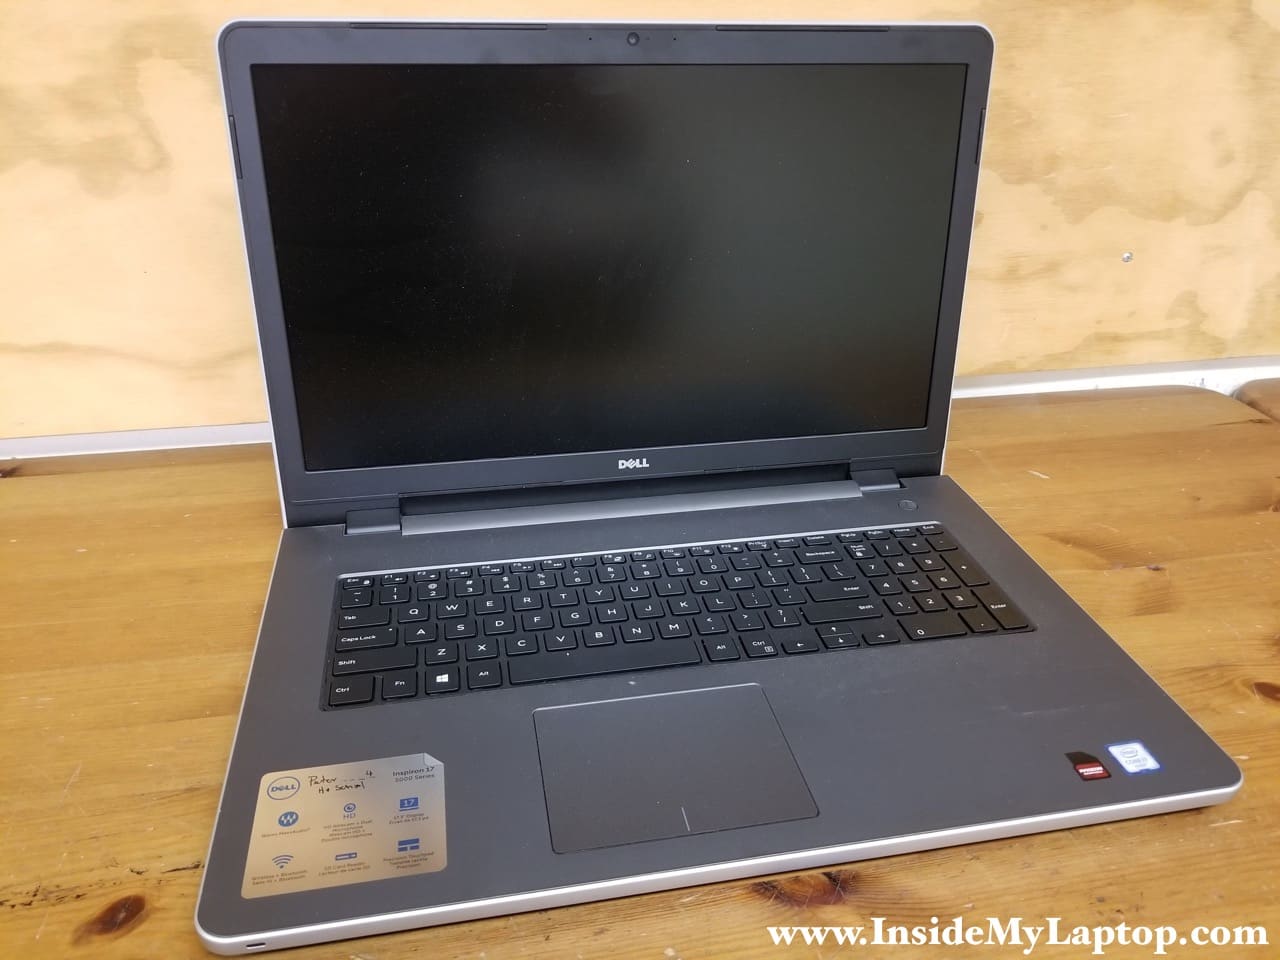
Today I will be taking apart a Dell Inspiron 17 5000 series laptop. This guide should work for Dell Inspirons 5759, 5758, 5755. All three models are very similar.
During the disassembly process I’ll go through the following major steps:
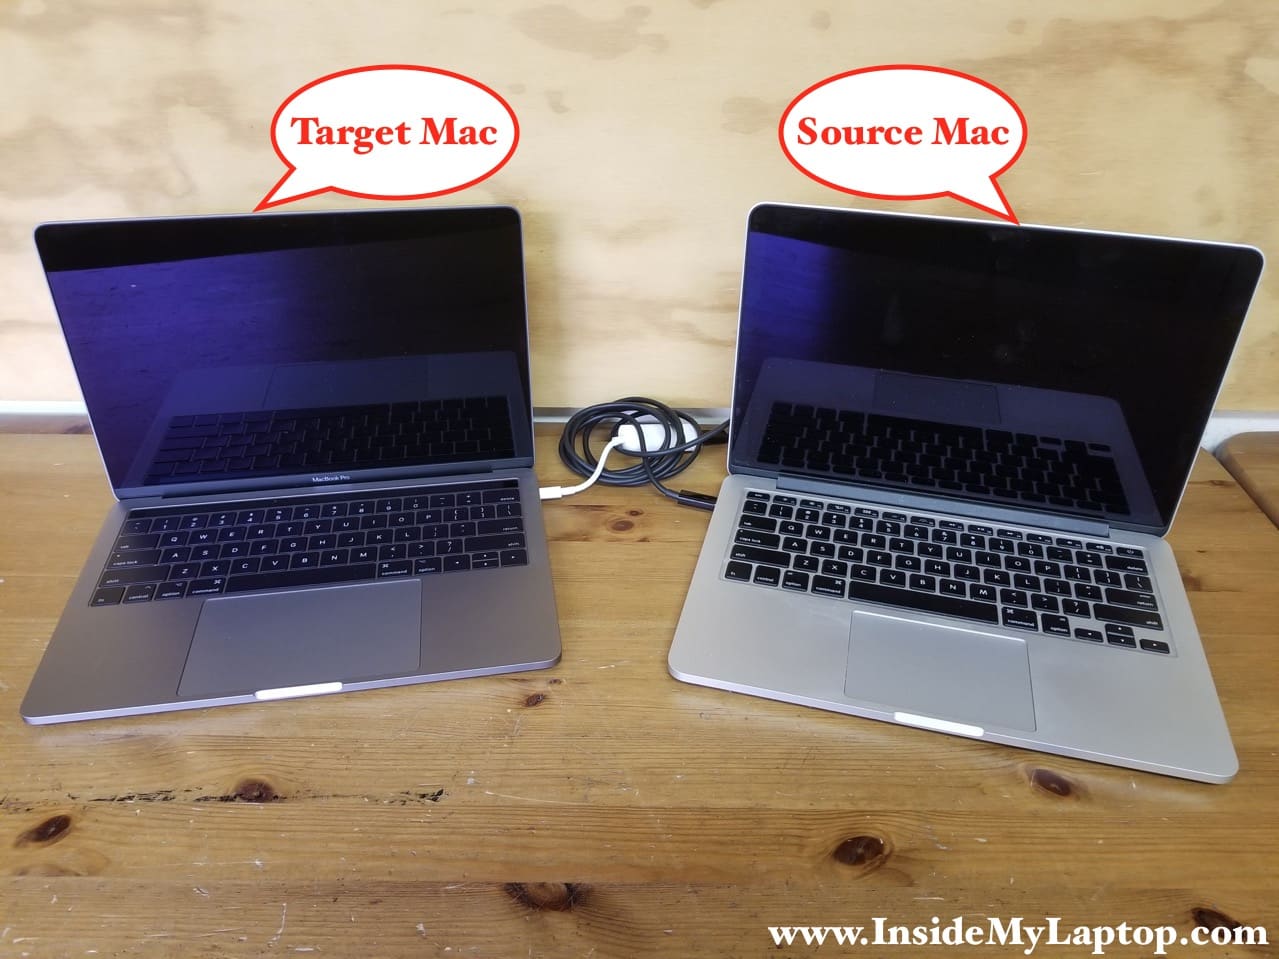
Connecting two Macs in order to migrate data (user files, applications and settings) from one to another is pretty much straightforward and uncomplicated process.
As long as you can find the right cable that links two Macs together, you can start moving files in a few clicks.
Before you start, make sure the storage space in the target computer is large enough to hold the data from the old computer otherwise the migration process will fail.
Continued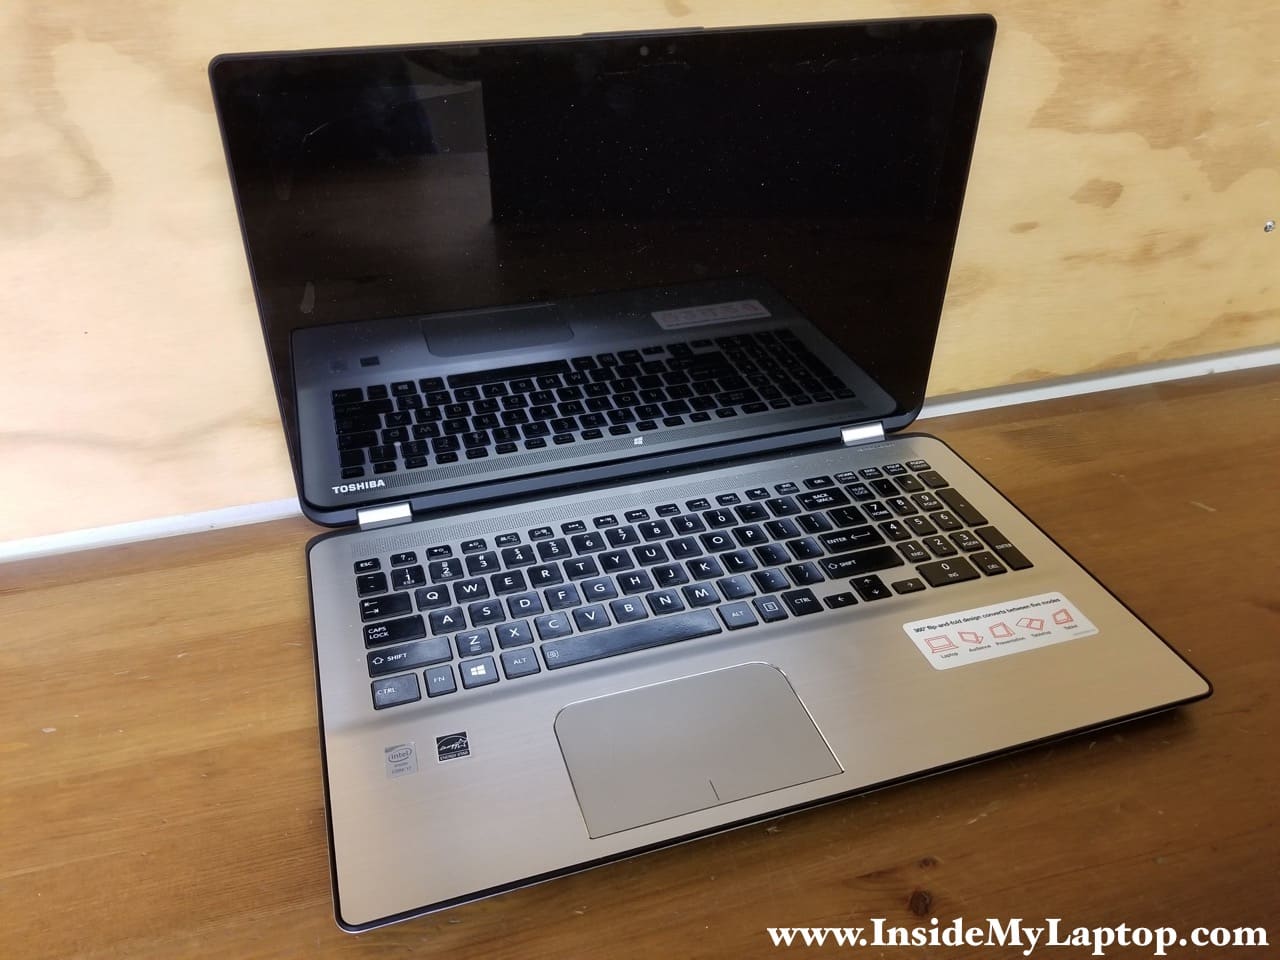
Today I will disassemble a Toshiba Satellite Radius P55W laptop.
I will show how to access and remove the battery, hard drive, memory, cooling fan, DC jack, keyboard and other internal components.
There are a few different models but the teardown process should be the same or very similar for the following Toshiba Satellite Radius configurations:
For Satellite P55W-C series check out this P55W-C5316 disassembly guide.
Continued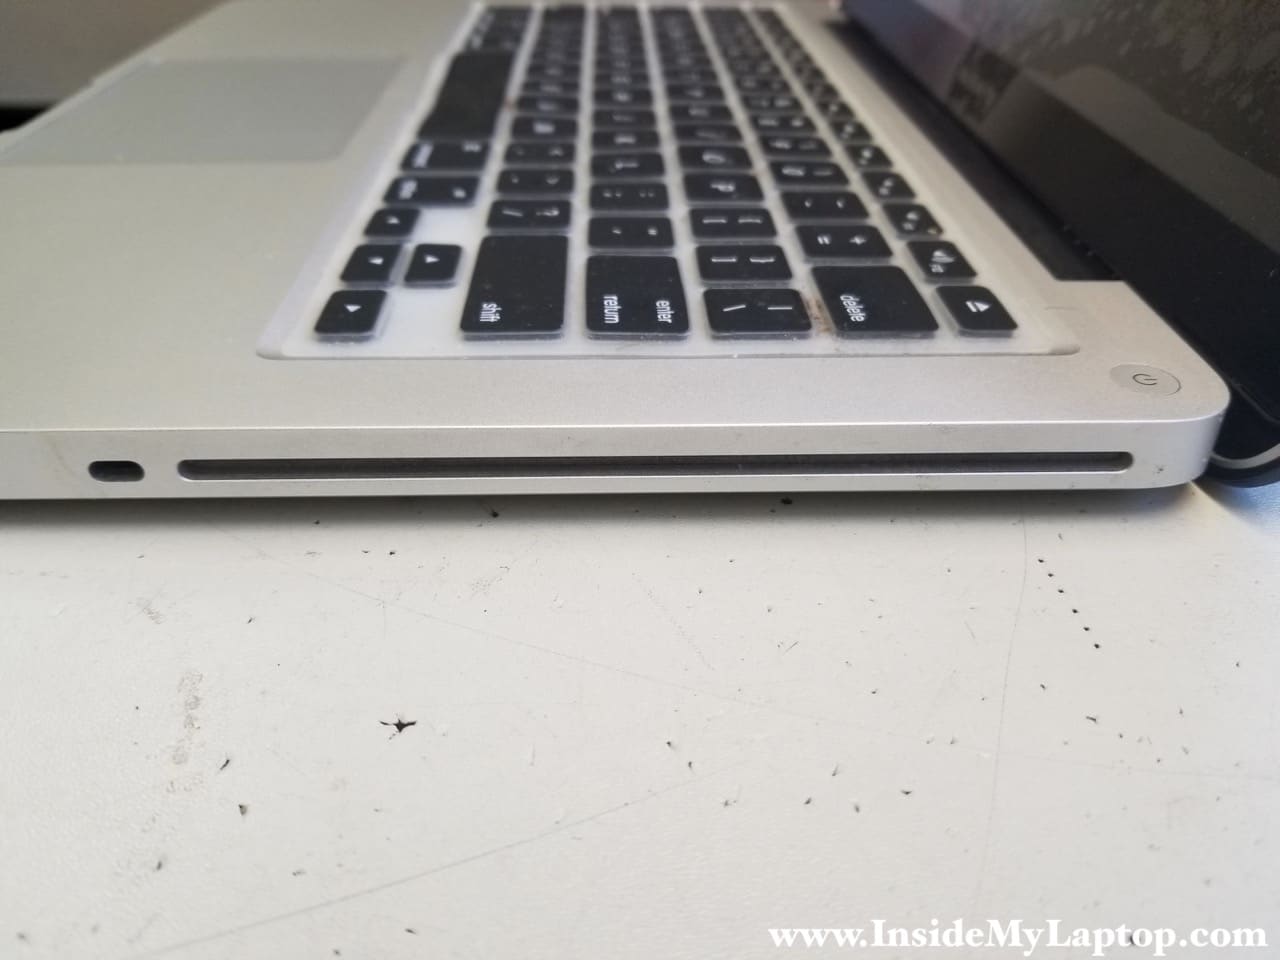
Today I will show how to remove a stuck DVD or CD disc from a MacBook Pro laptop.
In this example I’m removing it from a 13-inch MacBook Pro (Mid 2012) but you should be able to use this guide for any other 13″, 15″ or 17″ MacBook Pro. All disassembly steps should be very similar.
On Apple computers you will not find the eject pin hole which is present on most PC laptops. If a DVD or CD got stuck in the optical drive, you will have to open up the laptop case, remove the optical drive and take it apart (partially).
Continued