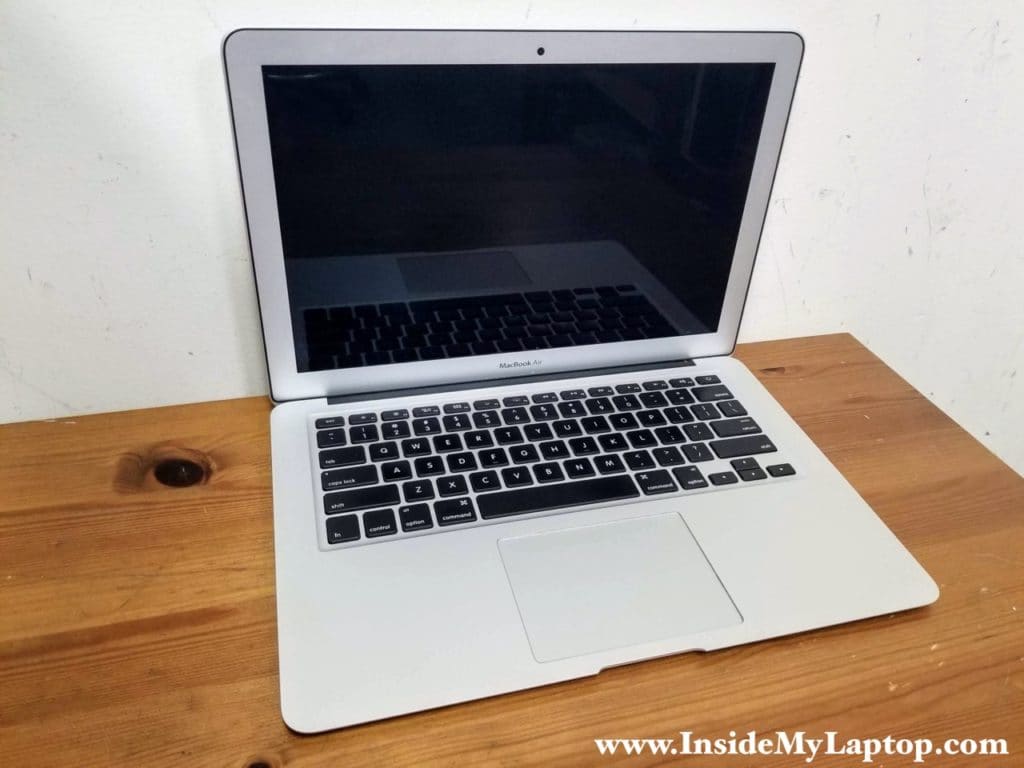
The left USB port on this MacBook Air stopped working properly. Any USB device plugged in into the left port doesn’t fit all the way in. It feels like something inside the USB port is staying on the way. Also, any USB device plugged in into the left port is not being recognized by the operating system. The right USB port, on the other hand, has no issues at all and still works as it should.
In this guide I show how to repair a damaged USB port on a MacBook Air laptop without replacing any part. This repair should work for 11″ and 13″ MacBook Air 2013-2017 laptops assuming you have the same kind of USB port failure of course.
USB port problem description
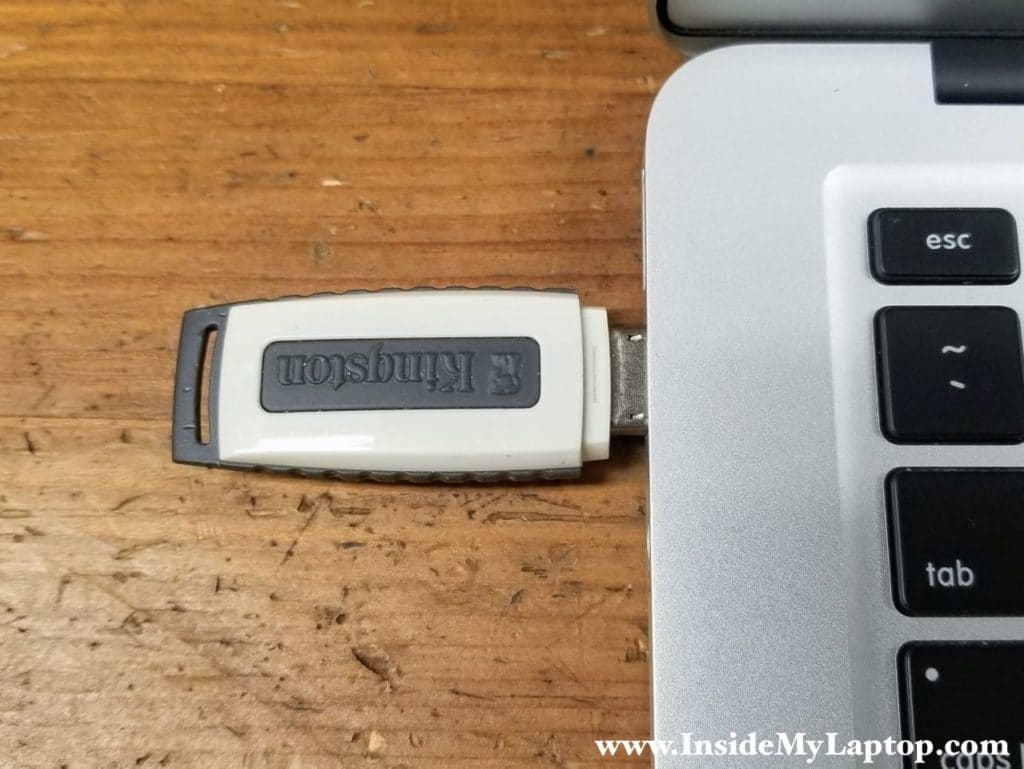
Here’s the right (healthy) USB port. The flash drive connector fits all the way in and the plastic body of the drive is almost touching the laptop case.
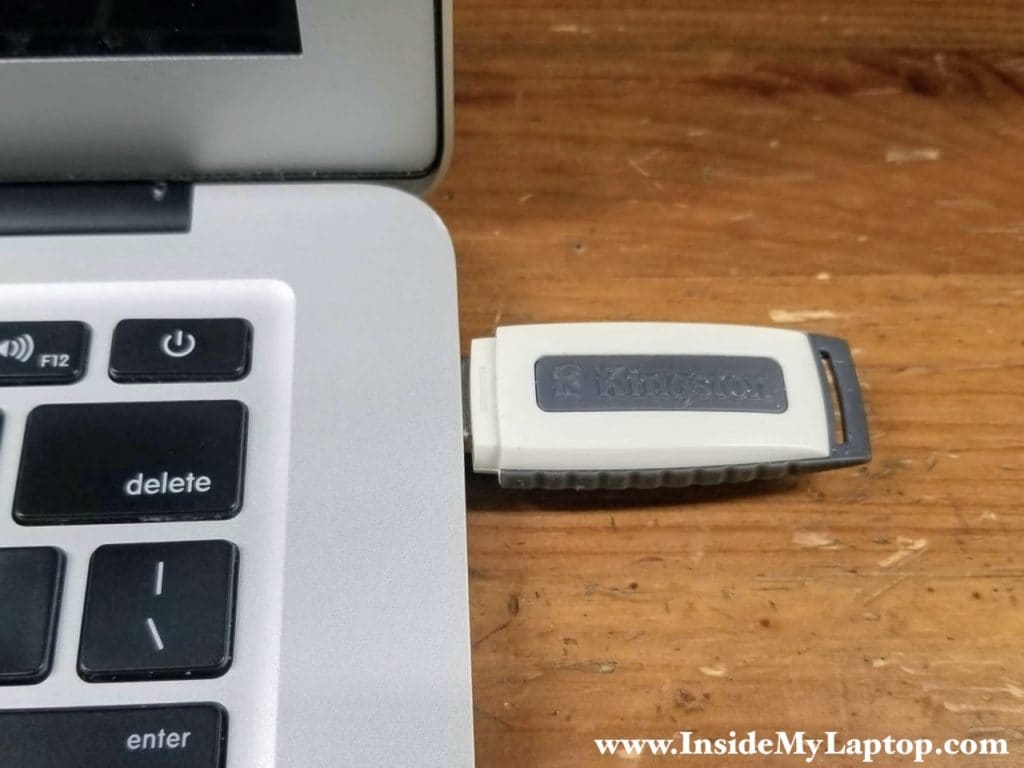
Here’s the left (damaged) USB port. Only about 2/3 of the connector fits in into the USB port and it doesn’t go any further. The operating system doesn’t recognize the flash drive at all when it’s plugged in into the left side.
Identifying the problem with USB port
In order to figure out what is wrong with the USB port, I had to use a microscope and take a closer look inside.
Here’s a closeup picture of the healthy side. There are five grounding strips located on the USB port housing and in this case all five strips are perfectly aligned. There is a gap between each grounding strip and the plastic contact support block inside the USB port.
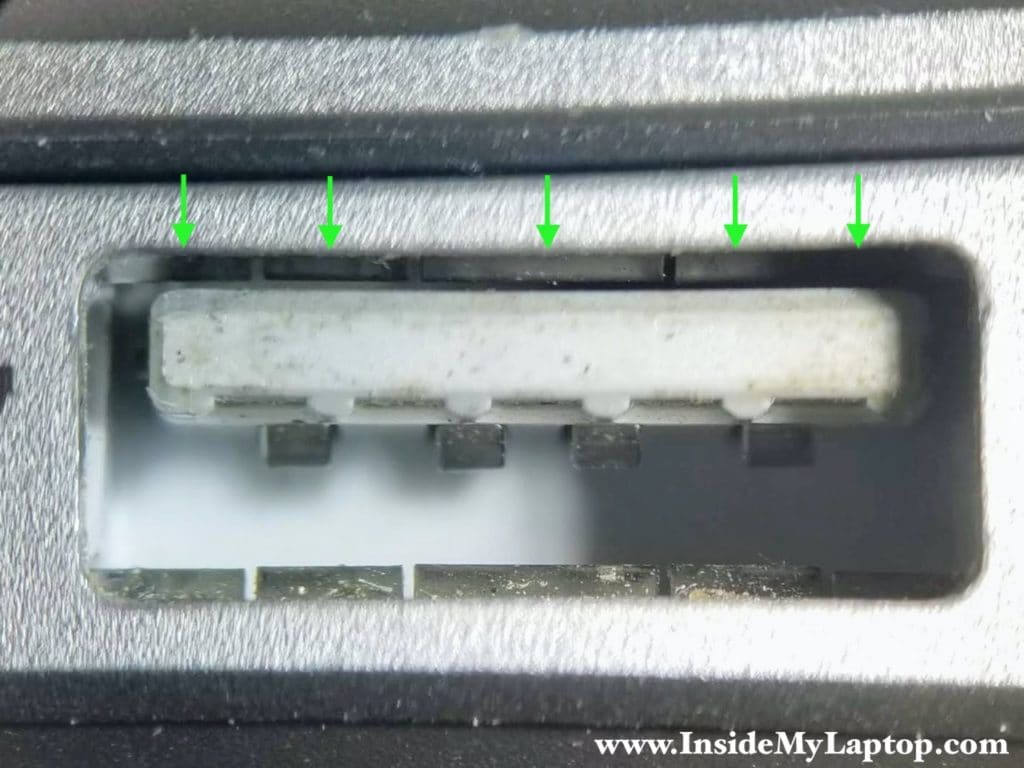
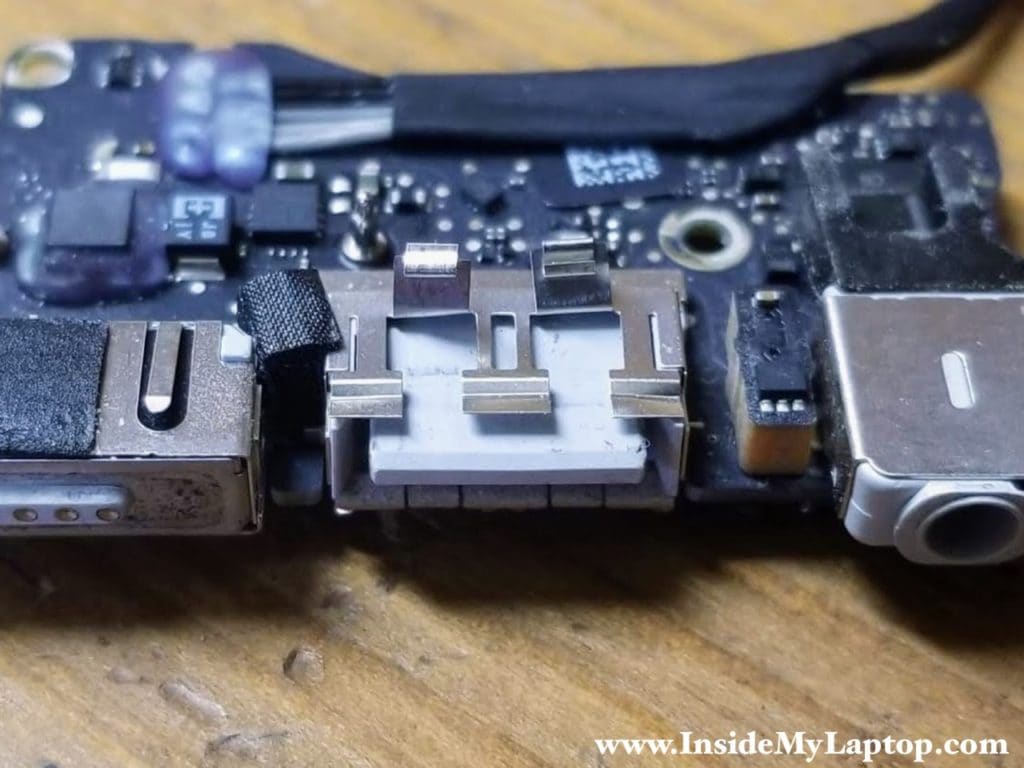
Here’s a closeup picture of the failed USB port. Two grounding strips (pointed with red arrows) are bent and they are touching the plastic contact support block.

In order to repair the damaged port it’s necessary to remove the I/O board because you cannot access the damaged grounding strips from the top.

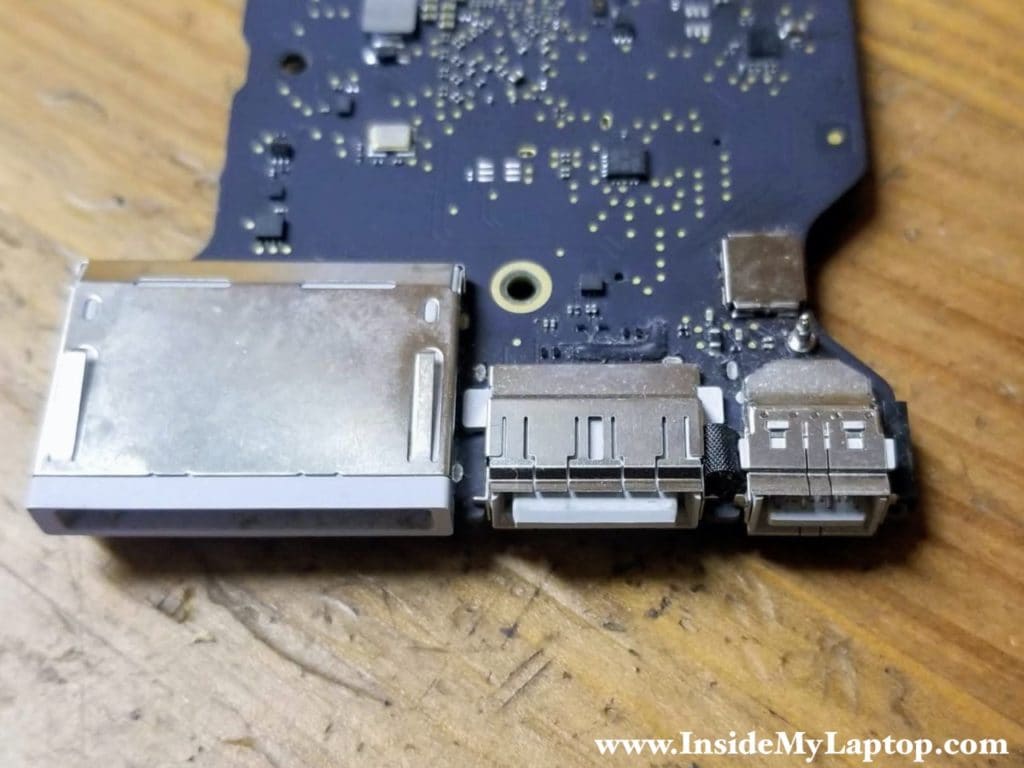
Here’s a closer look at the USB port housing on the motherboard (working side). Do you see how all five grounding strips are perfectly aligned?
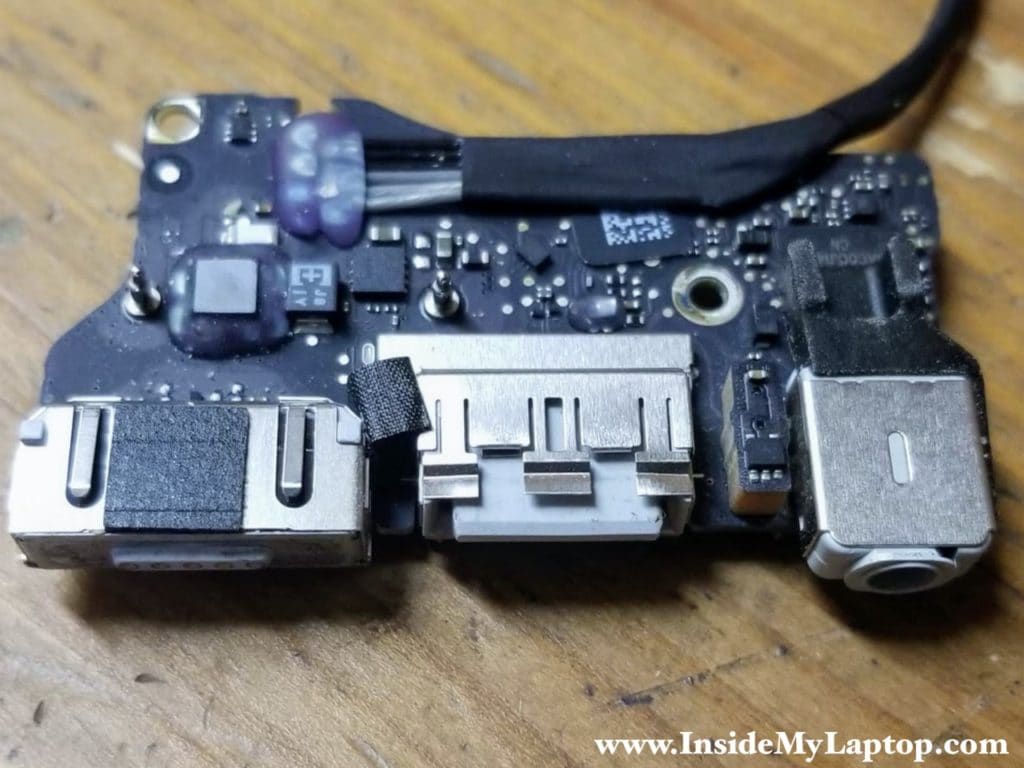
Here’s a closer look at the USB port on the I/O board (damaged side). Two out of five grounding strips are bent inwards.
Steps to fix damaged USB port
STEP 1.
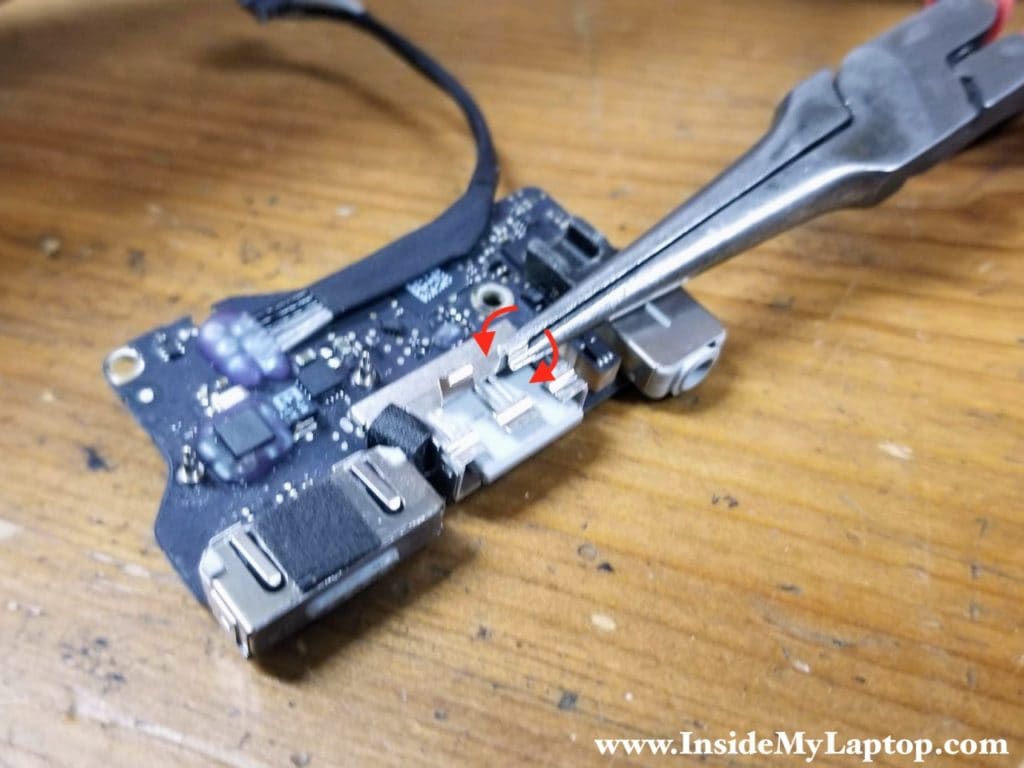
Bend the damaged USB port grounding strips upwards using a needle nose tweezers.

Both damaged strips are standing up now.
STEP 2.
You can try straightening the damaged grounding strips but I decided to break them off of the USB port completely.
Grab the damaged strip with a need nose pliers and start turning it left and right until the strip breaks off cleanly.
After the first damaged strip is removed, remove the second one.
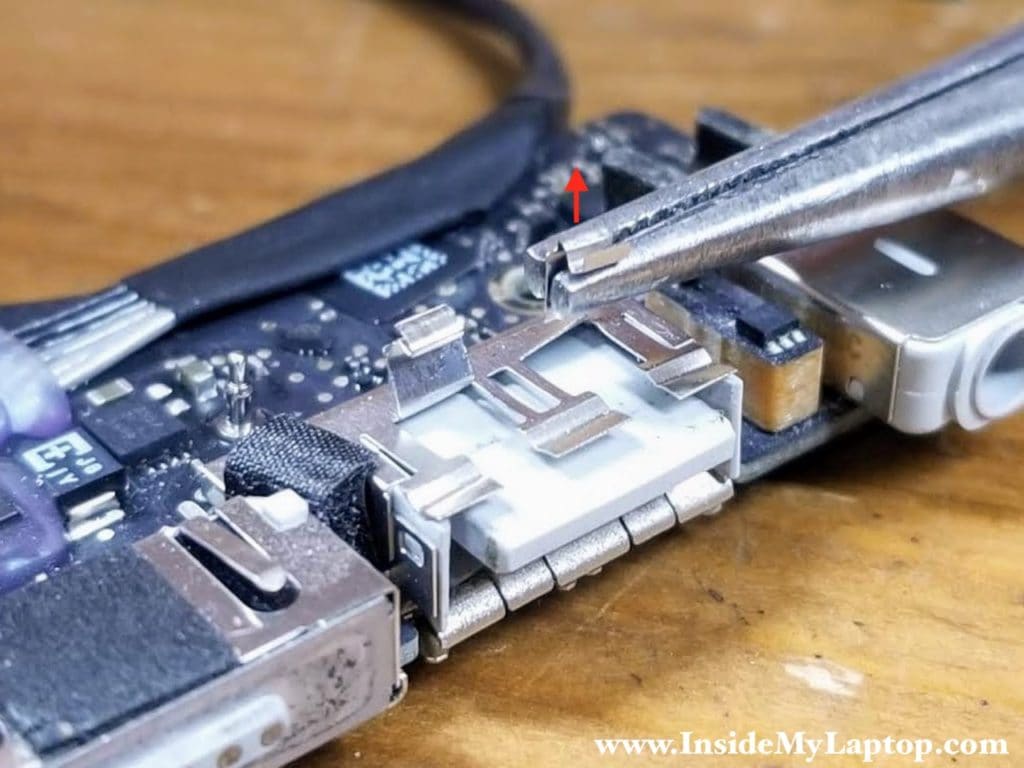
Here’s how the USB port housing looks like with both damaged strips removed.
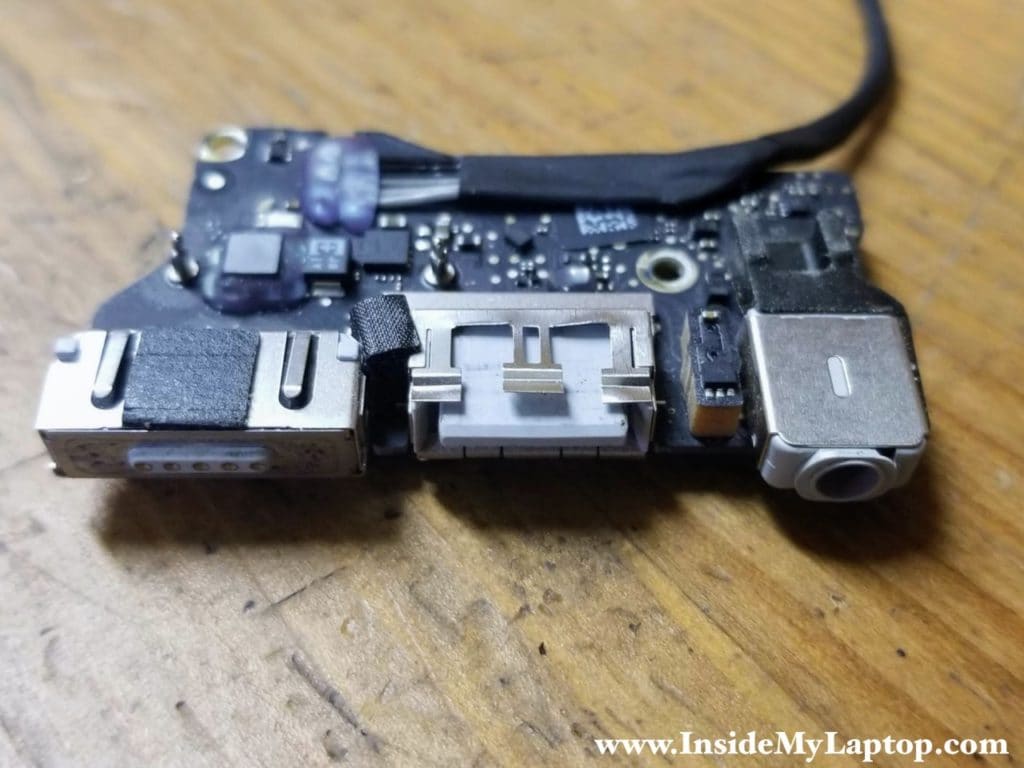
STEP 3.
Plug a USB flash drive or any other device into the fixed USB port to make sure it fits properly.
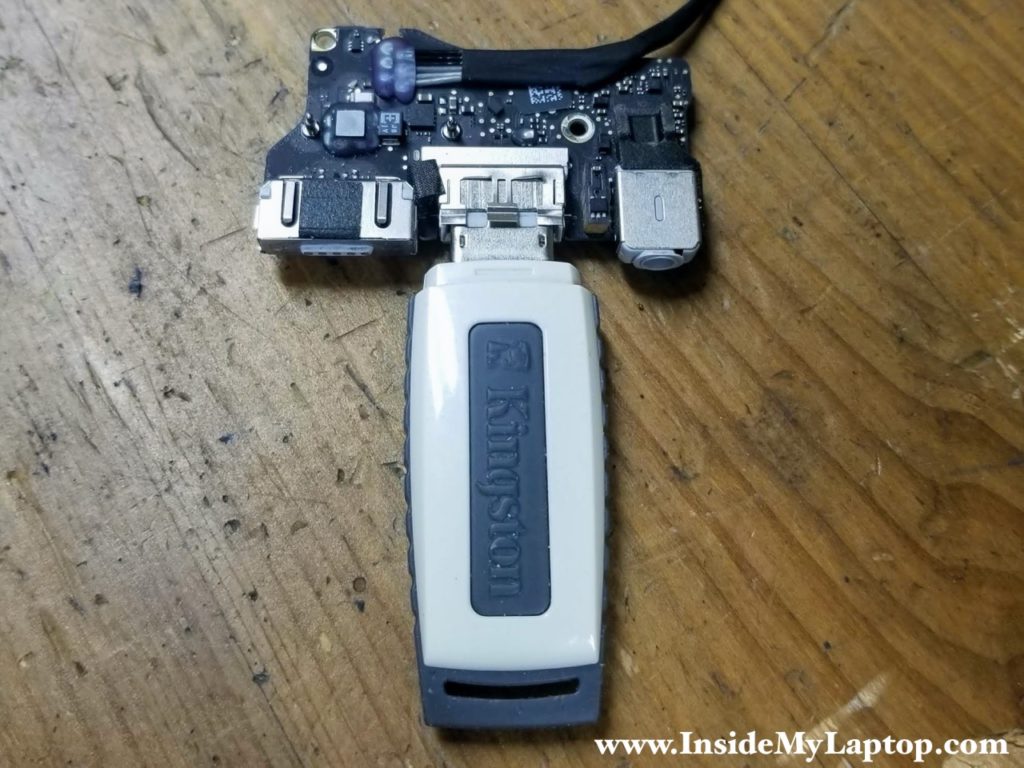
STEP 4.
Before installing the repaired I/O boar back into your MacBook Air laptop, make sure the remaining three grounding strips are bent a little bit upwards.
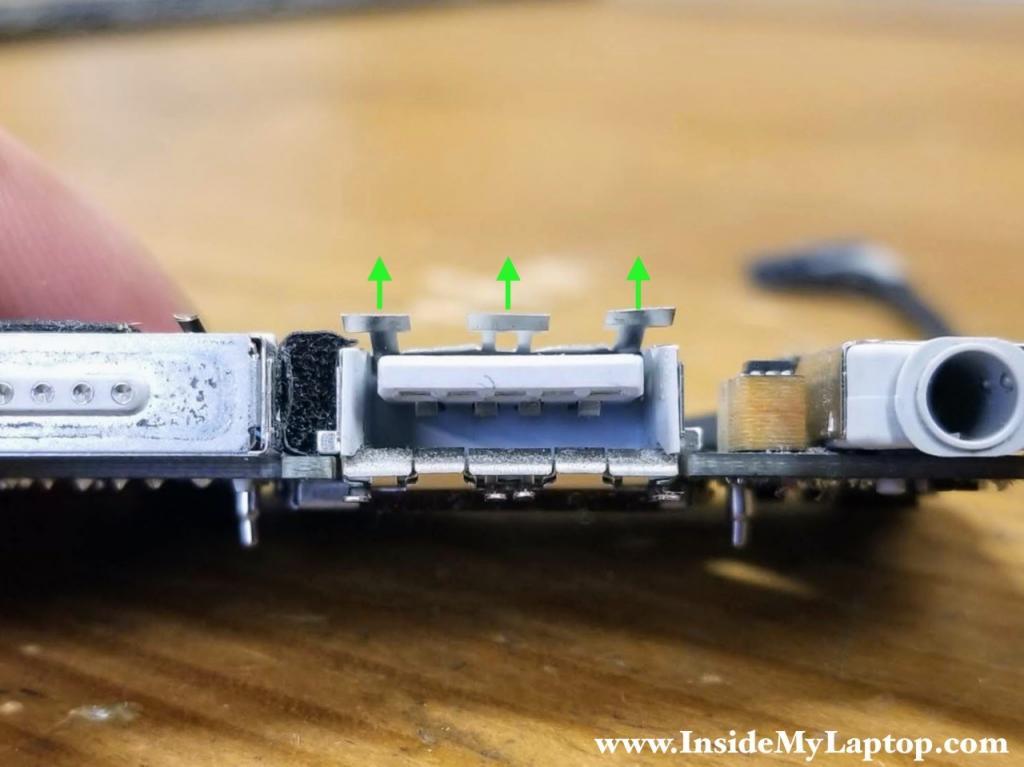
Re-assemble the laptop and enjoy the fixed USB port.
Sam
Superb article, and very clear pictures and instructions. I had the exact problem and fixed it now for free. Thanks so much!